Page 4 of 6
Re: 442nd WIP
Posted: Tue Apr 16, 2013 10:05 pm
by BBC527
Was able to work on priming the thighs and bicep today.
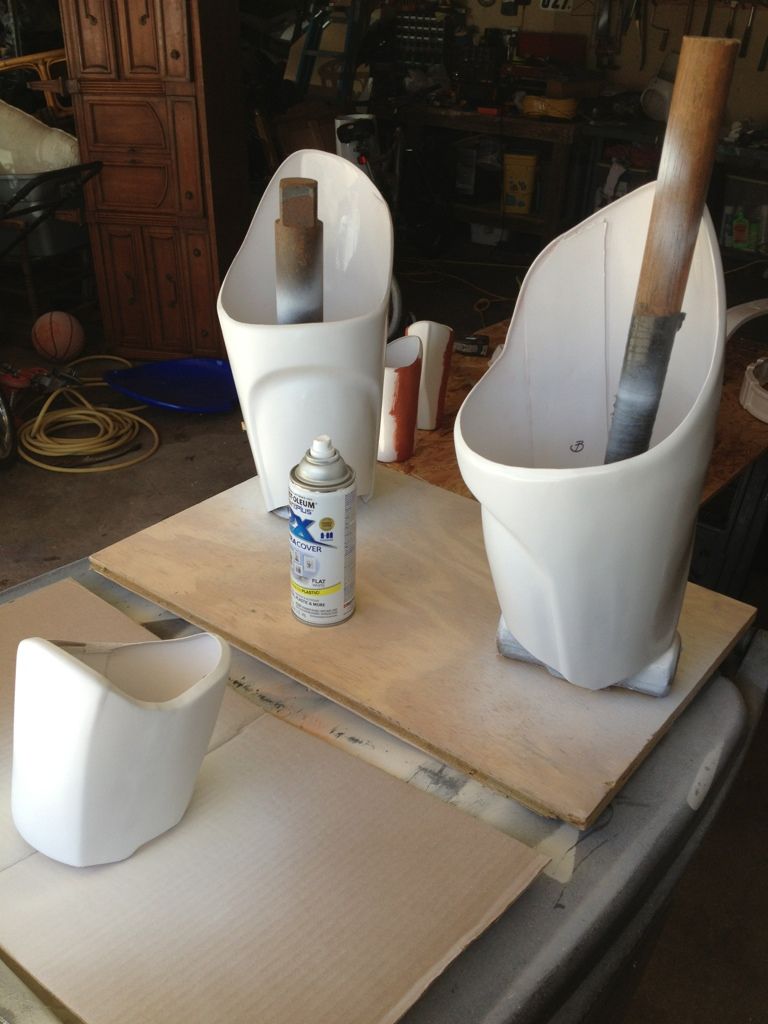
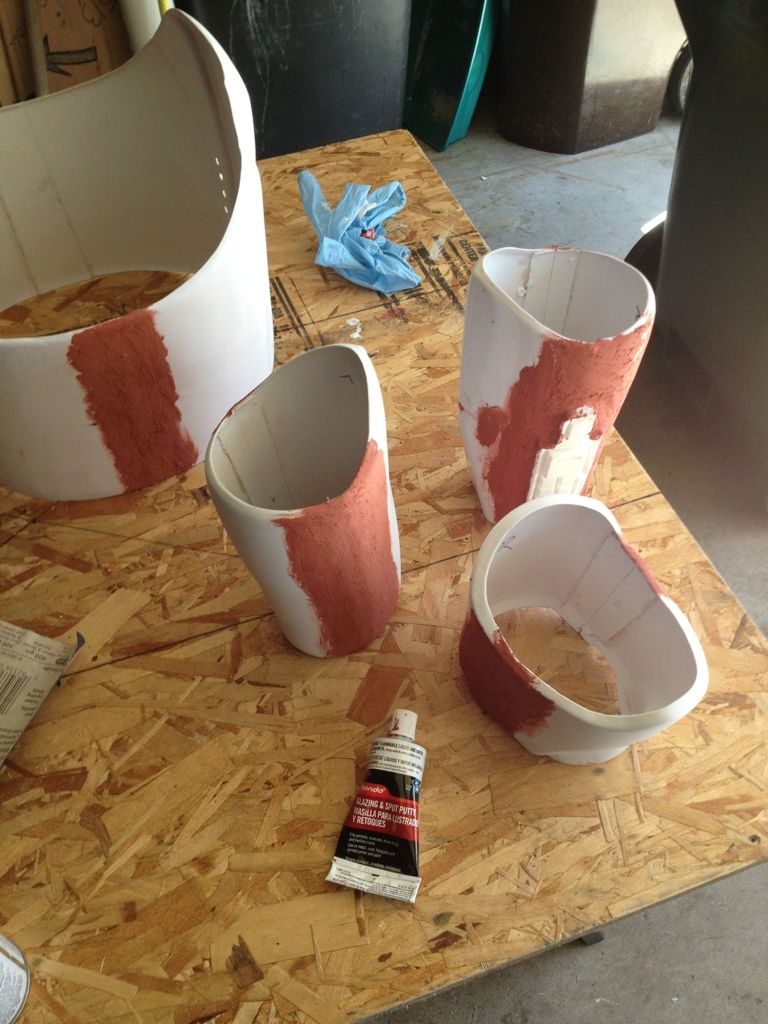
Along with bondoing the forearms, bicep, and ab.
Plus, what's a little work without injury. Drilled into my finger while working on the detonator.

Re: 442nd WIP
Posted: Wed Apr 17, 2013 8:23 am
by drbones2nd
A little E6000 will fix that right up

Re: 442nd WIP
Posted: Wed Apr 17, 2013 10:33 am
by Ripcode
drbones2nd wrote:A little E6000 will fix that right up
Actually super glue is better!

Re: 442nd WIP
Posted: Wed Apr 17, 2013 11:04 pm
by BBC527
Actually the picture doesn't do it justice. The hole is big/deep enough that E6000 and Super Glue wouldn't do anything for it. That's why I had to use a towel and electical tape to stop it.
Re: 442nd WIP
Posted: Wed Apr 17, 2013 11:05 pm
by BBC527
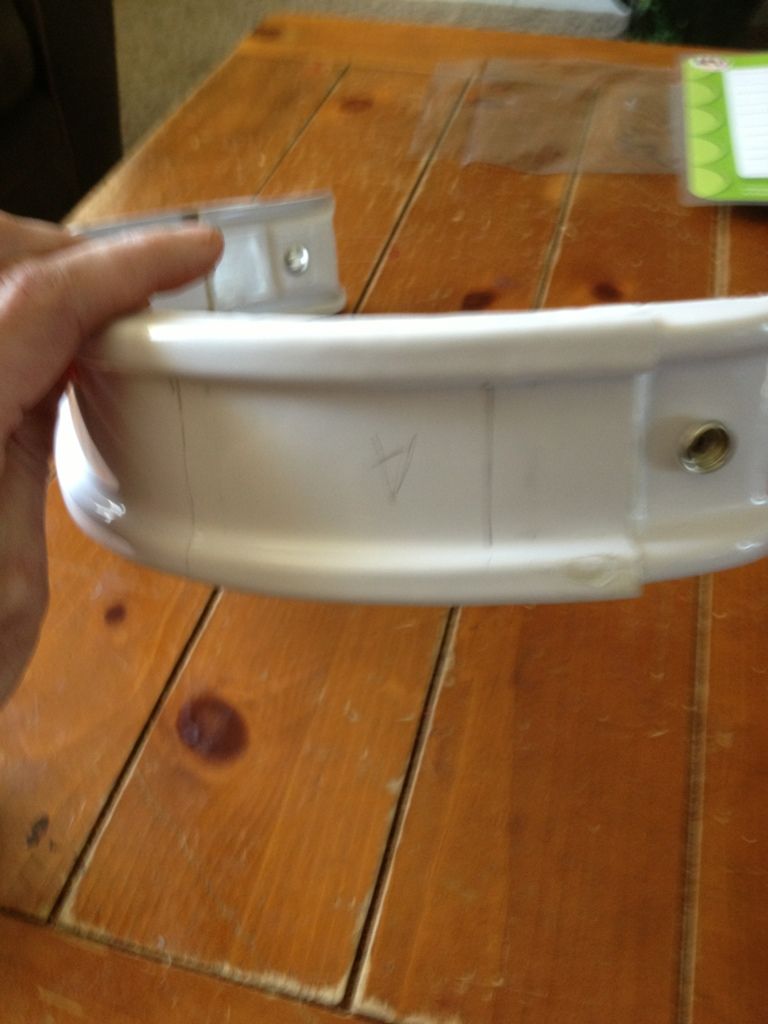
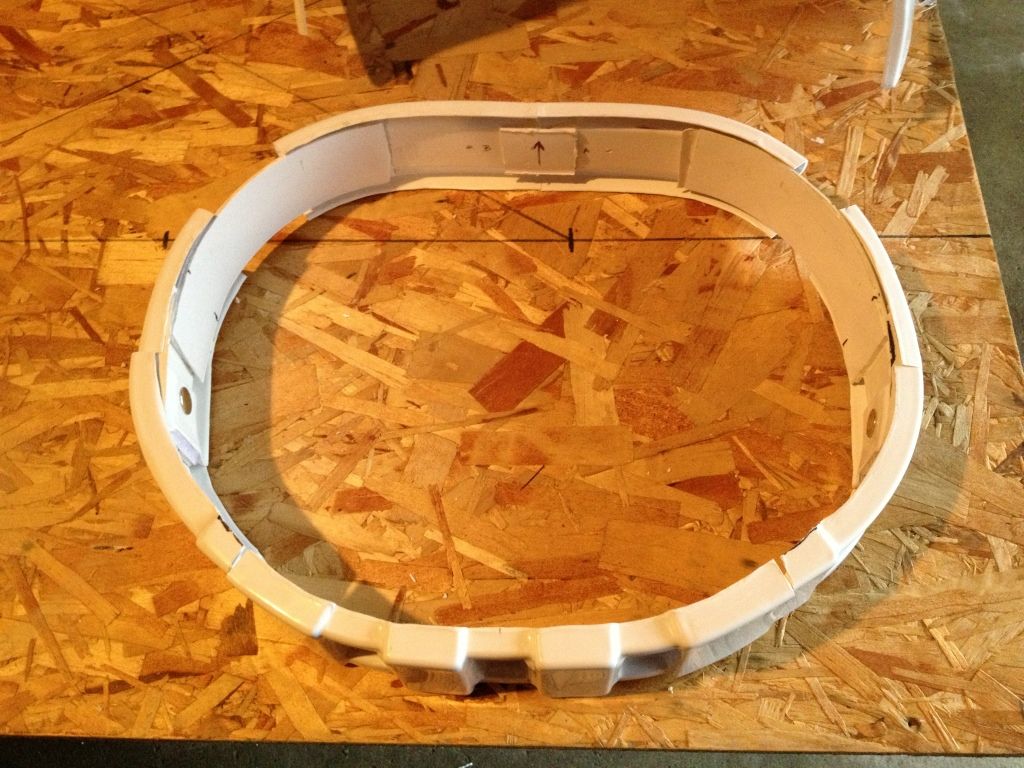
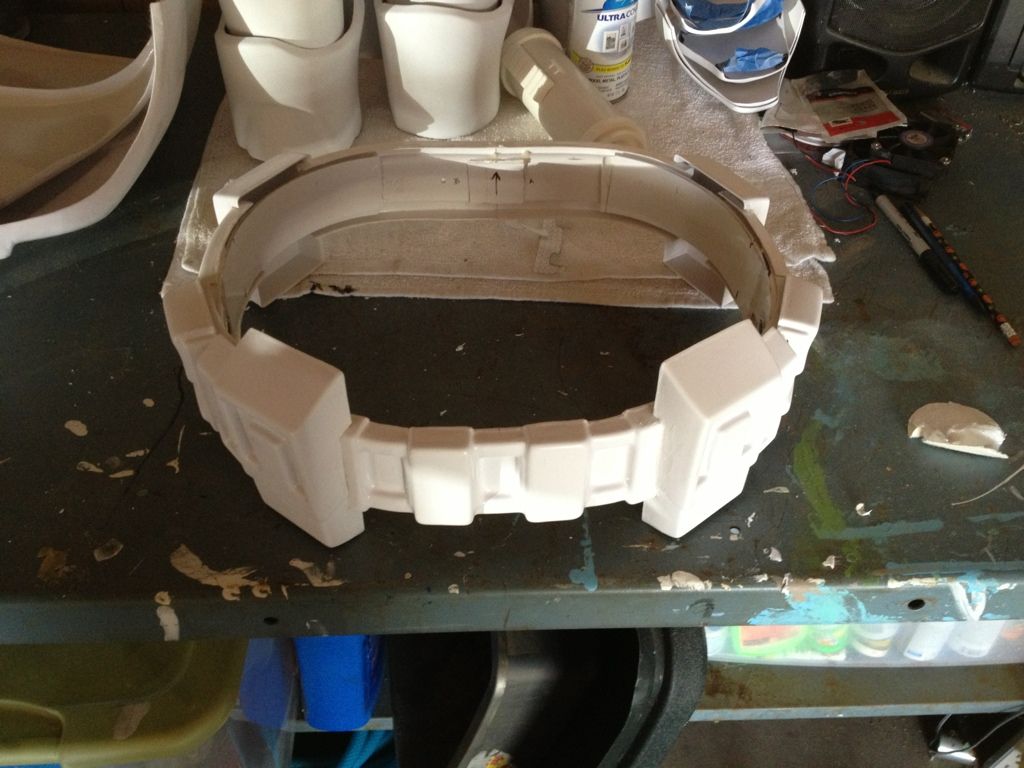
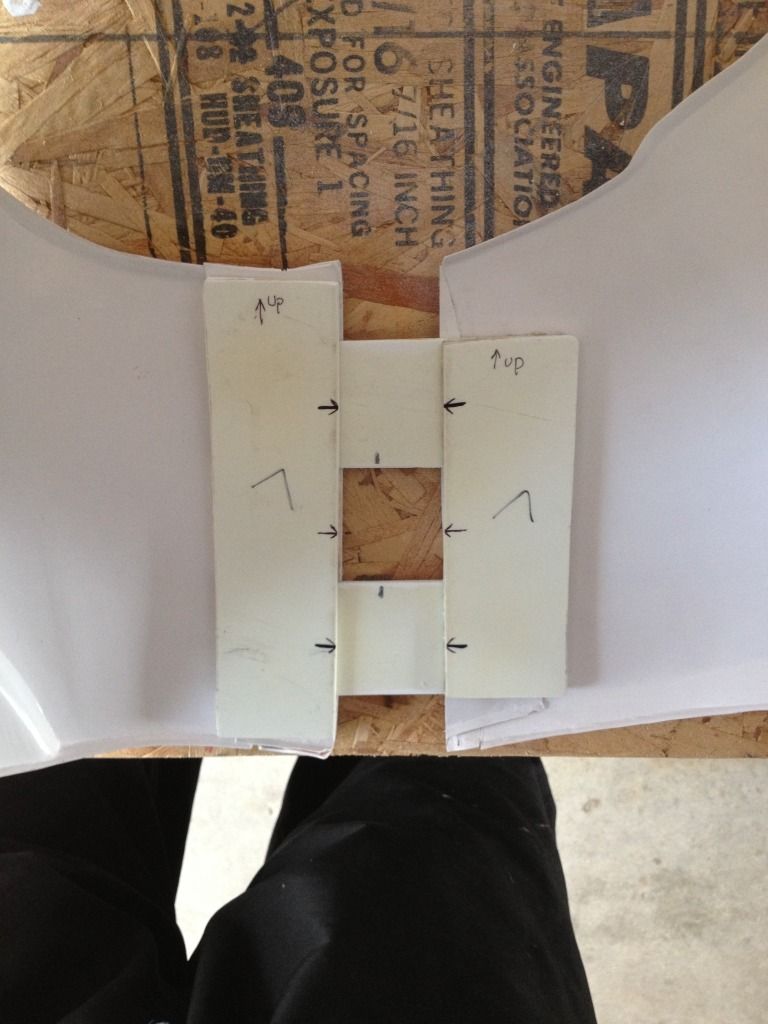
Ok, here is the game plan for fixing the belt.
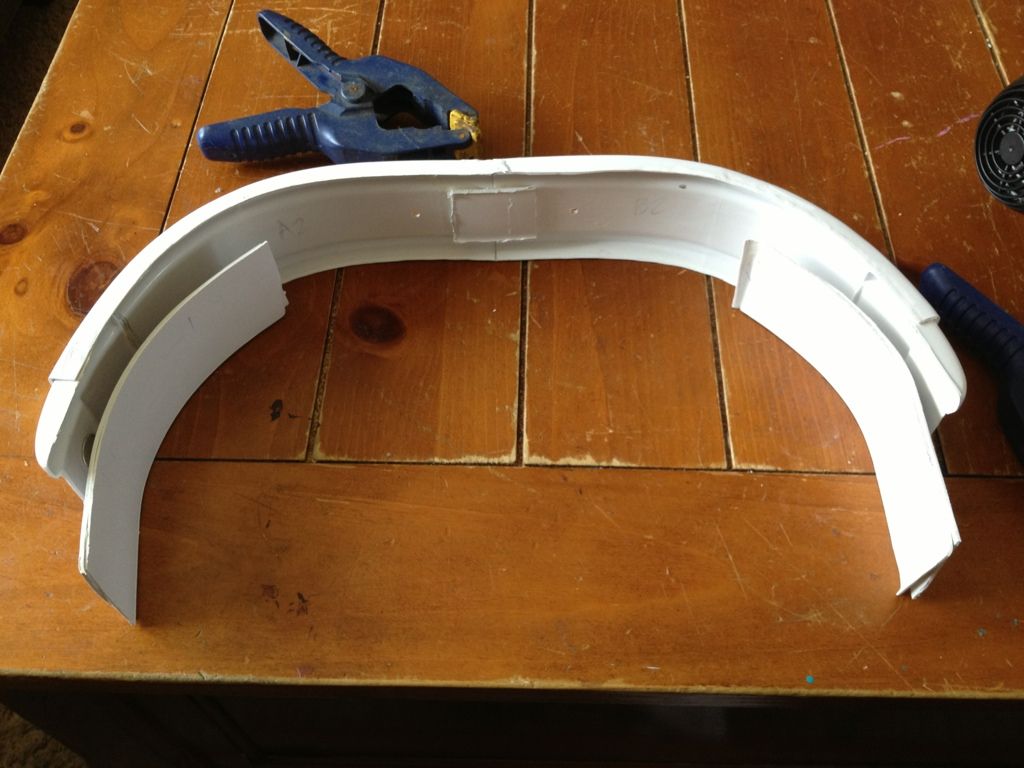
I first layed out where the back box goes on each side of the belt. This would tell me where I needed to cut and how much room I had to spare behind the box.
I took some extra ABS from what's been trimmed off the armor and put it together to make a couple long pieces. I doubled them up to give them strength.

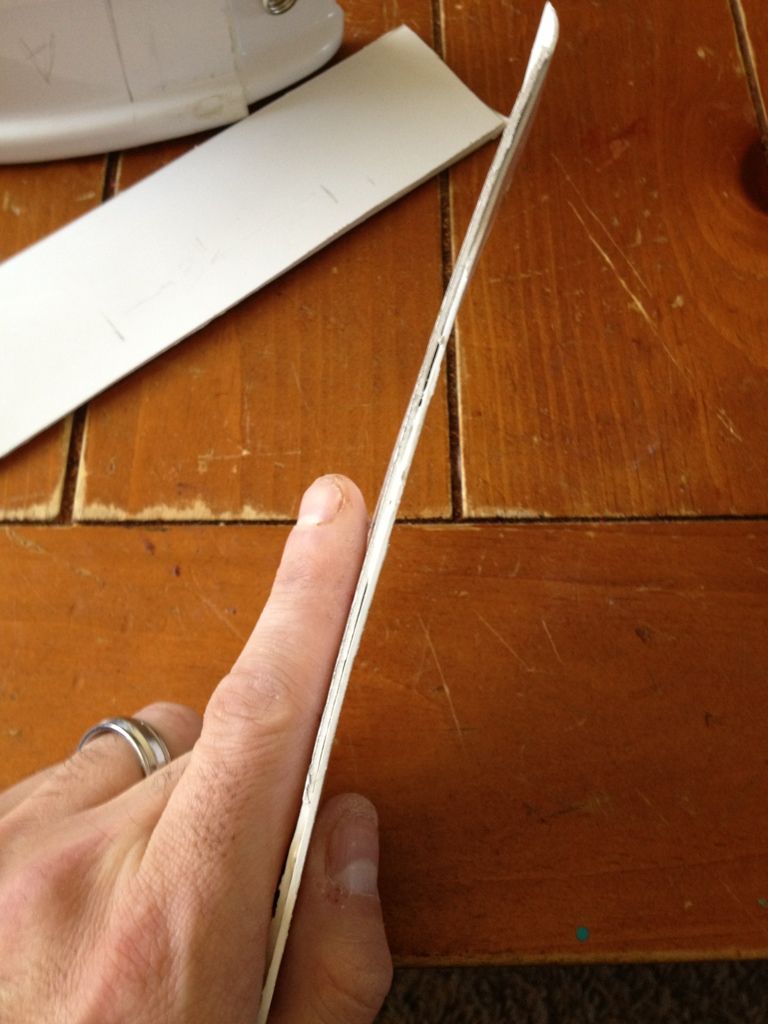
Then I took these pieces and heated them up with a blow dryer and formed them to the shape of belt.
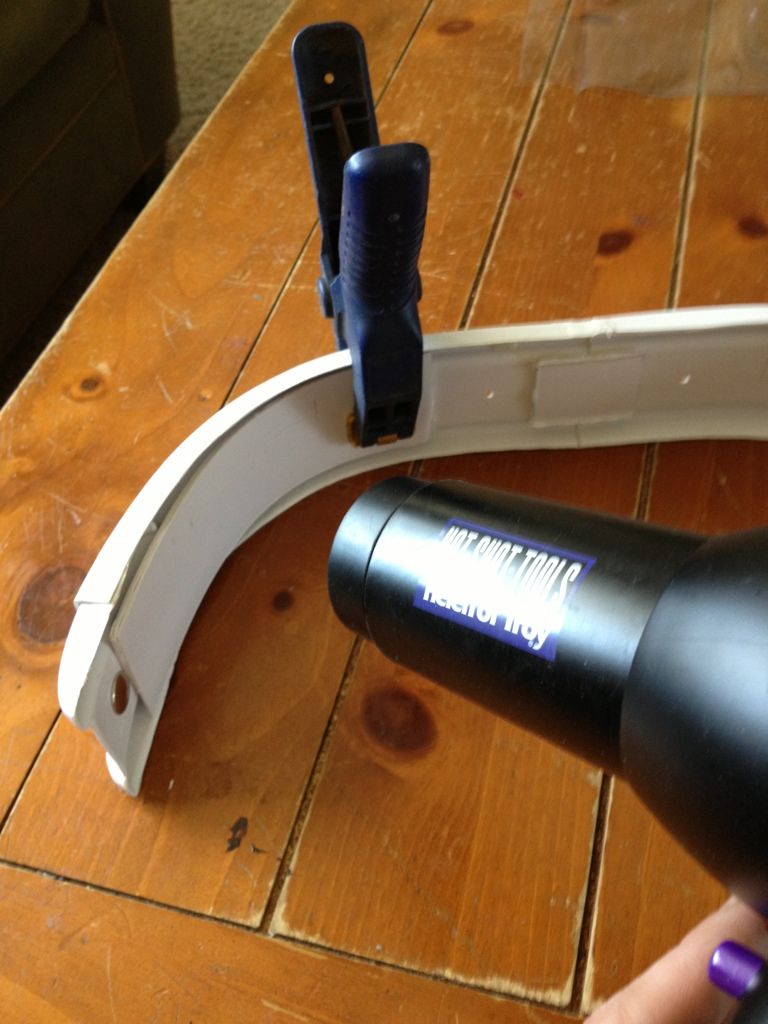
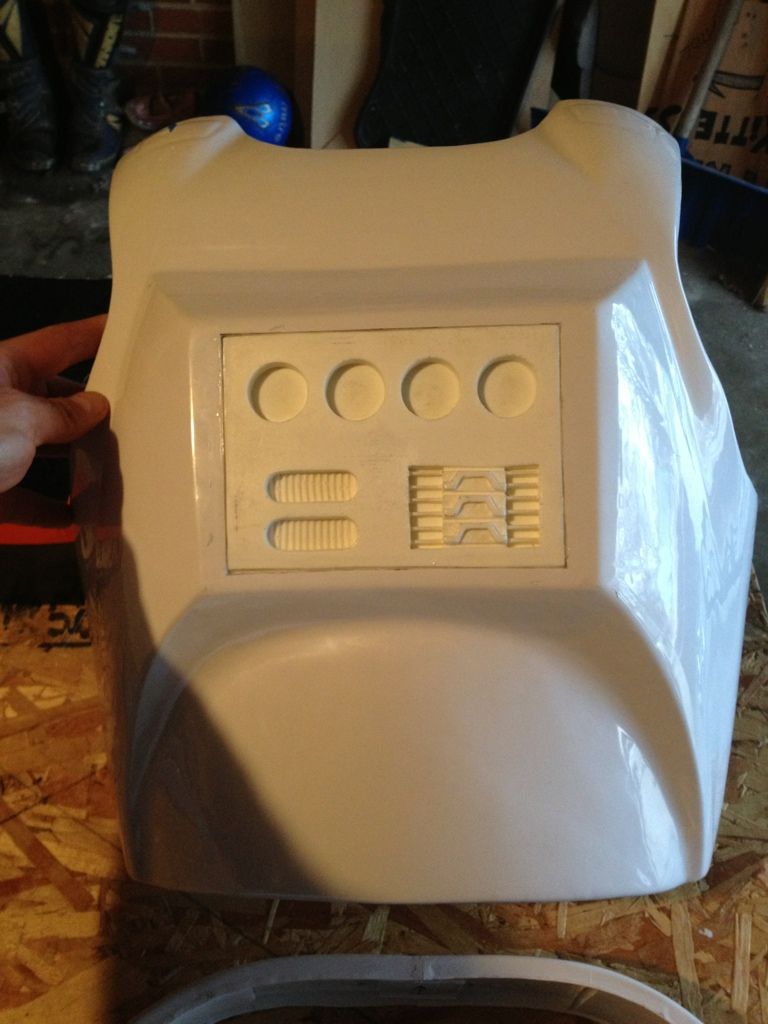
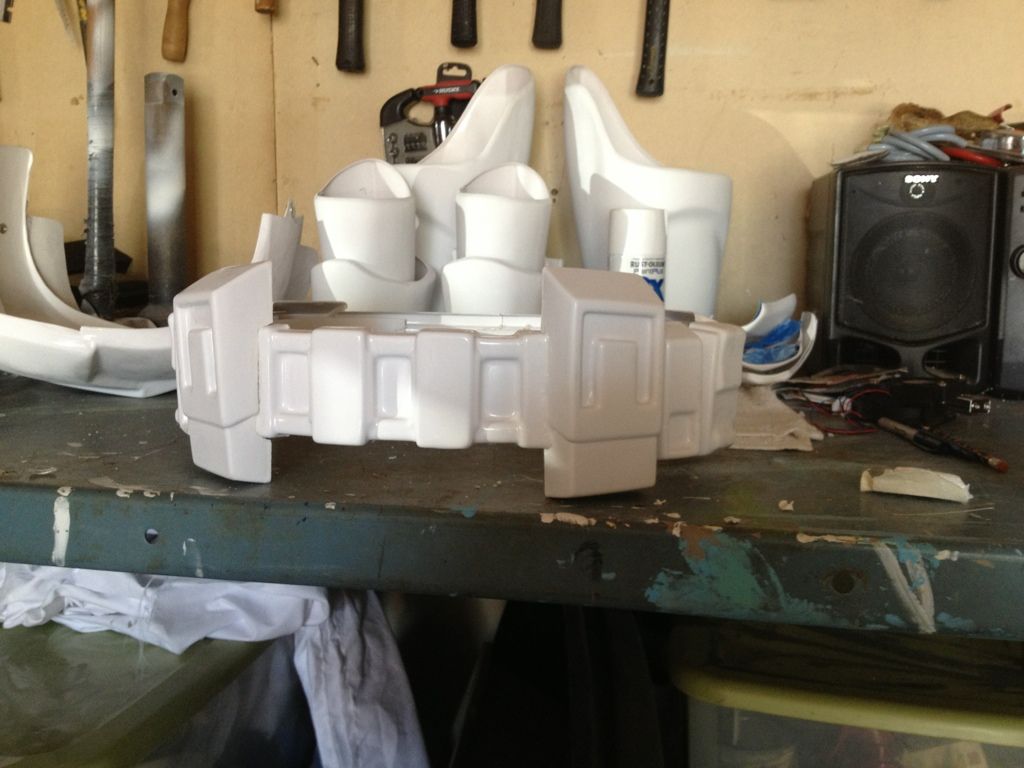
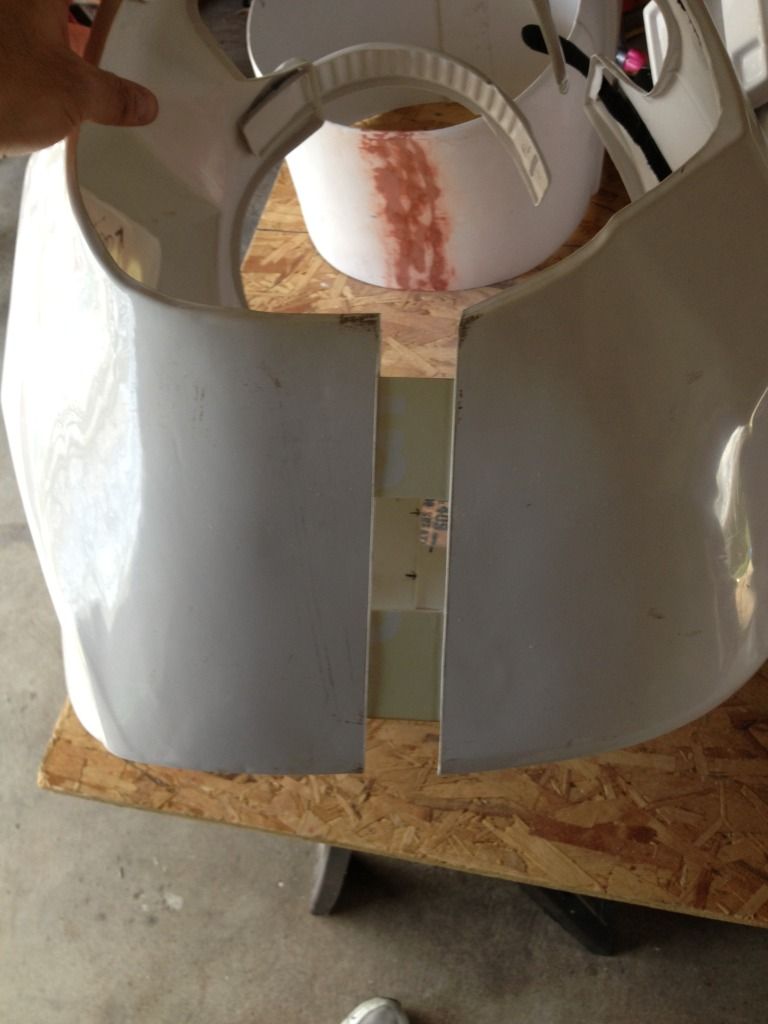
Once I had my pieces formed I put them on the belt to see how much room I had. These two pics show the open area and then with the box over it.

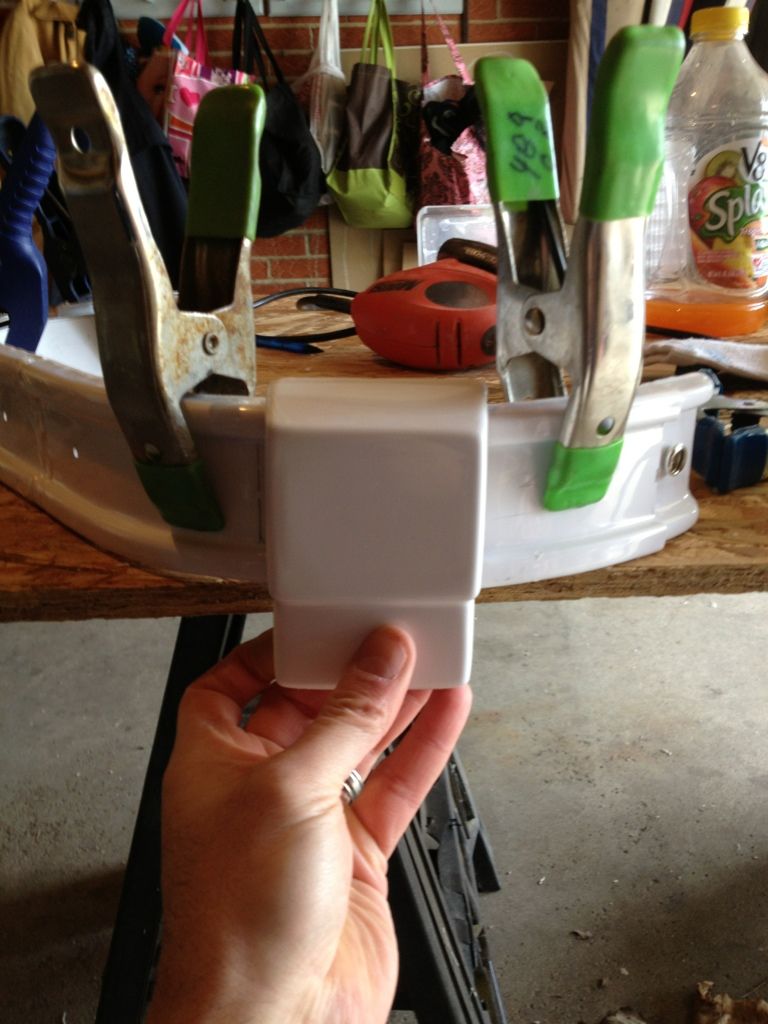
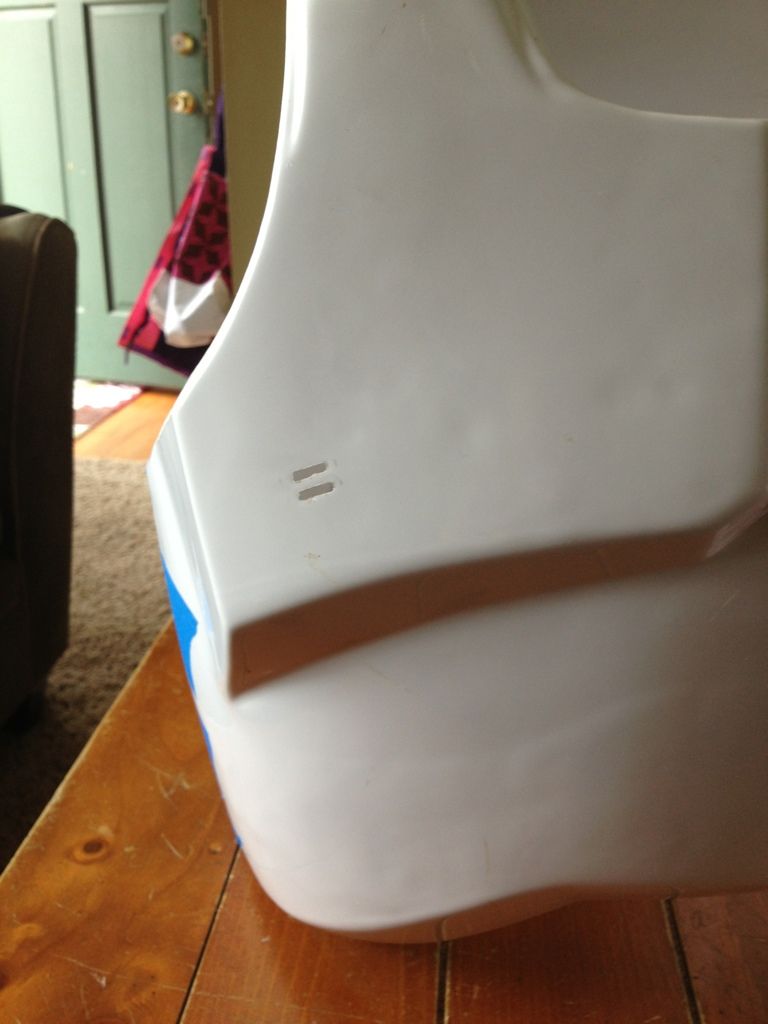
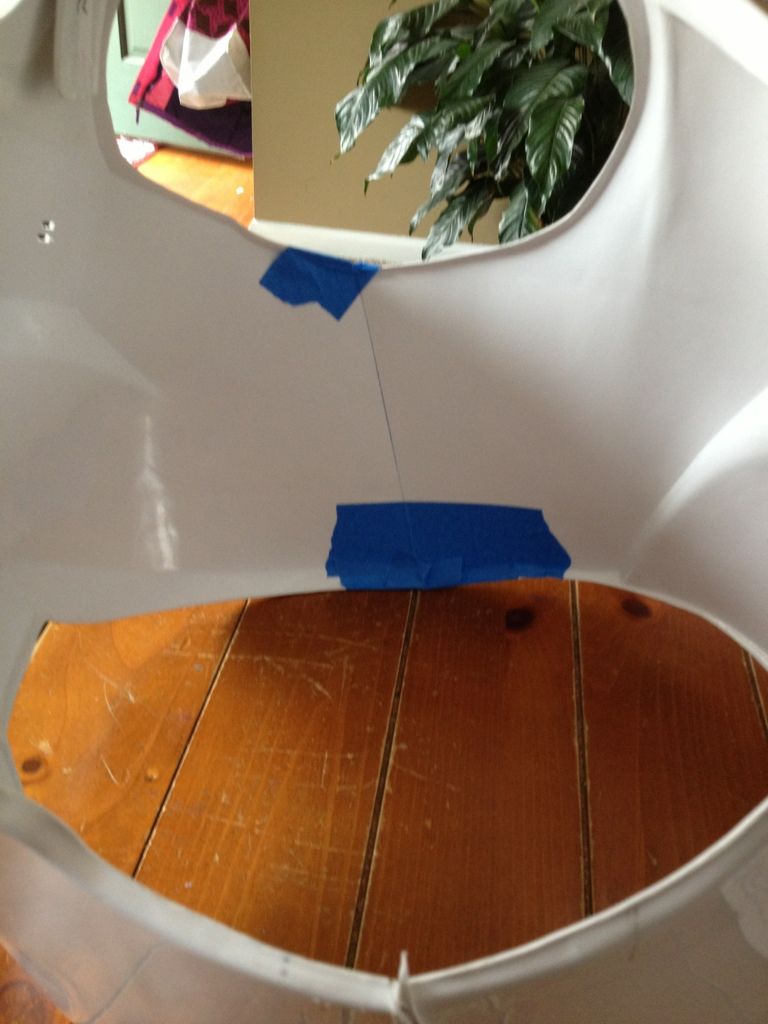
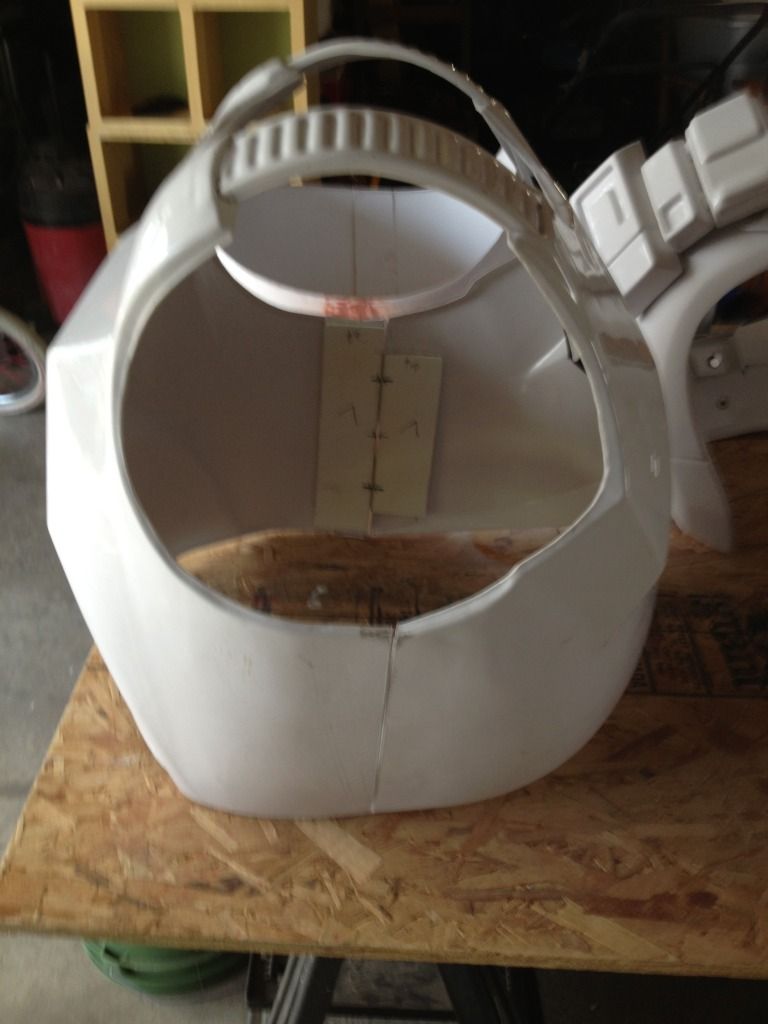
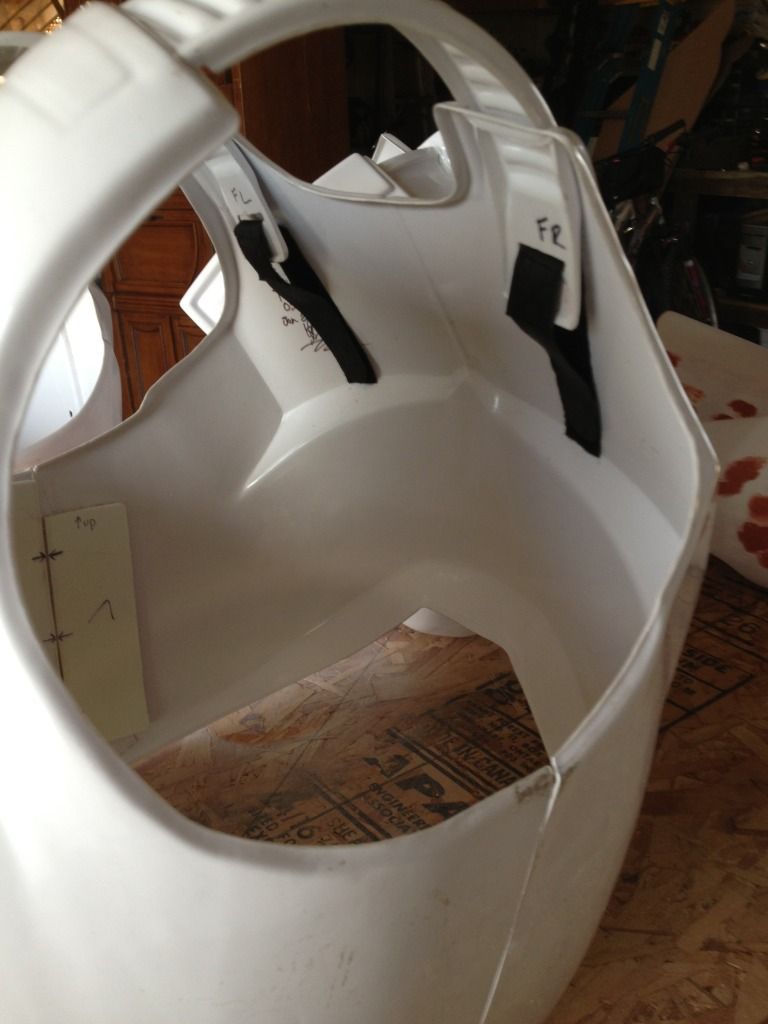
Now I have the two pieces clamped into the spots I needed them to be. This gave me the perspective I needed on the belt. I can secure the back part and allow the front be adjusted when I fit it.
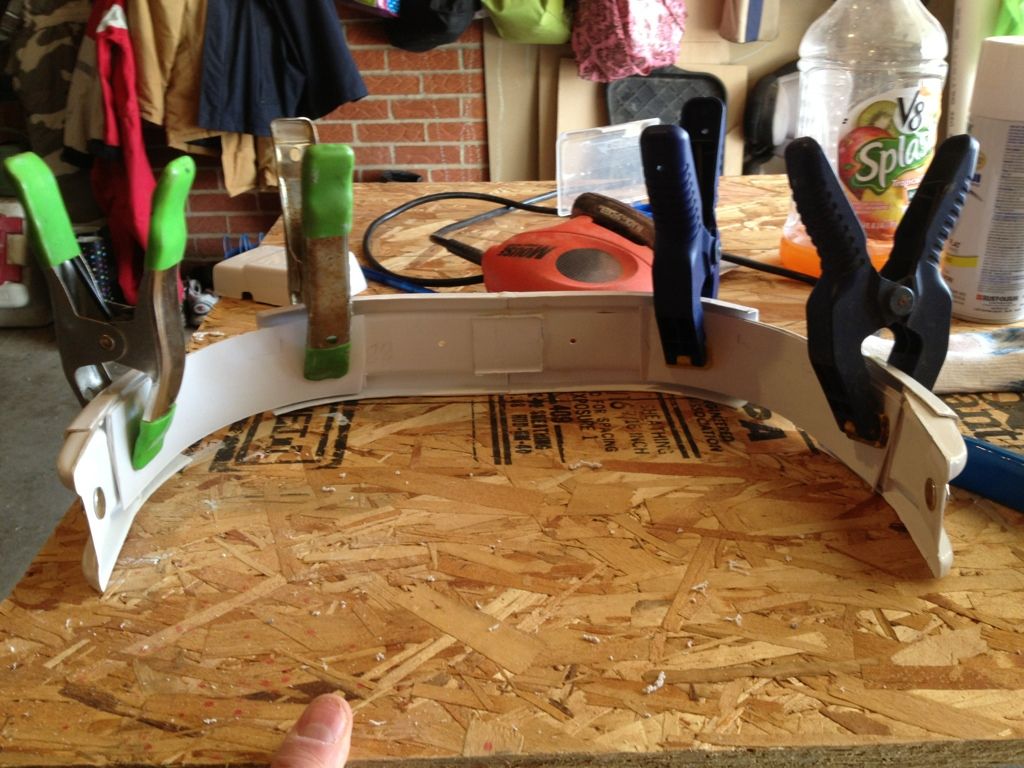
After I test fit I'll continue with the repairs on the belt.
Re: 442nd WIP
Posted: Thu Apr 18, 2013 9:12 am
by Ripcode
What exactly did you do wrong on the belt??
Re: 442nd WIP
Posted: Thu Apr 18, 2013 2:43 pm
by drbones2nd
Bro, you should be working for hollywood...lol
Re: 442nd WIP
Posted: Thu Apr 18, 2013 11:29 pm
by BBC527
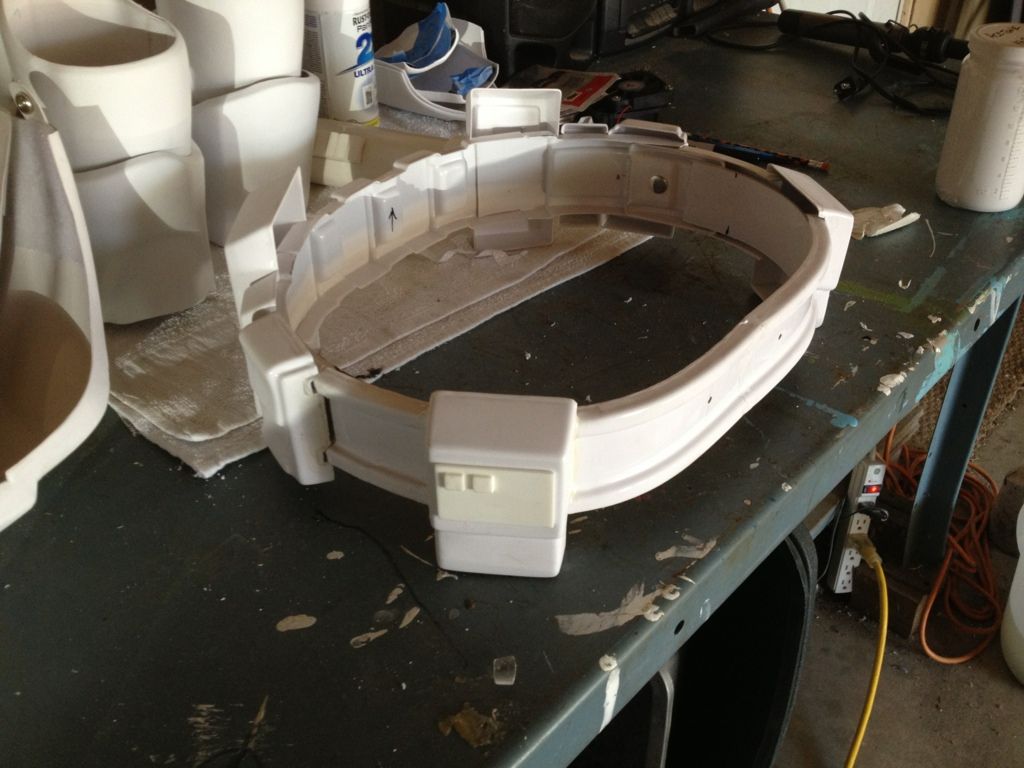
Belt has been fitted and put back together (with spacers). Now I just need to mount the boxes on the belt.
Anyone have a good way to do this???
Also, I'm looking at coming up with another way to hook the belt together besides the snap and Velcro. Anyone have ideas about this too??
Re: 442nd WIP
Posted: Fri Apr 19, 2013 2:08 am
by BBC527
Well, started to work on the chest and back again. Was able to super glue in the back plate.
I have the slots cut on the front, but how long are they suppose to be? I have to the size that you could see in the form, but I've also read they should be about 3/4 inch long. Which is it?
Finally, I need to know a good way to connect and hold the sides of the chest/back when you put them together. I have an idea, but want to hear from everyone on what they think works the best.
Re: 442nd WIP
Posted: Sun Apr 21, 2013 7:21 pm
by BBC527
I finished the belt yesterday. Was able to get all the boxes on and even sludged in some of my bad trim spots. Overall, I think it turned out ok. The one thing I'm not to crazy about and will probably change is the snap system for putting the two halves together. I think I'm going to try rare earth magnets for an easy snap on and off. Here are the picks of the belt.
I'll probably have more to update tonight after working on the chest/back.
Re: 442nd WIP
Posted: Sun Apr 21, 2013 10:35 pm
by Wags
If u look at the pix I sent you you can see the set up I did. Velcro on the armor the a piece if
Plastic with the other side of the velcro. The chest can then be pulled open to slide it on and off and you still get the nice line down the side.
I'll see if I can get you some pix.
OR you could use magnets. I have 4 sets on both sides of my wifes armor. Just never got around to setting mine up.
Re: 442nd WIP
Posted: Mon Apr 22, 2013 8:36 pm
by BBC527
Finished a lot today.
Belt is done and fit to cod/butt.
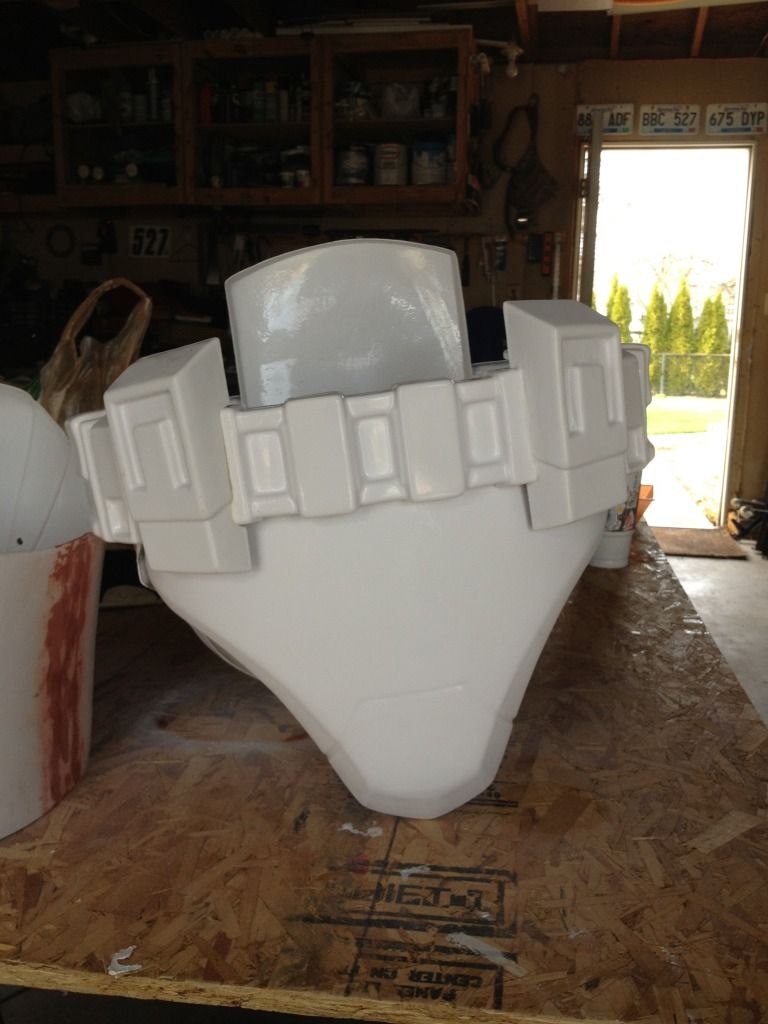

Finished the chest/back. I was able to do the slot and tab system for chest and back. It works great. The fit is a little snug so I don't have to use anything to secure it.
With the mounting done the upper part is done.
With everything done it was time fit and see how it worked.
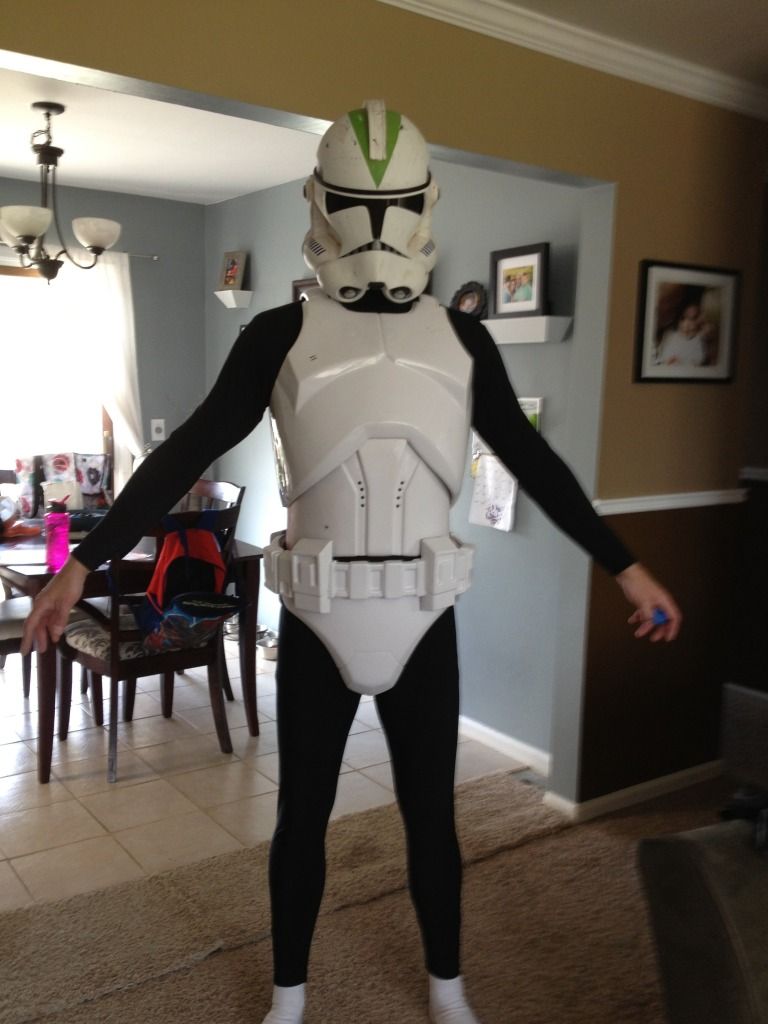
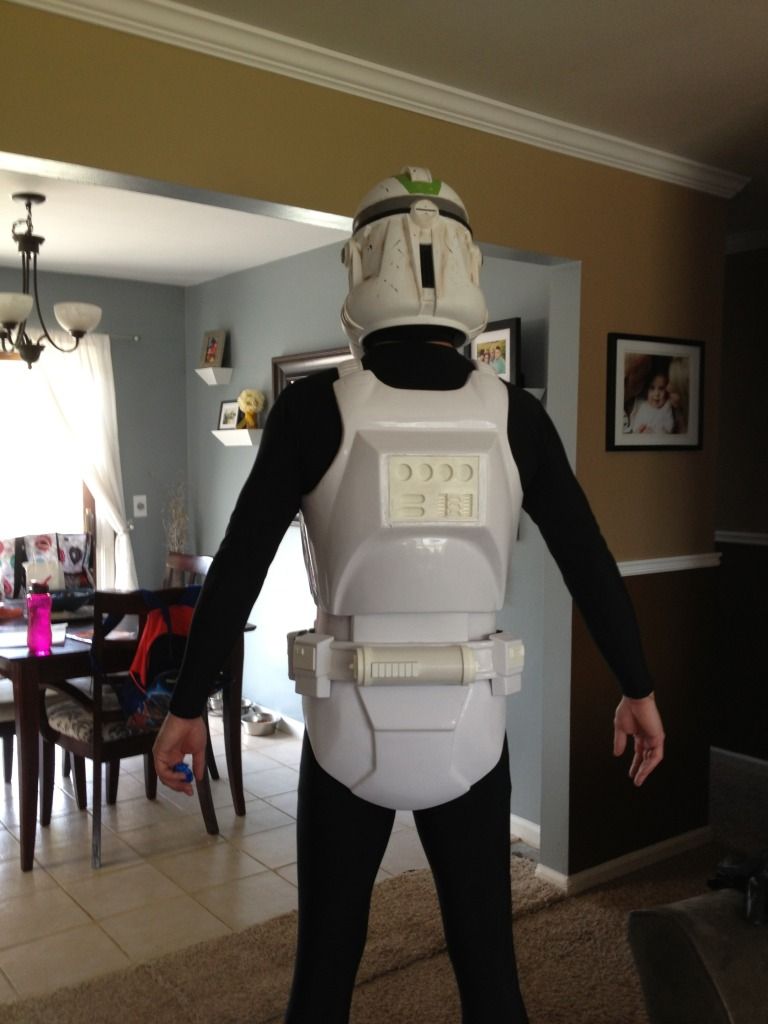
Time to start painting, then once that's finished I can work on the harness and padding.
Re: 442nd WIP
Posted: Tue Apr 23, 2013 2:10 am
by BBC527
Preview of what's to come!!!
Re: 442nd WIP
Posted: Tue Apr 23, 2013 9:16 am
by zambam17
Looking great!
Re: 442nd WIP
Posted: Wed Apr 24, 2013 11:58 am
by BBC527
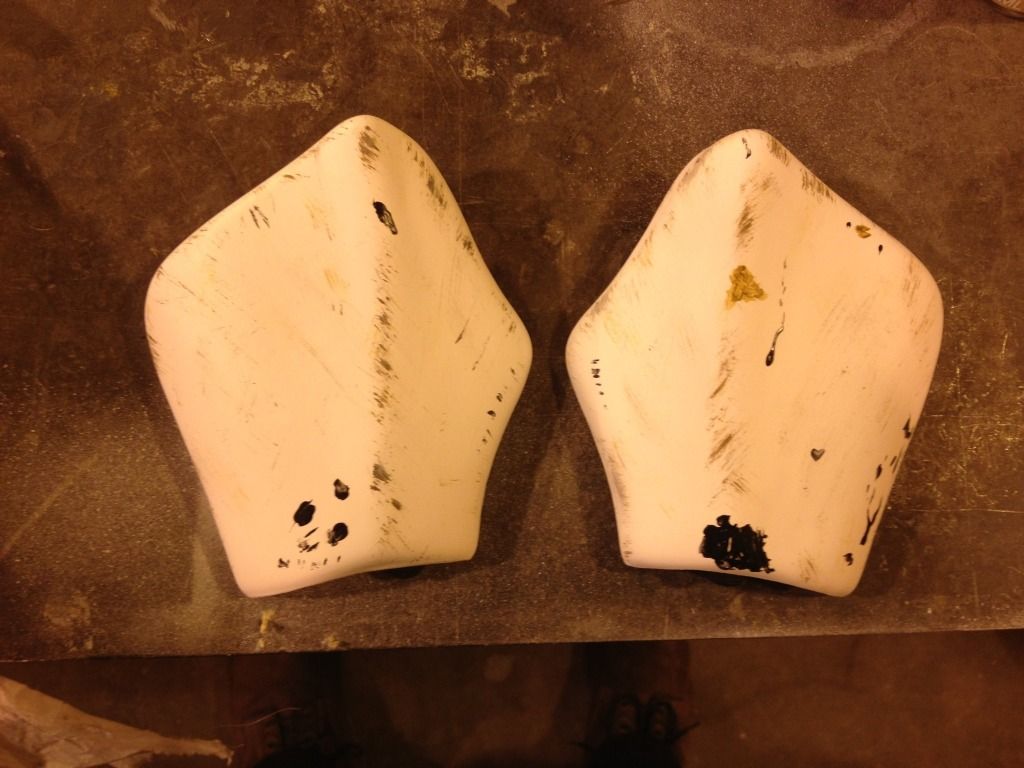
It's time to start to paint and weathering process. I have several paint colors to use for the weathering process.
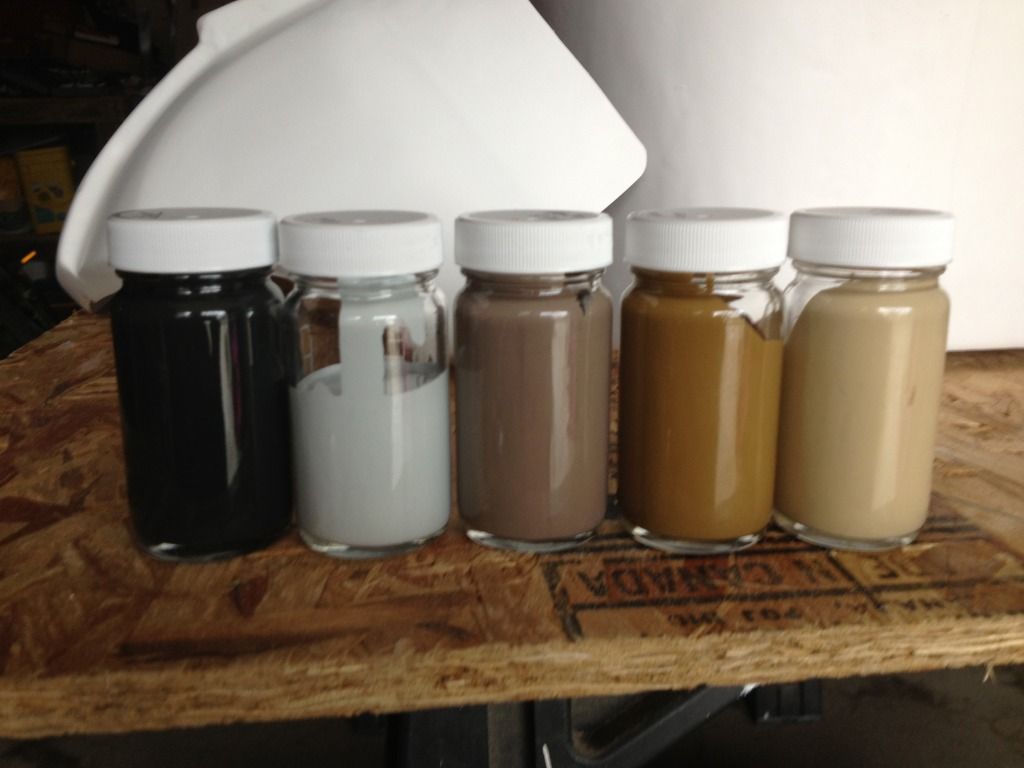
Let me know if there are any other techniques that people are using to weather the armor.
I have seen the toothpaste option, but not real crazy about it. I would rather make it look like actual wear on the armor, not just sections of missing paint.
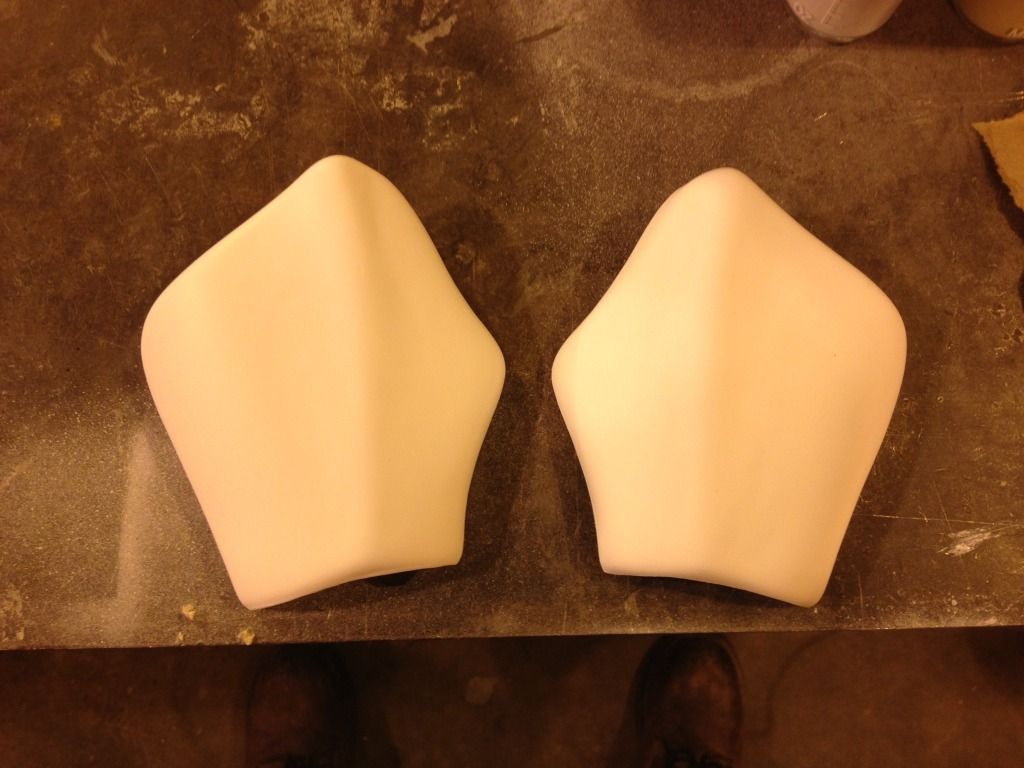
Here is what I've started so far on the hands.
Re: 442nd WIP
Posted: Wed Apr 24, 2013 7:48 pm
by DeafTrooper
For my weathering, I used chalk pastels. Use sandpaper to turn the sticks to dust and then rub it into the costume.
Re: 442nd WIP
Posted: Wed Apr 24, 2013 11:58 pm
by BBC527
Two questions on paint.
One: is the com pad a different color or is it white like the armor?
Second: is the groove on the cod piece painted or am I just seeing shadows on a lot of images?
Re: 442nd WIP
Posted: Thu Apr 25, 2013 8:45 am
by DeafTrooper
Compad is same color. Groove is not painted.
Re: 442nd WIP
Posted: Thu Apr 25, 2013 12:21 pm
by Ripcode
DeafTrooper wrote:Compad is same color. Groove is not painted.
It's weathering and shading you are seeing in the groove.
Re: 442nd WIP
Posted: Thu Apr 25, 2013 1:48 pm
by BBC527
Sounds good. However,I have one person on CTN saying that it's painted light gray. I think I can get the same effect with weathering.