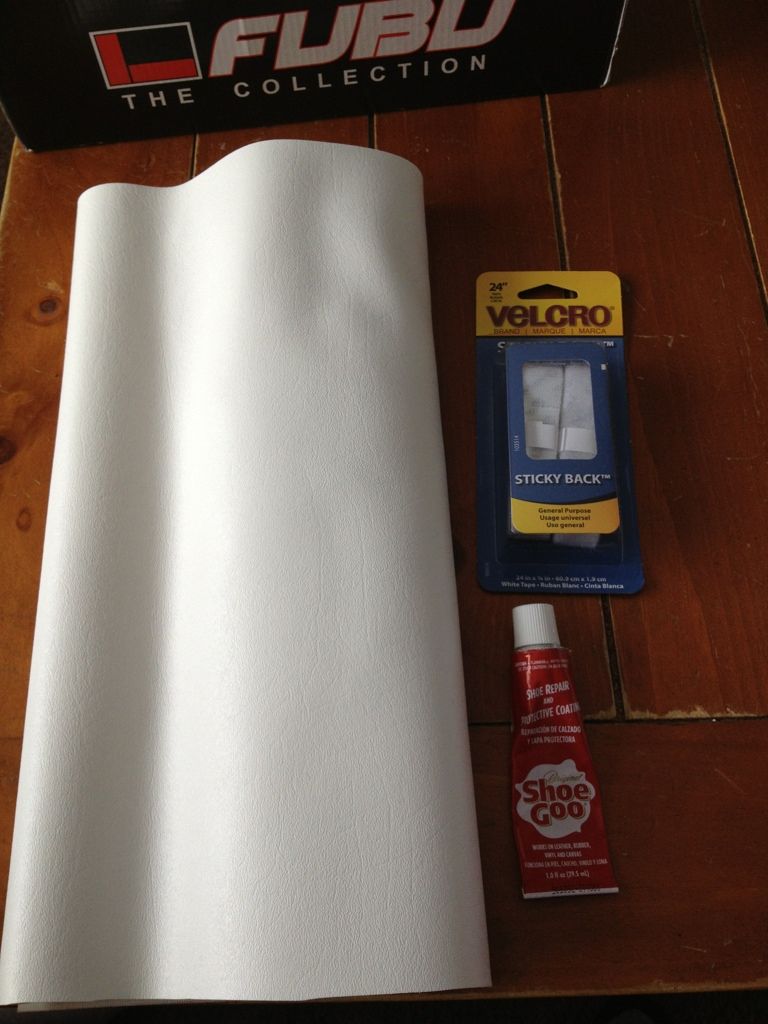
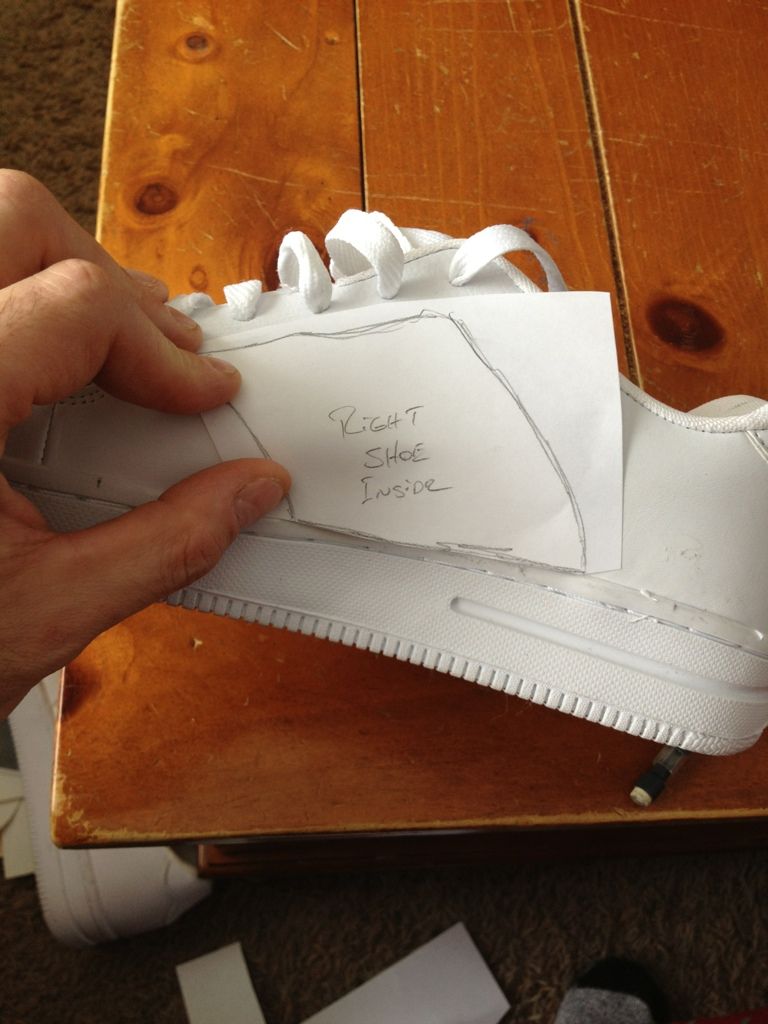
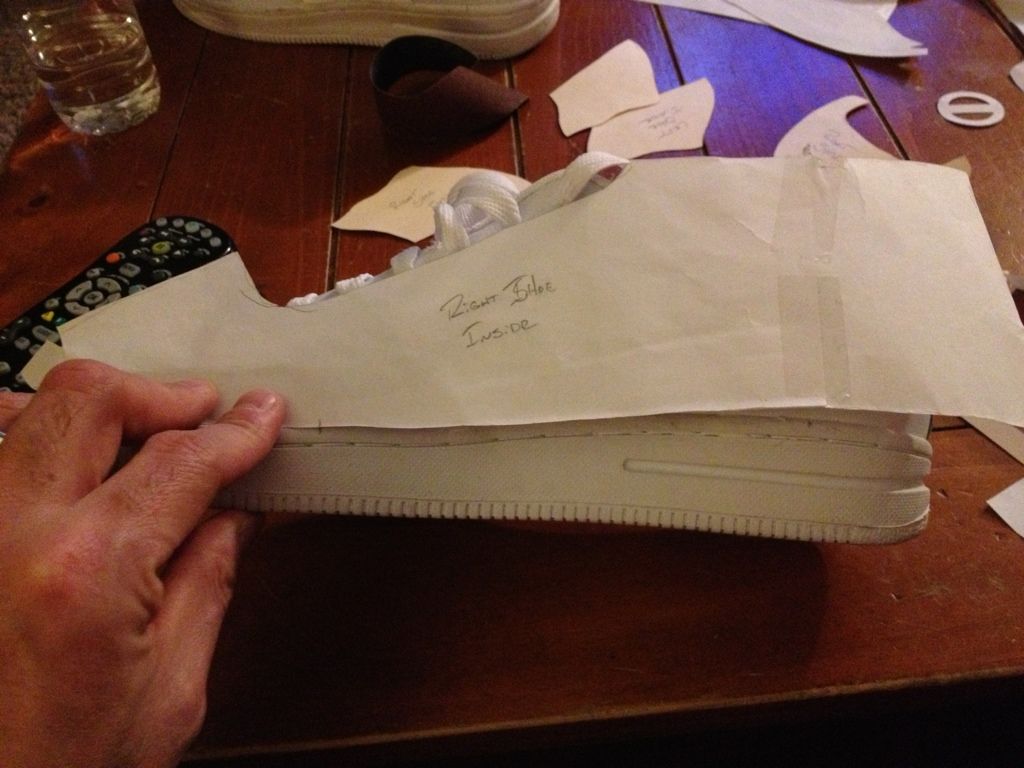
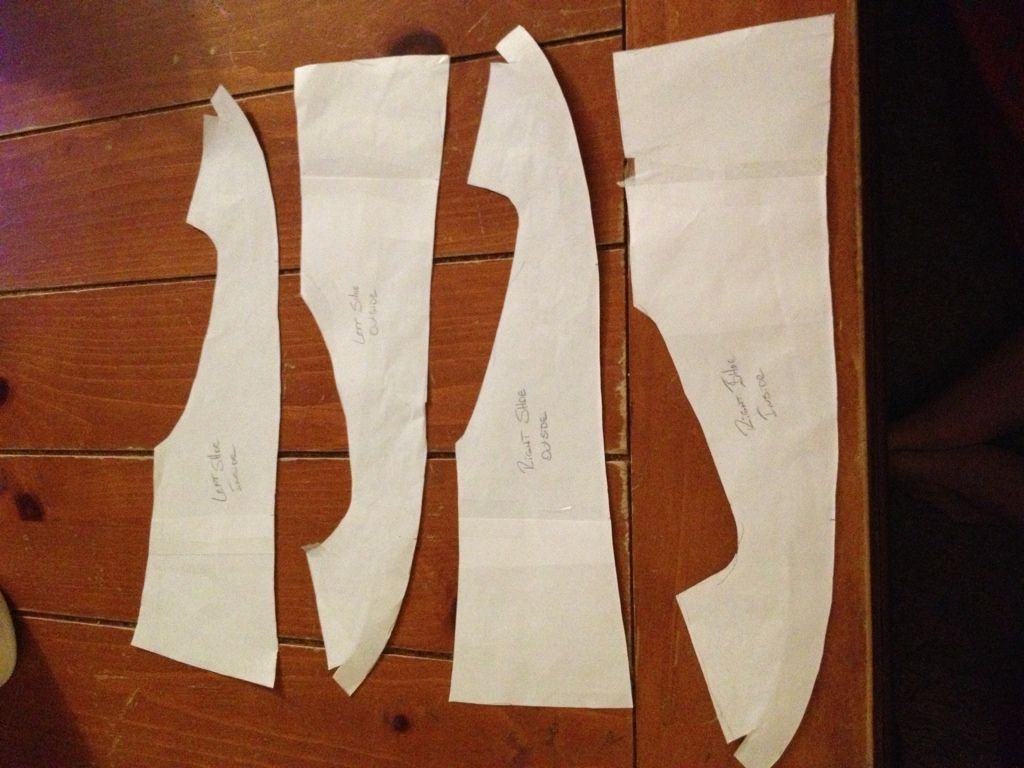
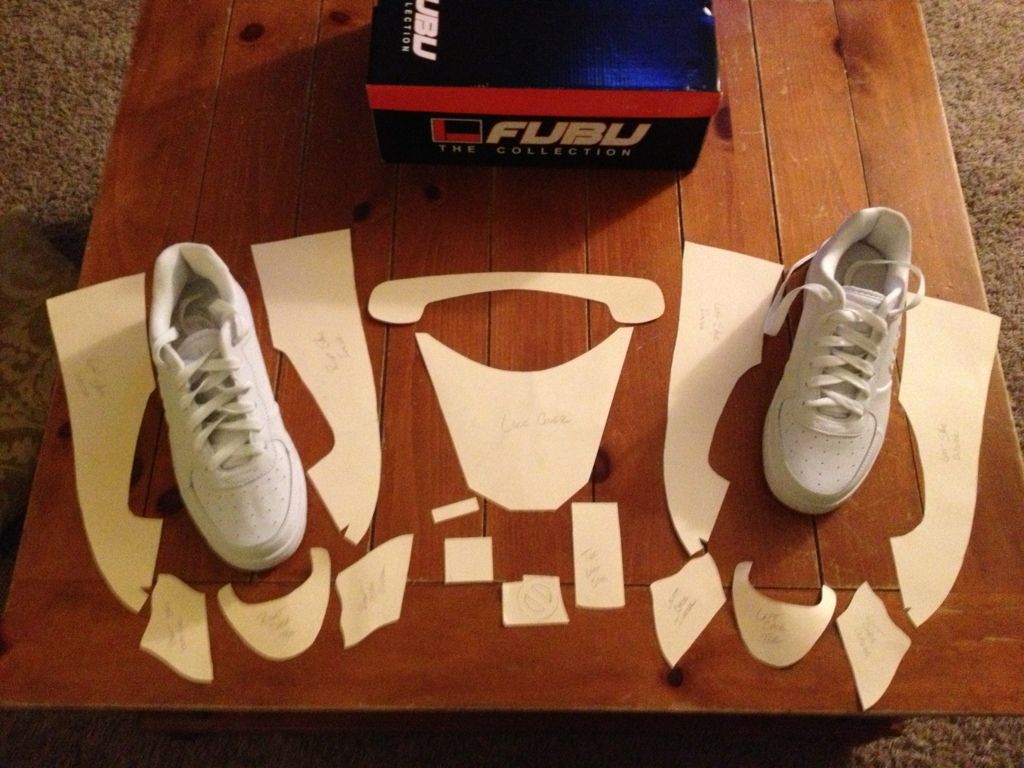
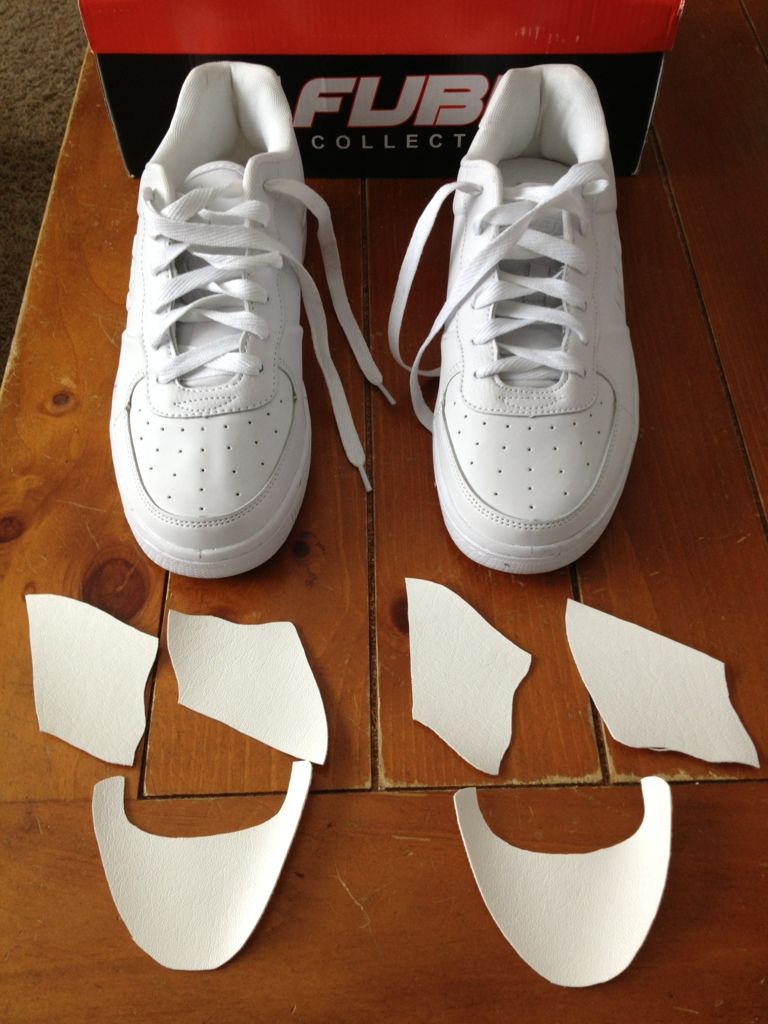
Now move on to the sides if the shoe. These pieces will cover most of the shoes except the laces.
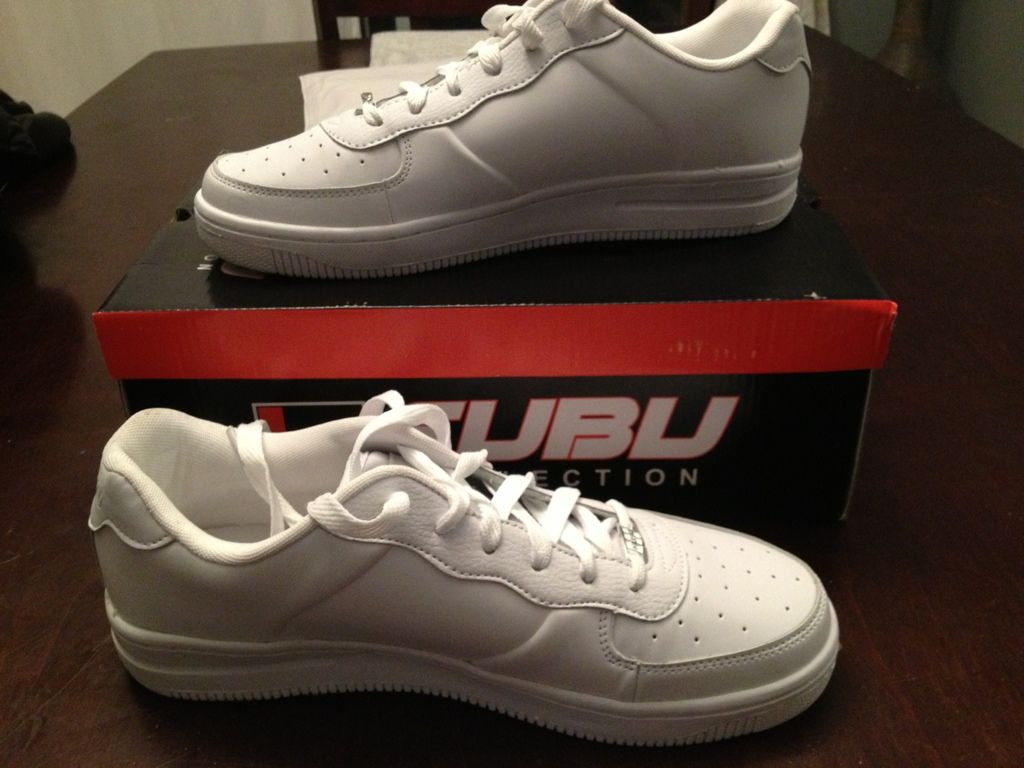
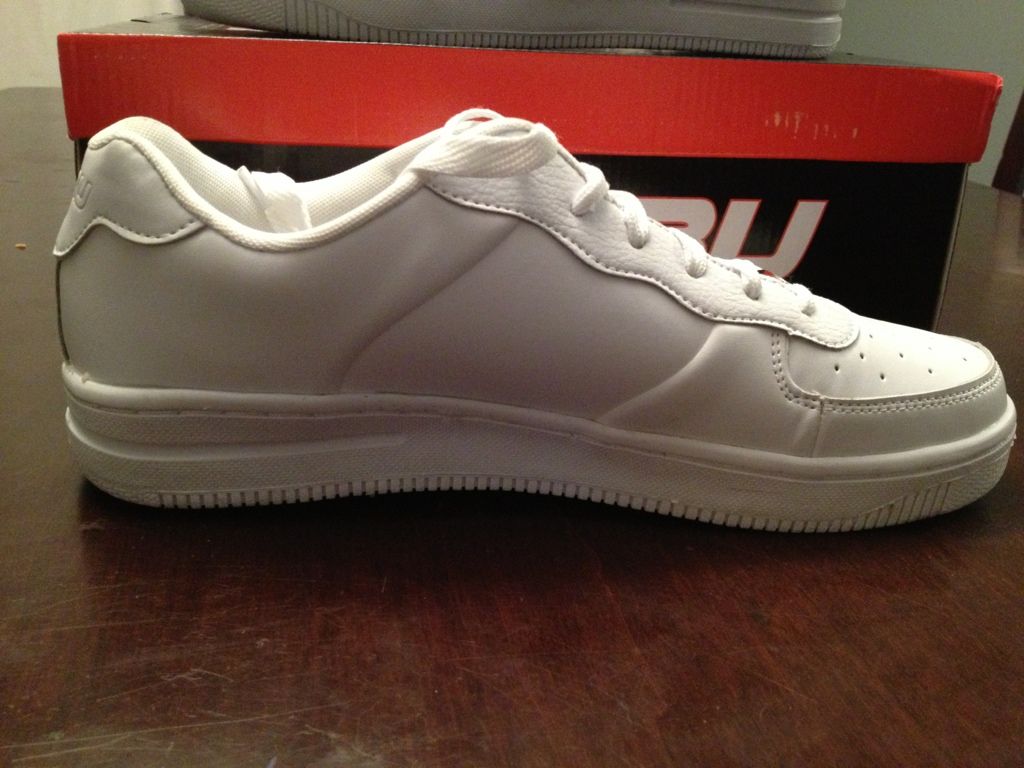
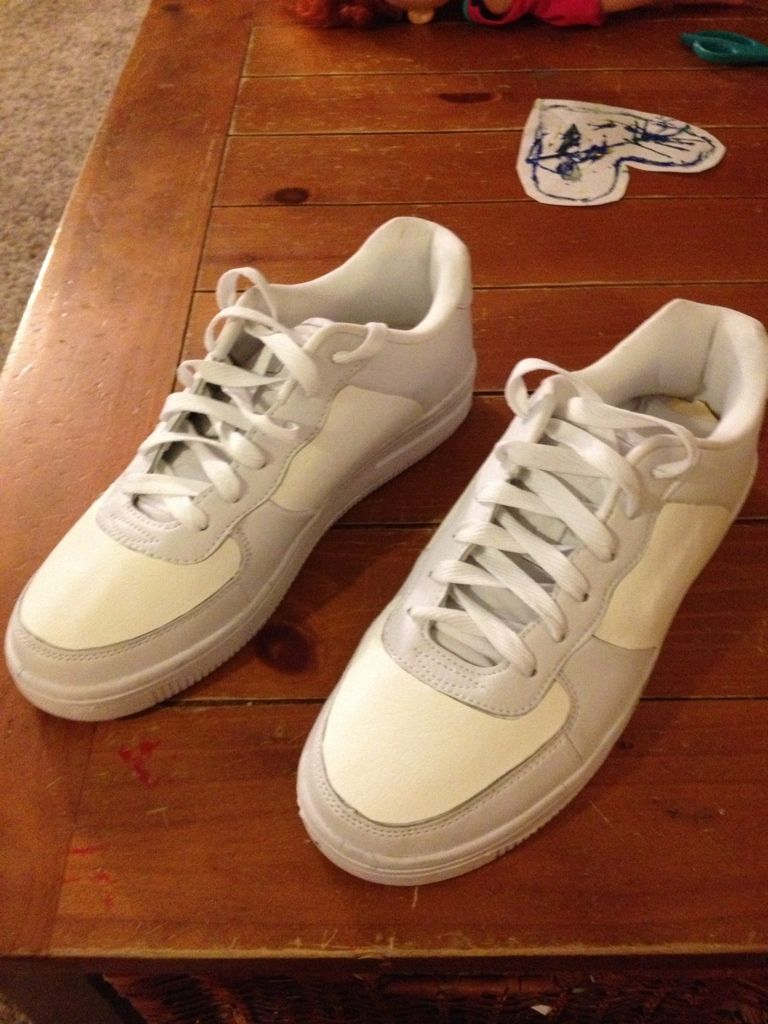
Sorry but these pics are all of the final shoe. I'll try and walk through what I did.
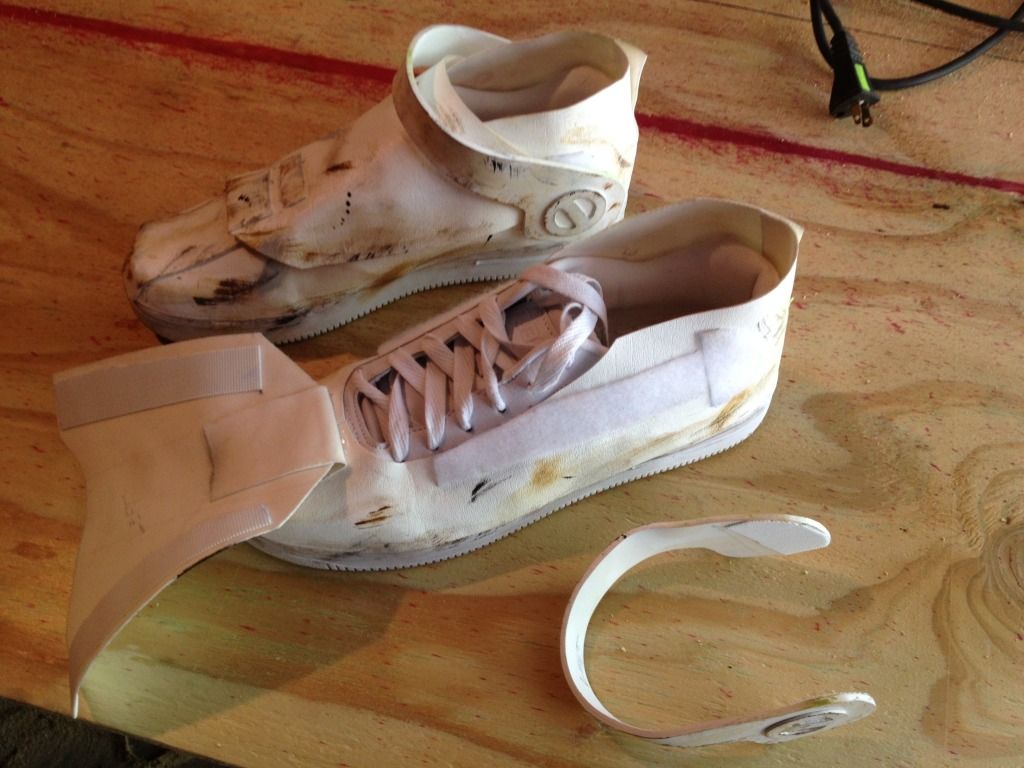
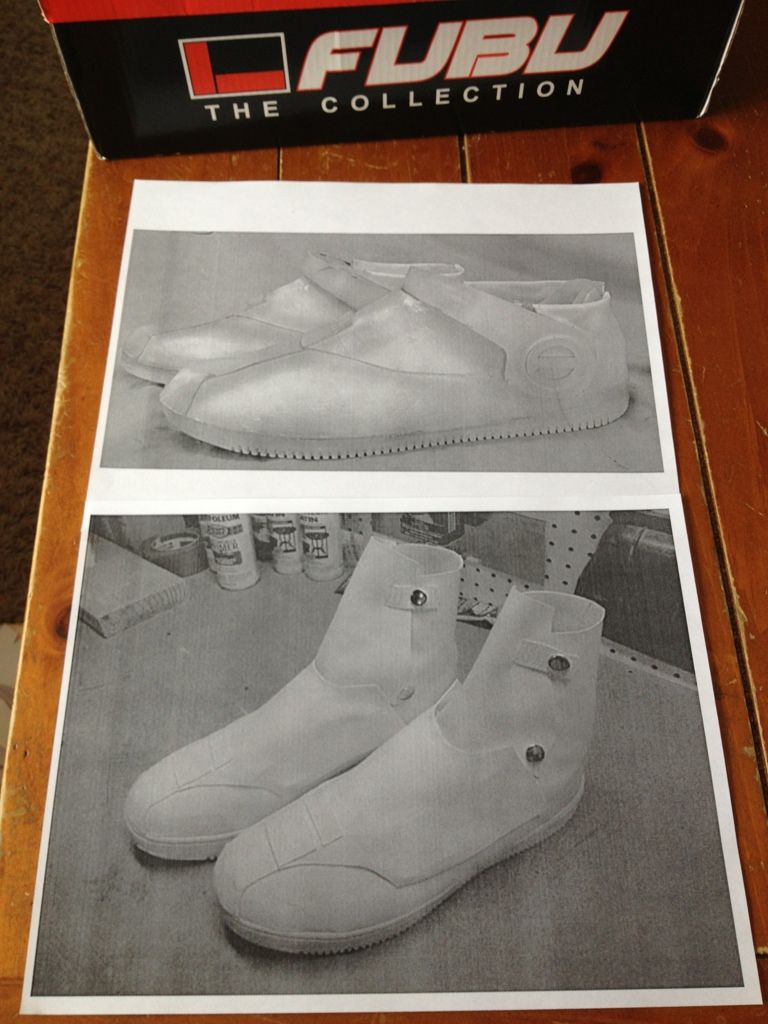
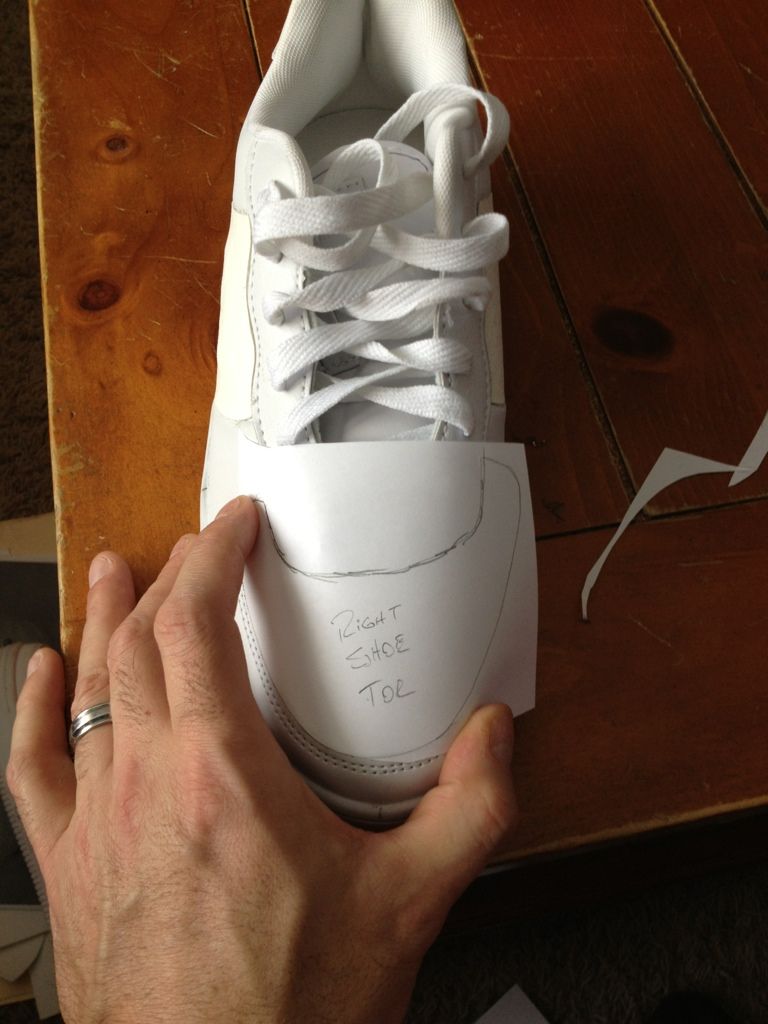
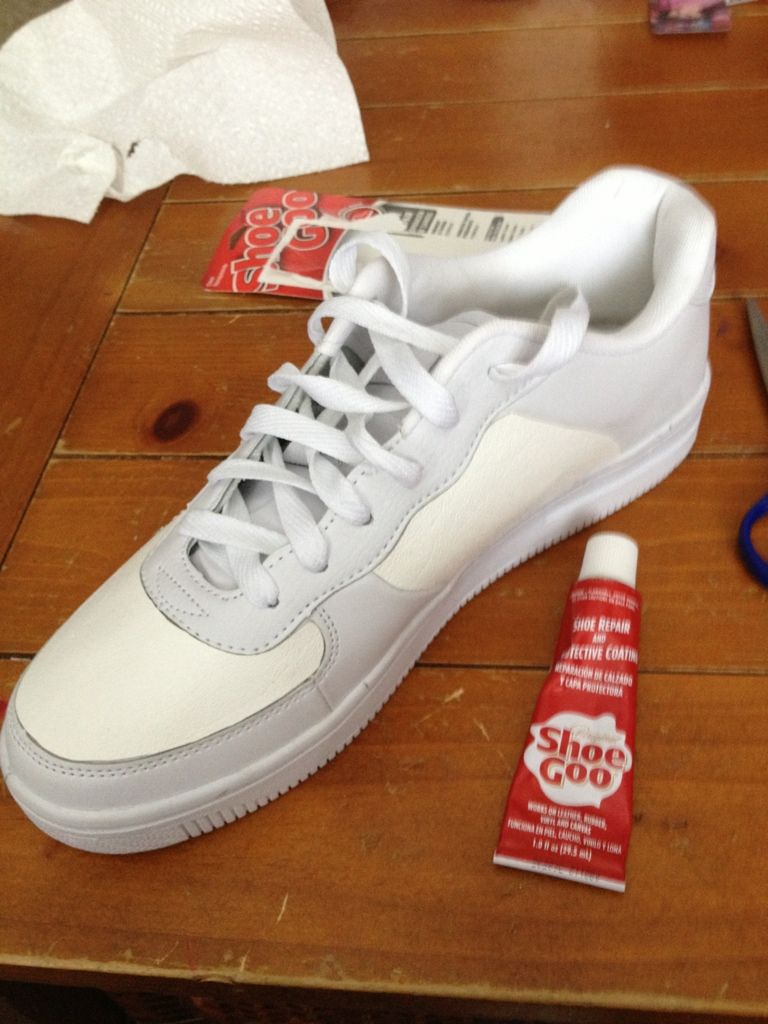
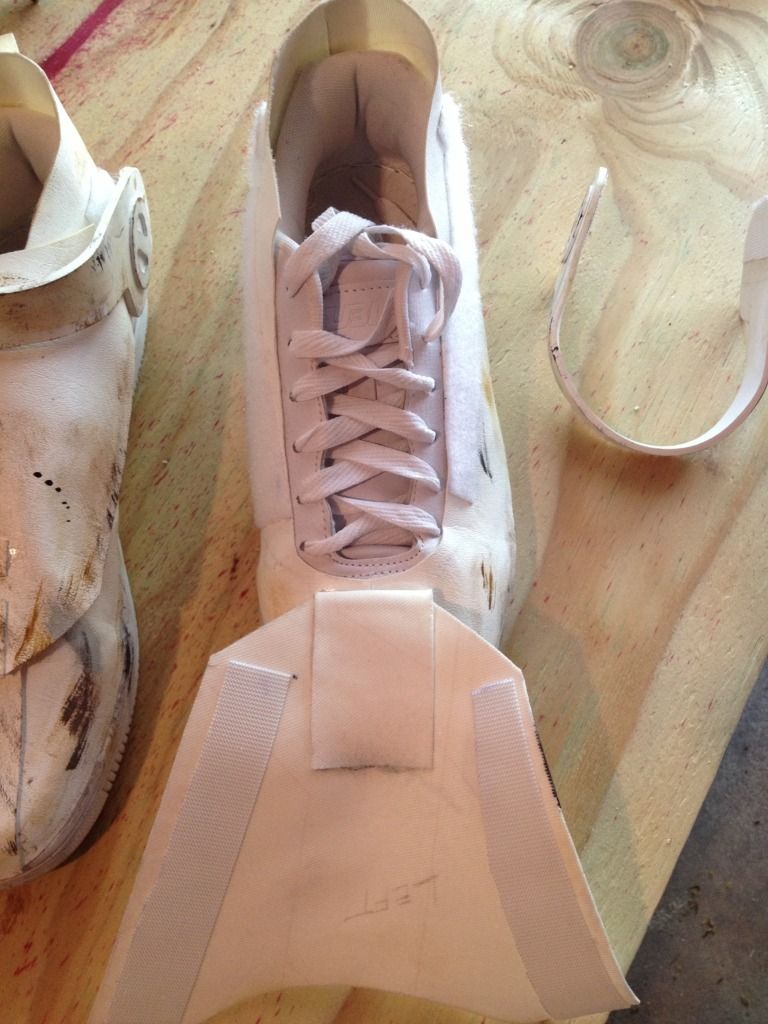
Ok, once you have the shoe covered let it dry for a day to make sure everything sets up. After the sides are done, you will put on the toe and lace cover. I used Velcro on the sides to help hold the lace cover down and still allow access to the so you can tie the shoe.
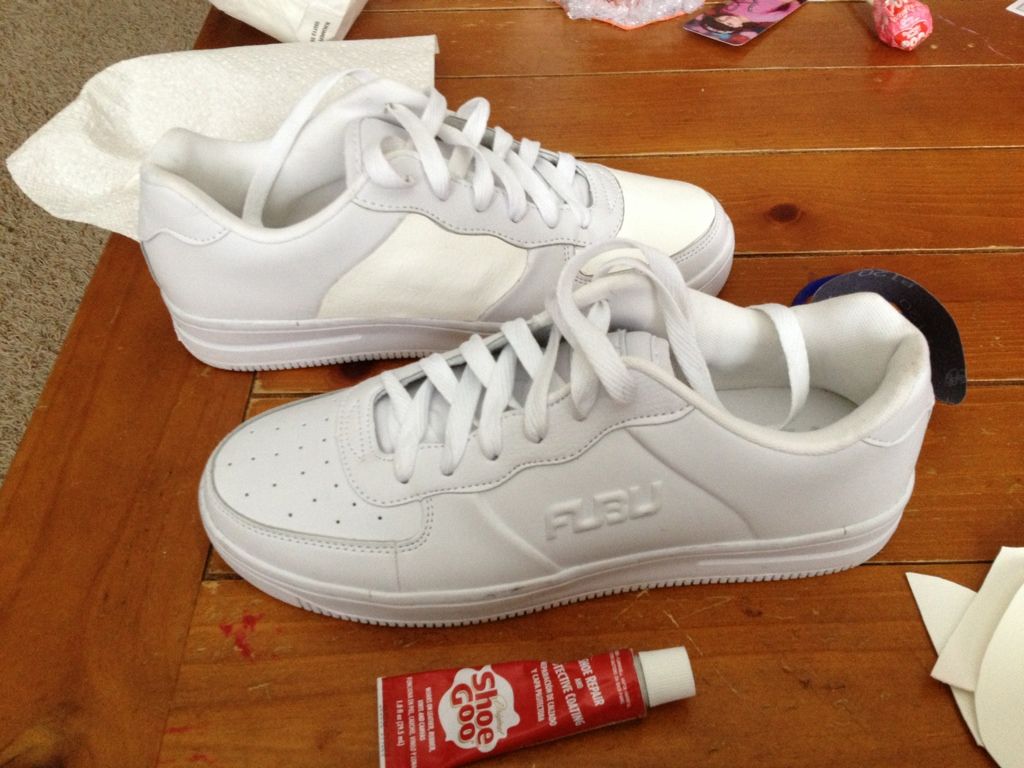
When I did this I secured the toe section to the lace cover so it is all secured to the toe of the shoe. Therefore when you uncover the laces this part will stay attached to the shoe.
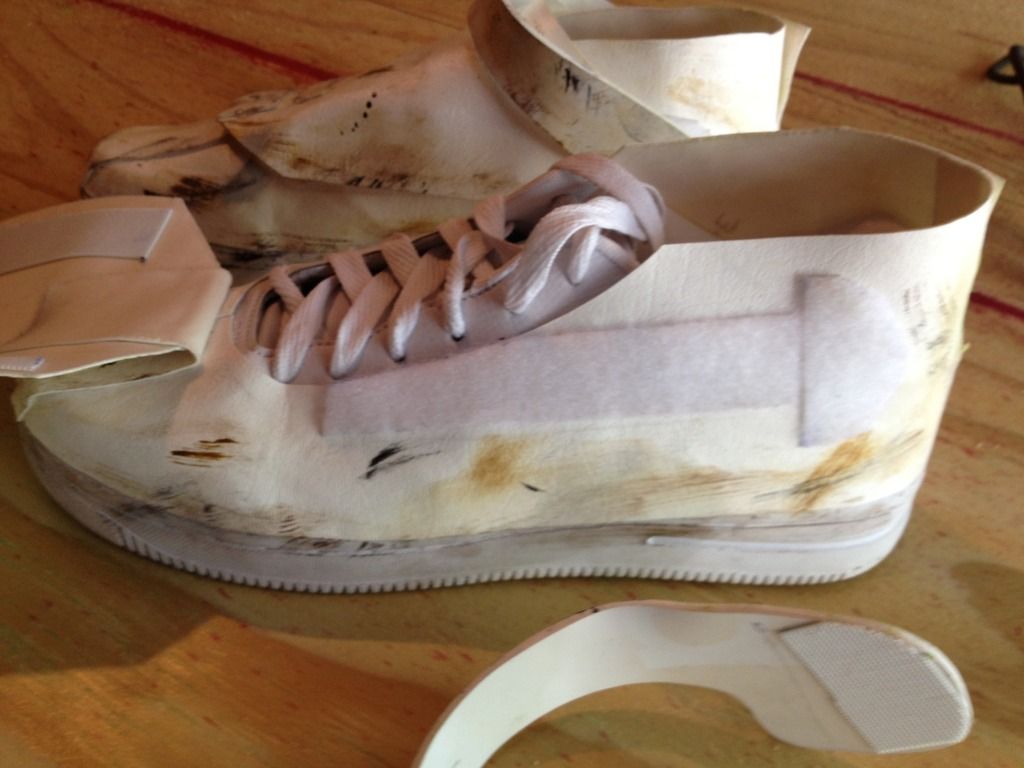
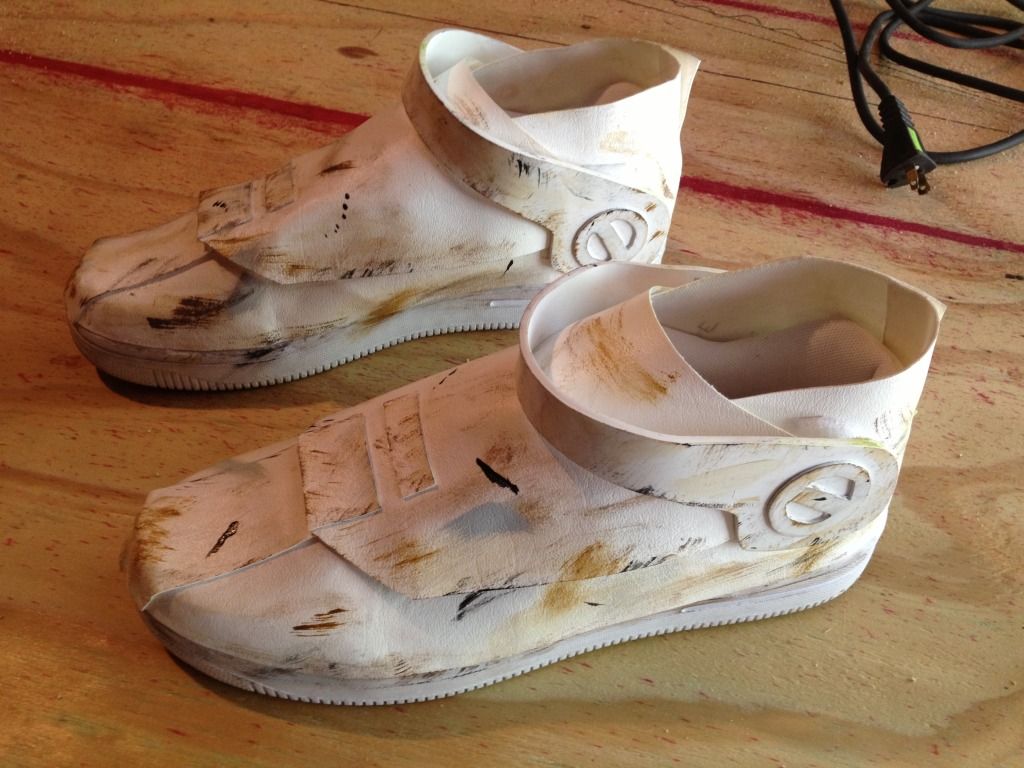
Also from the photos you can see the strap that goes over the shoe. This was made from abs, heated, and bent to fit the shoe. I used Velcro to hold these in place while walking and it allows me to take them off when I need access to the shoe.
With all these parts together you have yourself a clone shoe. With a little paint and other things you have a weathered/battle ready clone shoe.
I know the last part was a little rushed and I didn't get good pictures, but if you have any questions just let me know.