Page 2 of 3
Re: Three-in-One Clone Build
Posted: Sun Dec 29, 2013 7:32 pm
by BBC527
Ok, have a couple other questions on the Neyo helmet.
Which way do the aerators point on the sides? They have a slight angle in the way they are made.
Also, what about the placement of his logo on the top of the helmet? What do you use to line it up with?
Re: Three-in-One Clone Build
Posted: Sun Dec 29, 2013 7:50 pm
by BBC527
Ok, been working in a few things this weekend.
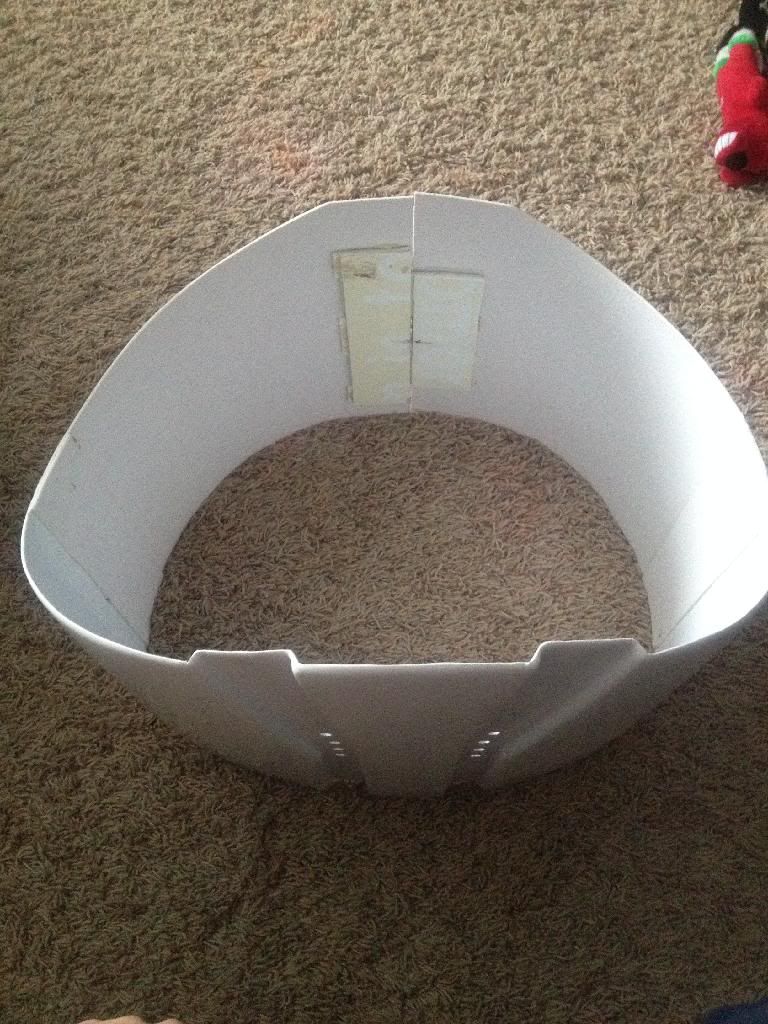
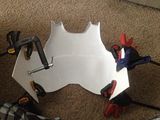
Finished with the ab section that I had to create. Velcro just wasn't going to cut it since the pieces I had to ad were not formed, but straight. I used a slot/tab connection that I used with my chest/back connection. Looks like it should work well.
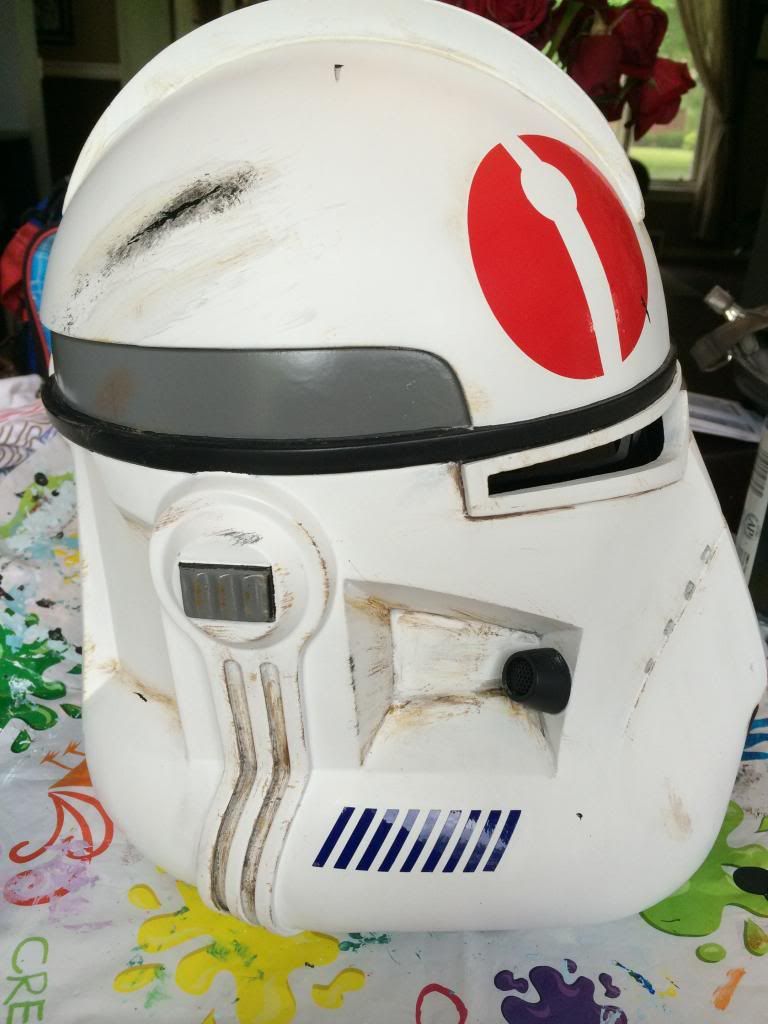
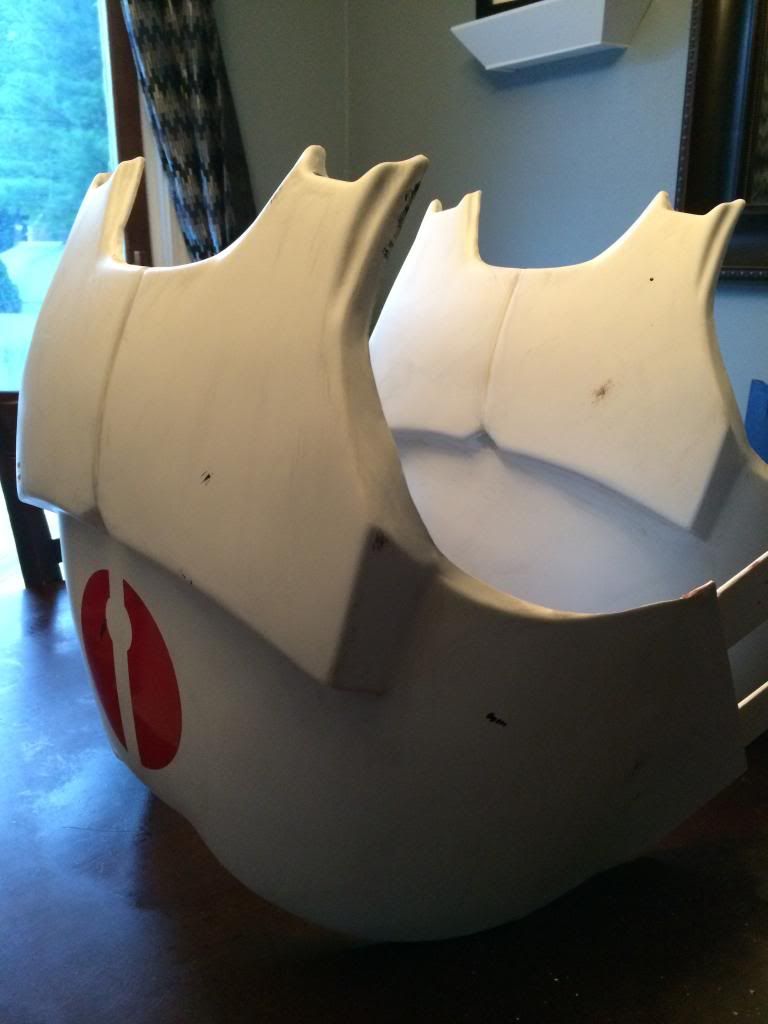
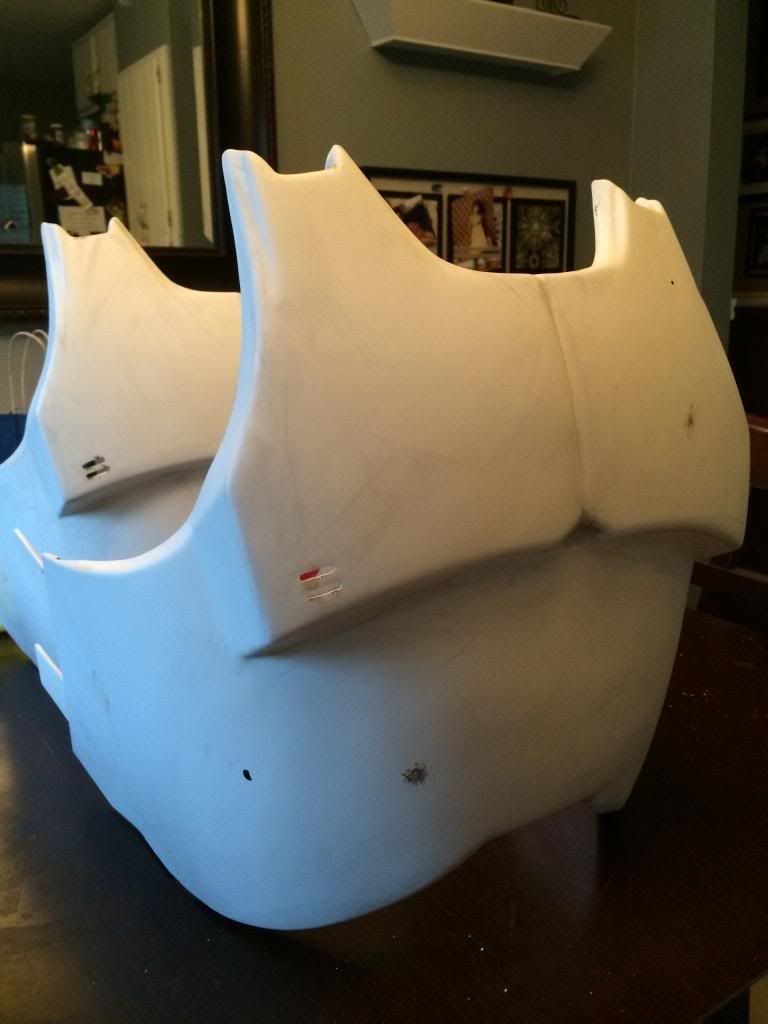
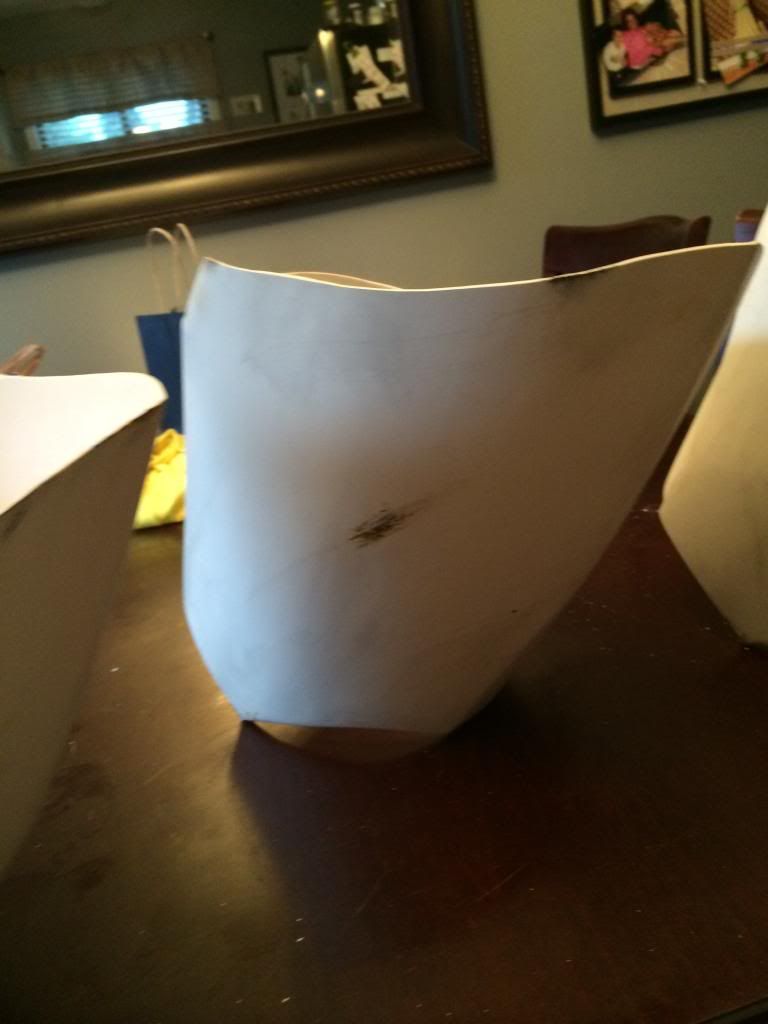
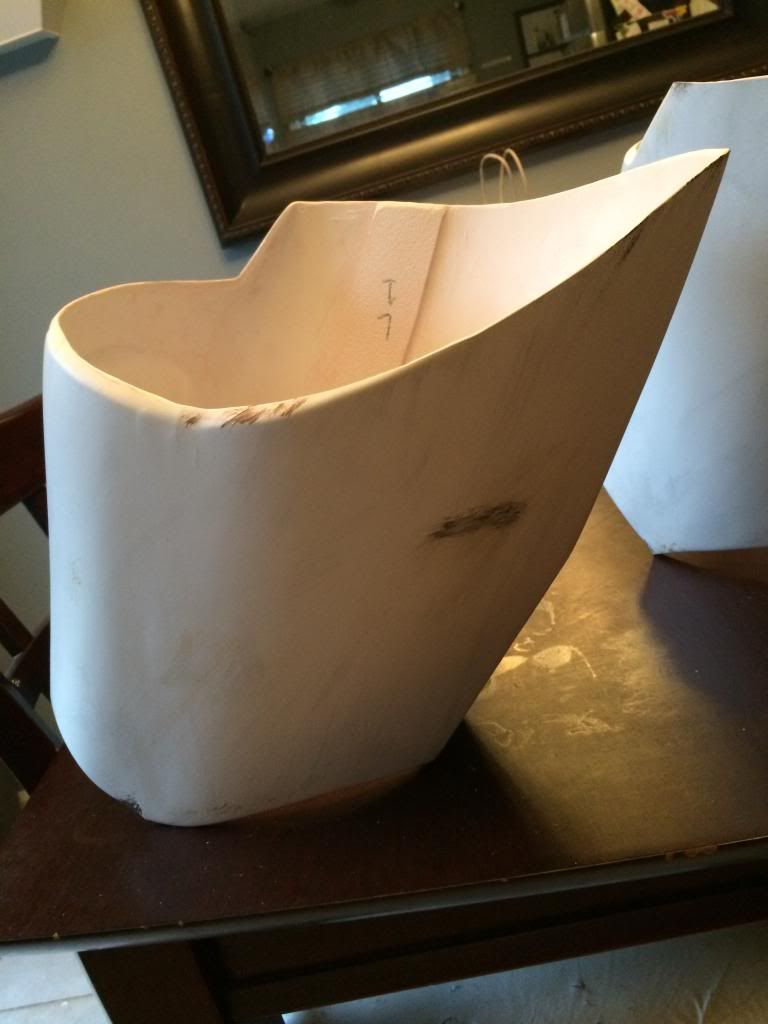
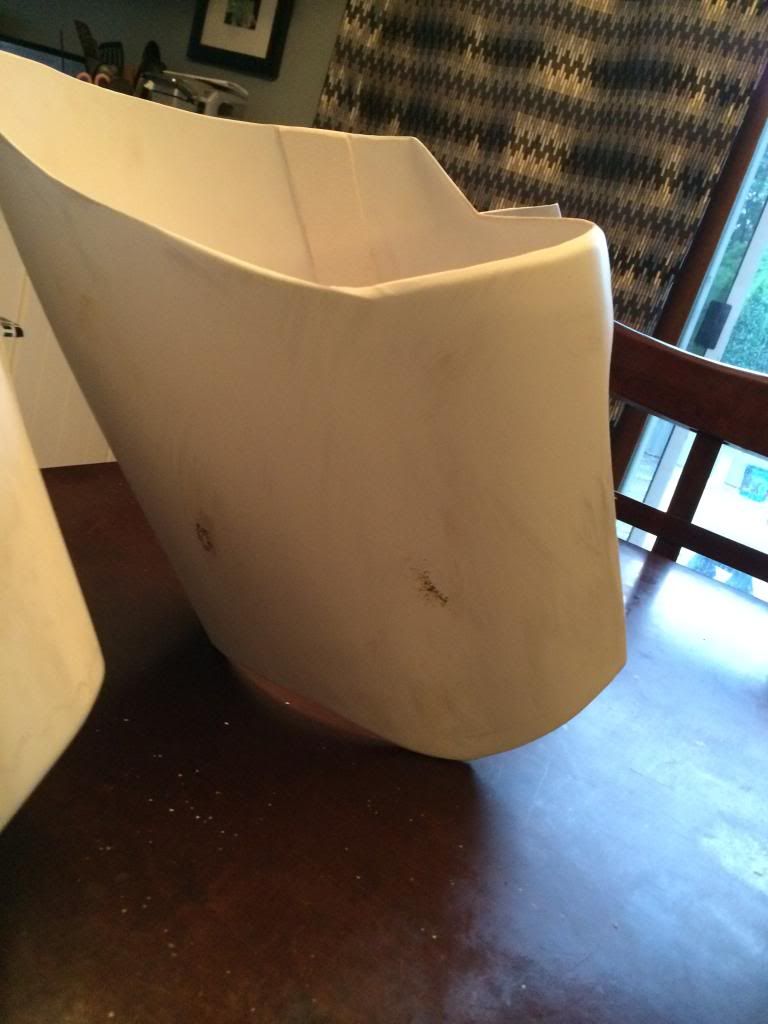
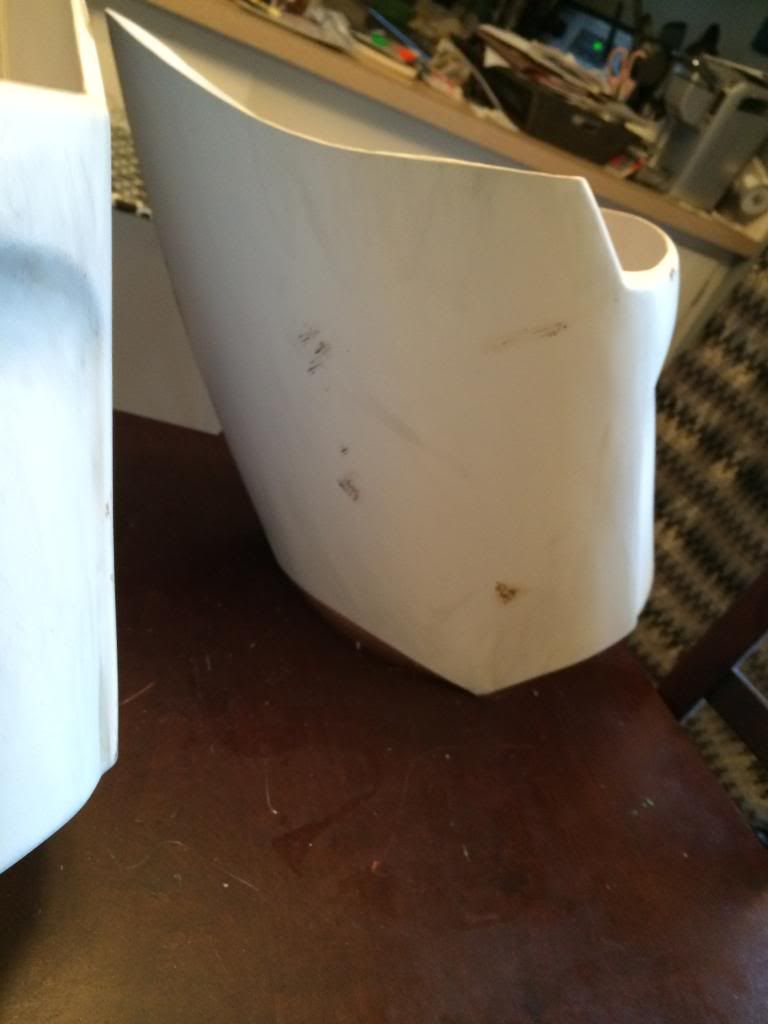
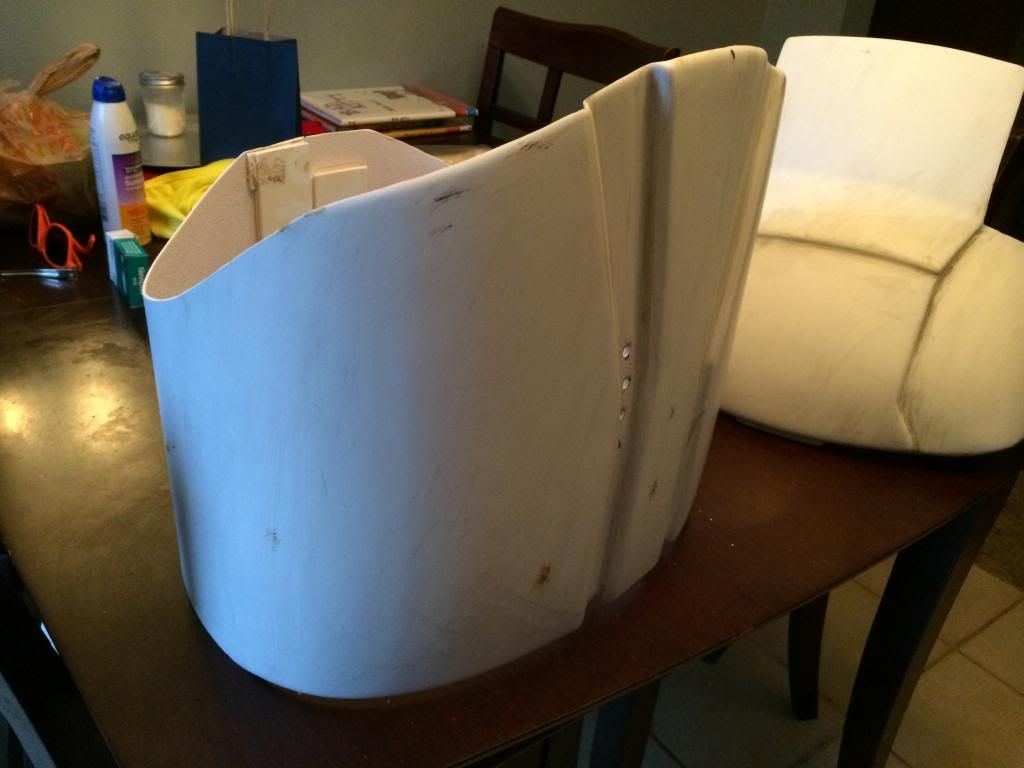
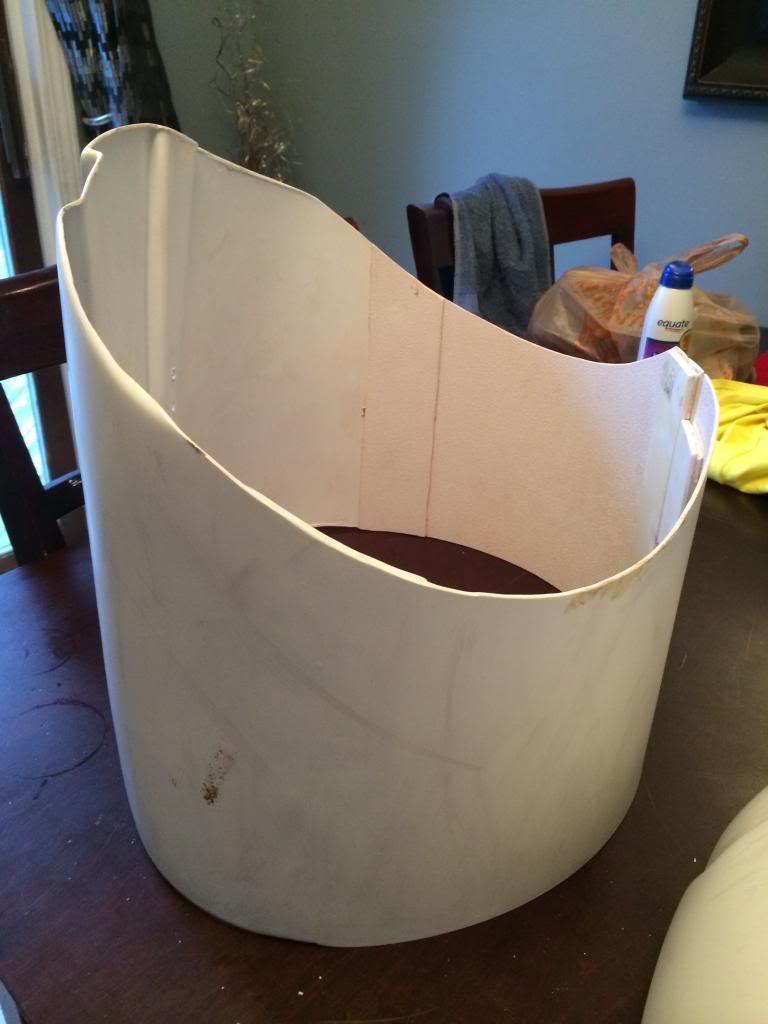
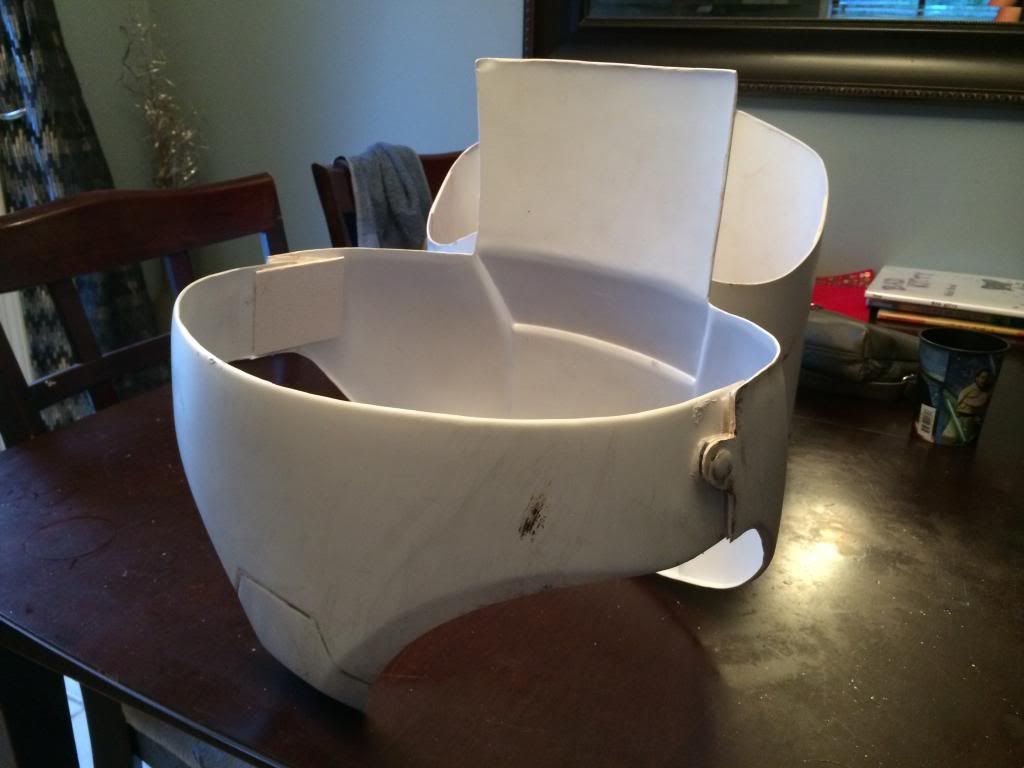
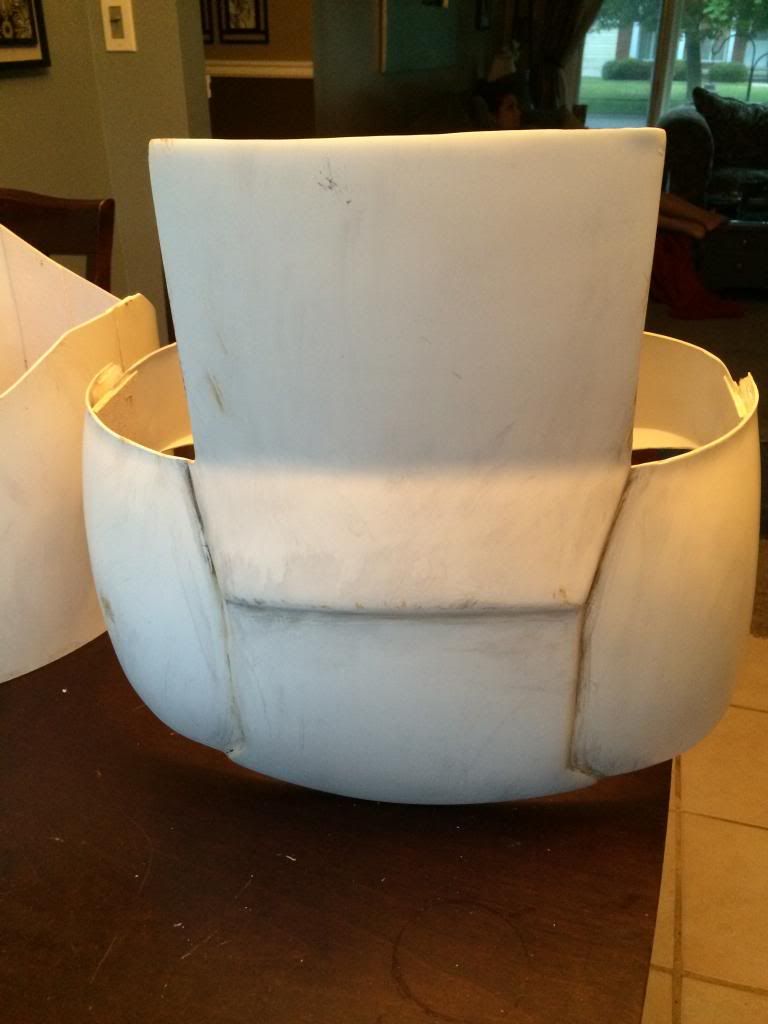
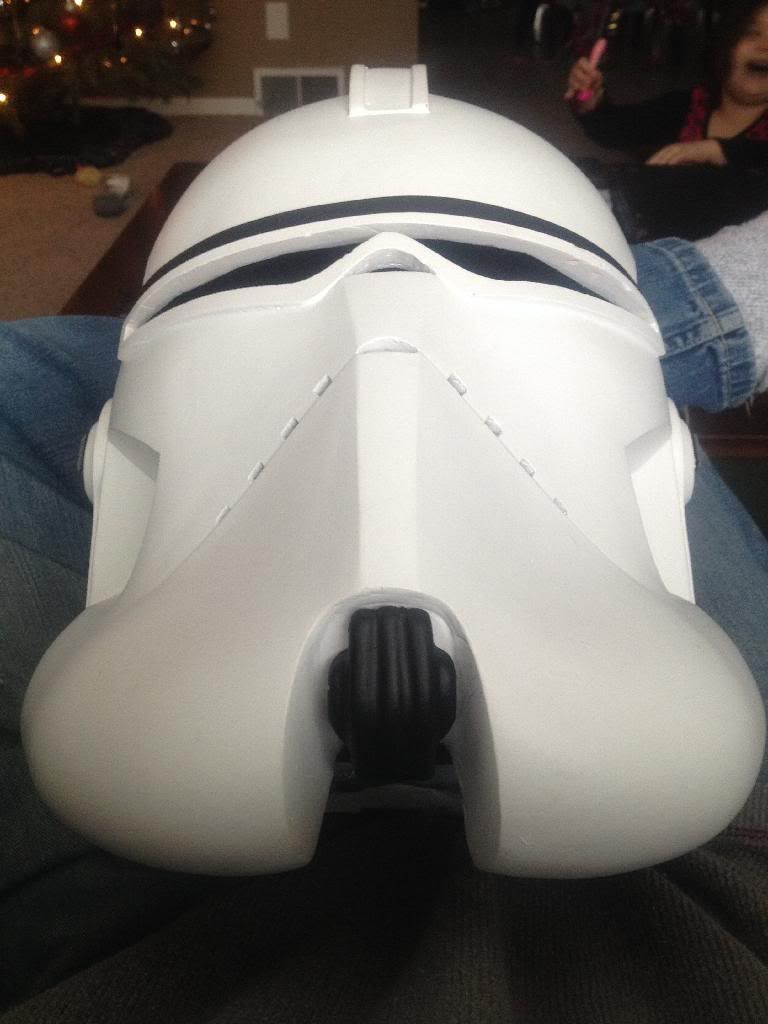
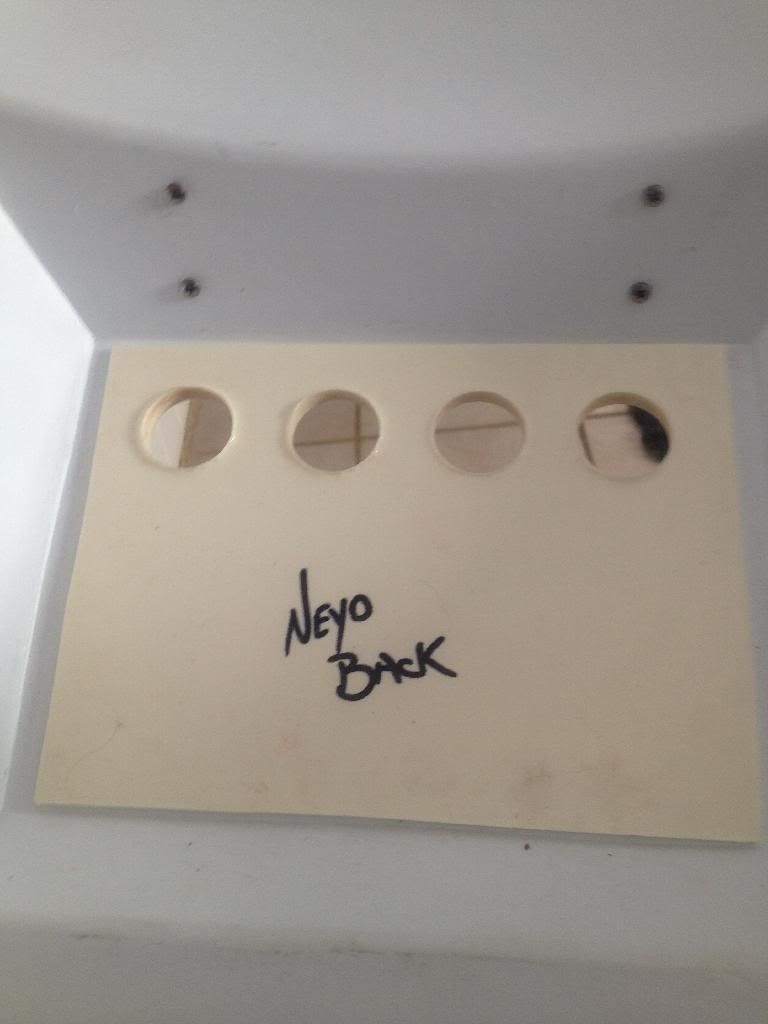
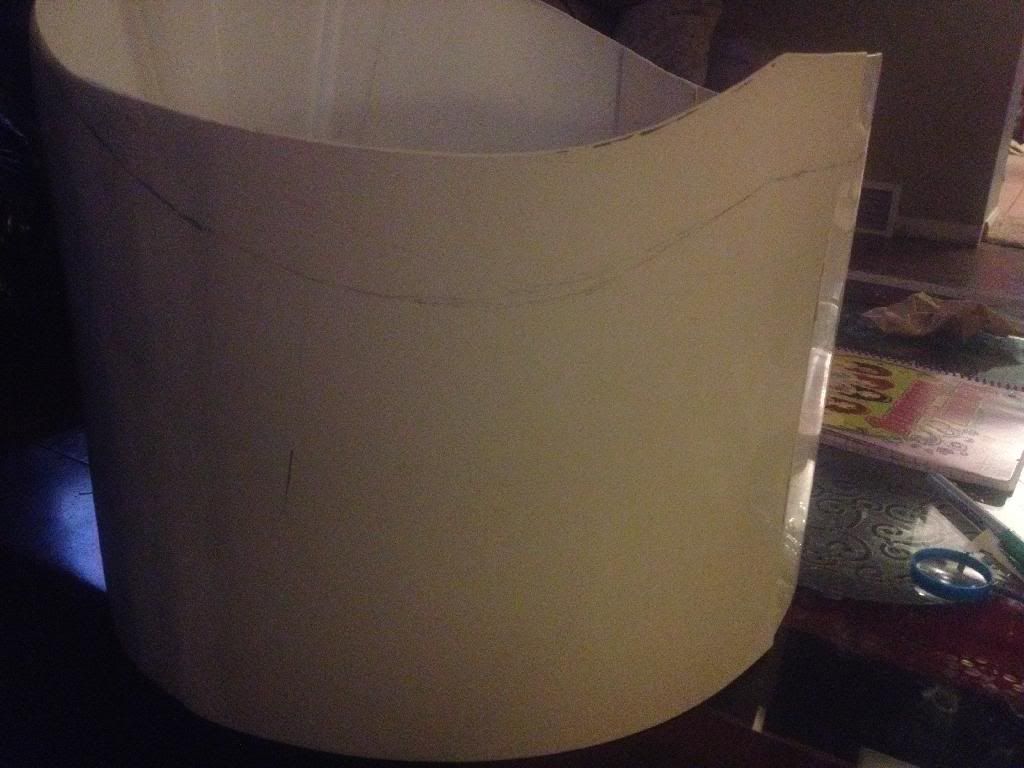
Worked on the Clone and Neyo helmets. I put some black fabric on the inside of the back to help cover the vents I cut in the back to help with air flow.
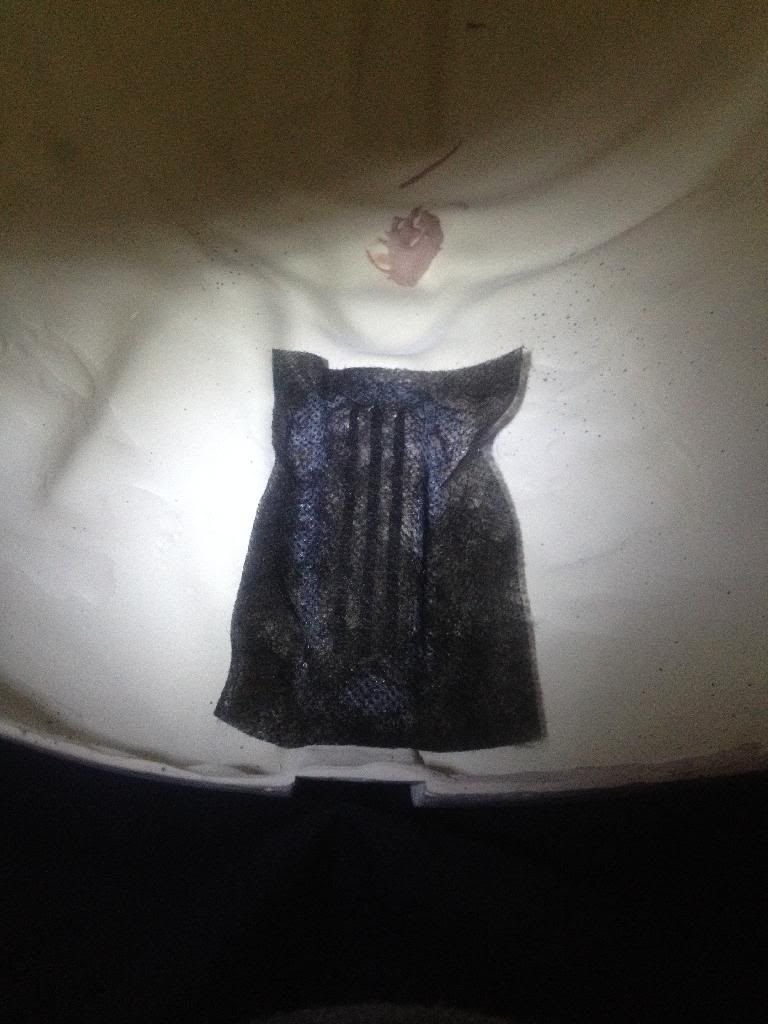
Pic from the back
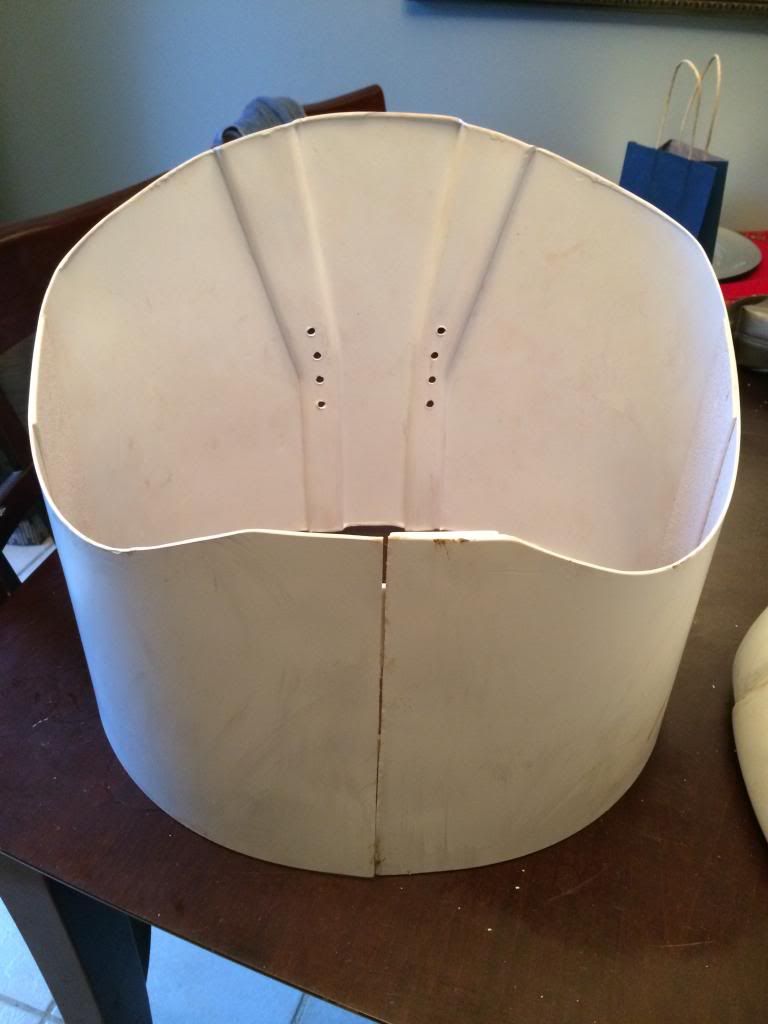
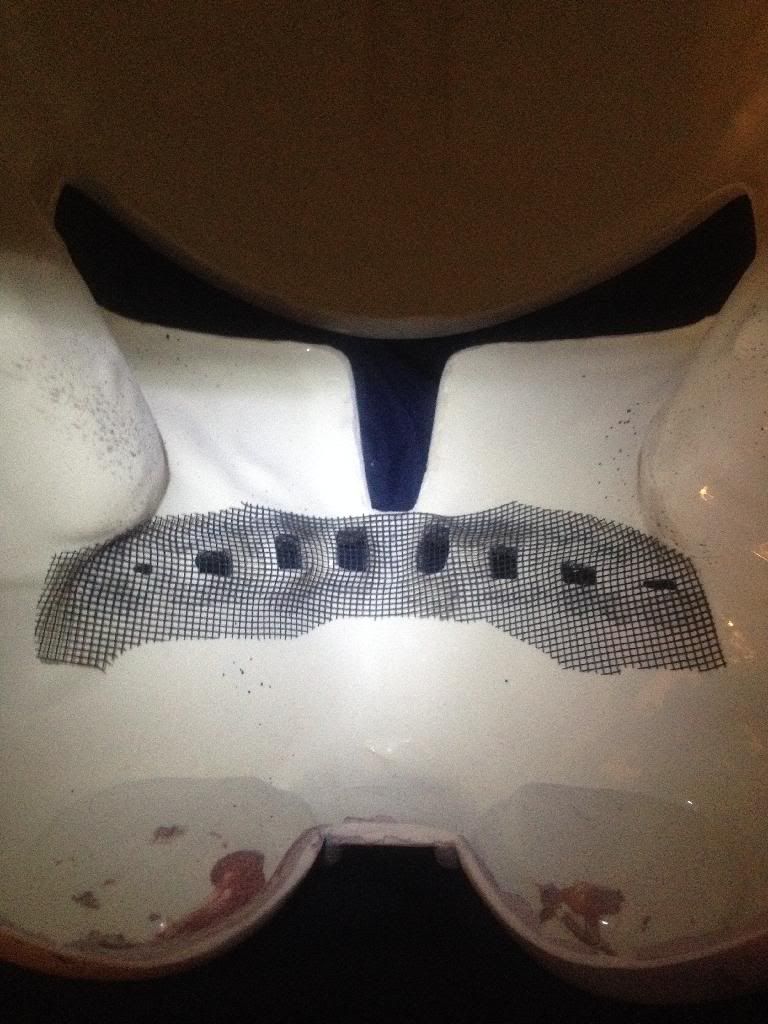
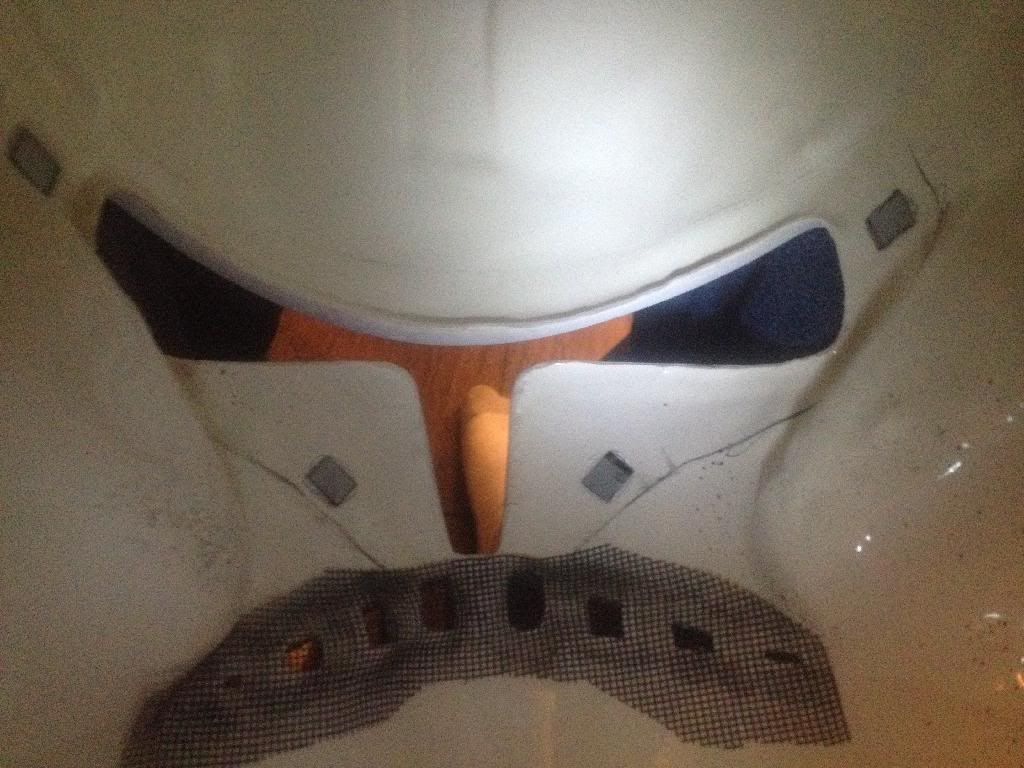
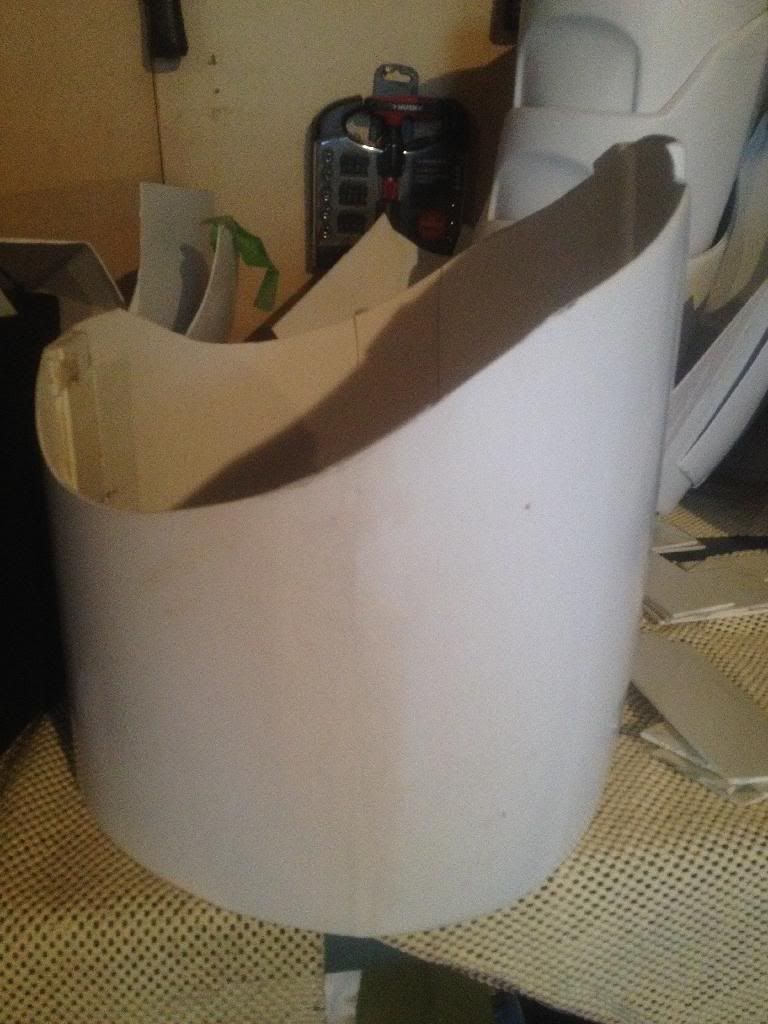
Worked on getting the mesh inside the Clone helmet for the mouth area
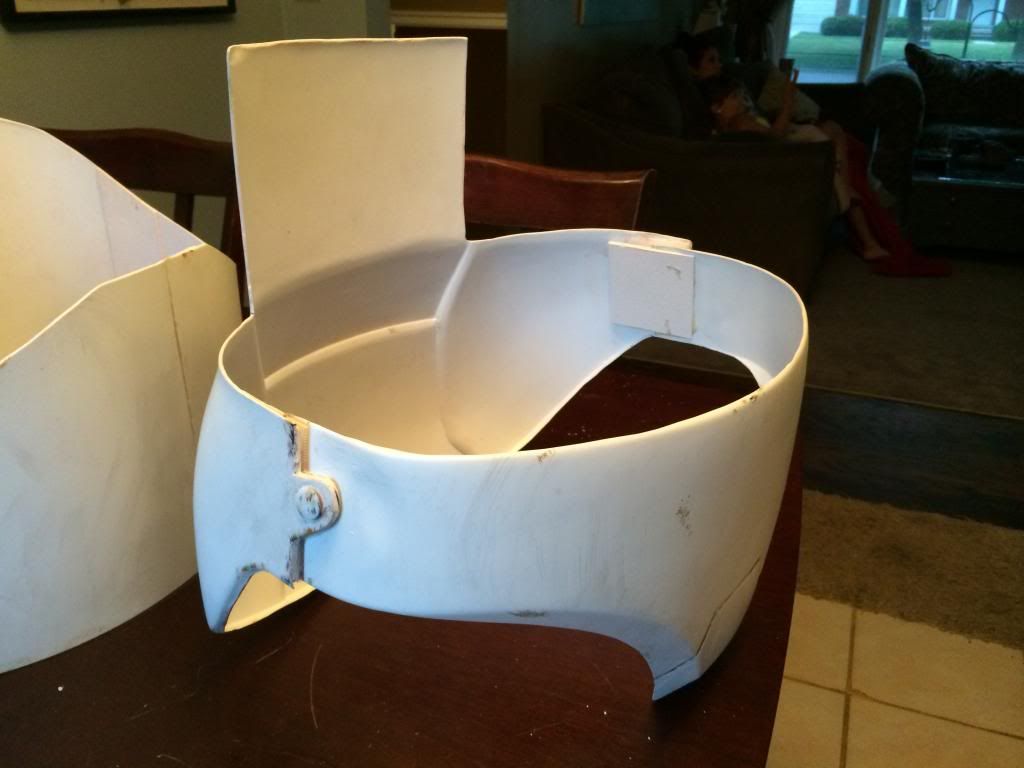
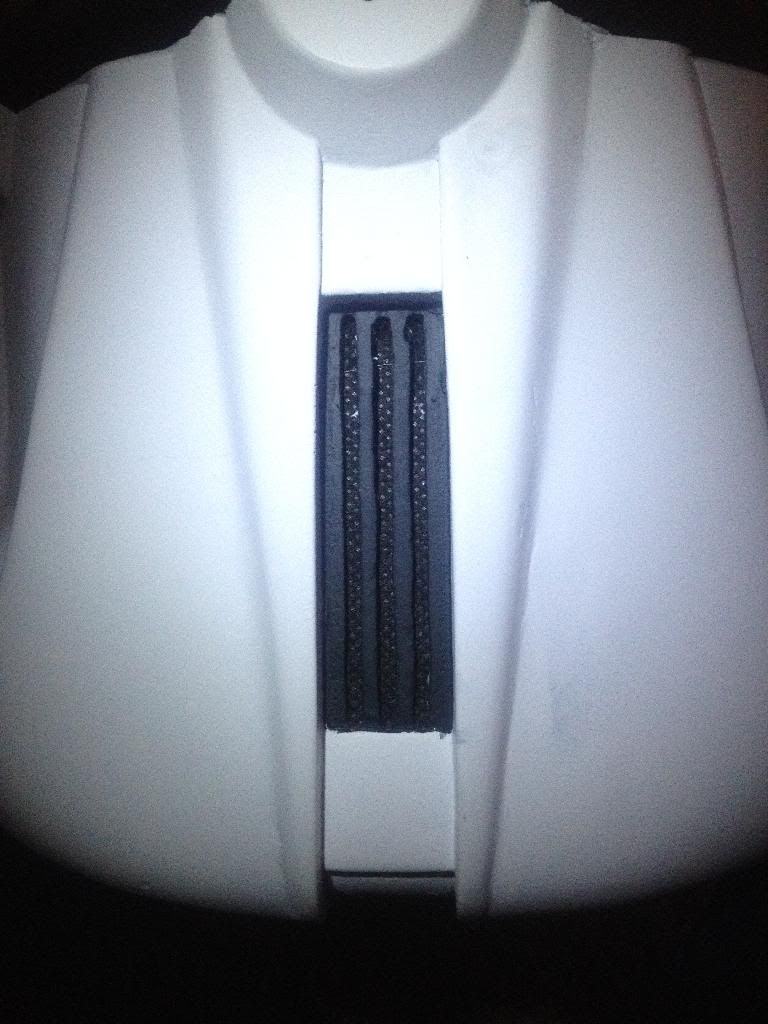
Glued on the bottom chin section on Neyo.
Re: Three-in-One Clone Build
Posted: Mon Dec 30, 2013 10:21 am
by crow
Awesome work! Keep those bandaids handy lol!

Re: Three-in-One Clone Build
Posted: Tue Dec 31, 2013 9:16 pm
by BBC527
Working on the back of Neyo and had a few questions about the boxes and 2nd detonator.
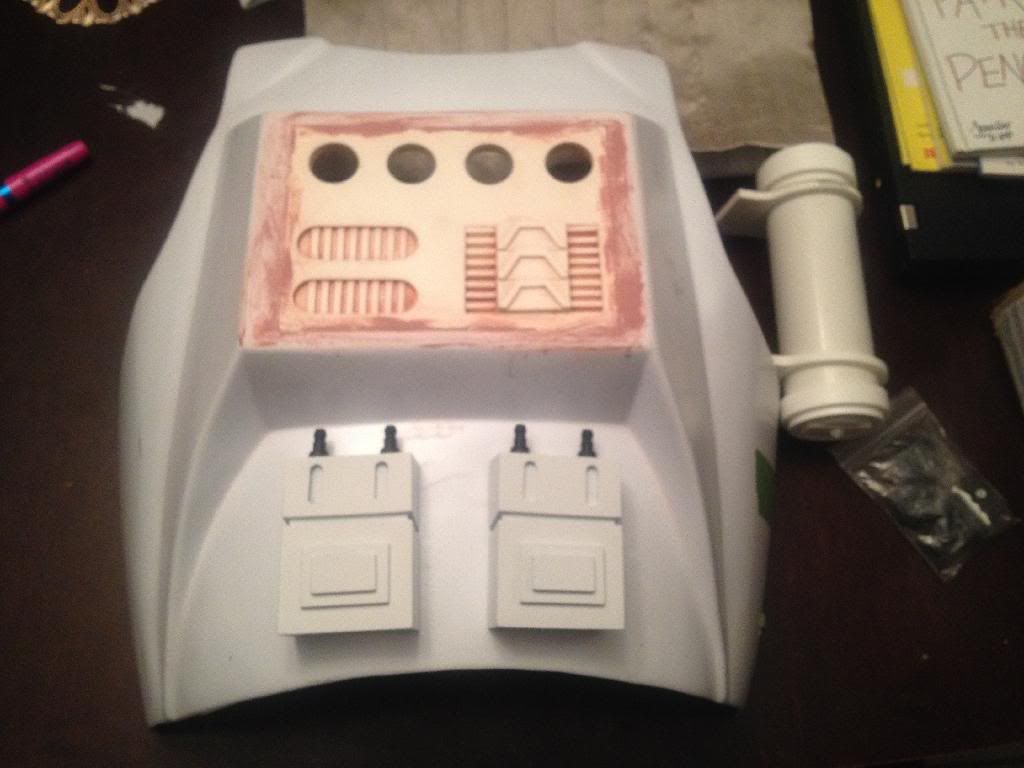
-How do you mount the lower boxes on the back, and what is the spacing on these?
-How do you mount the upper detonator on the back, and what direction do the holders face?
Re: Three-in-One Clone Build
Posted: Tue Dec 31, 2013 10:48 pm
by Ripcode
If you want to make the parts removable. Install threaded into the parts and use wing nuts to hold them to the armor. Otherwise, just E6000 them.
Re: Three-in-One Clone Build
Posted: Sun Jan 05, 2014 10:29 pm
by BBC527
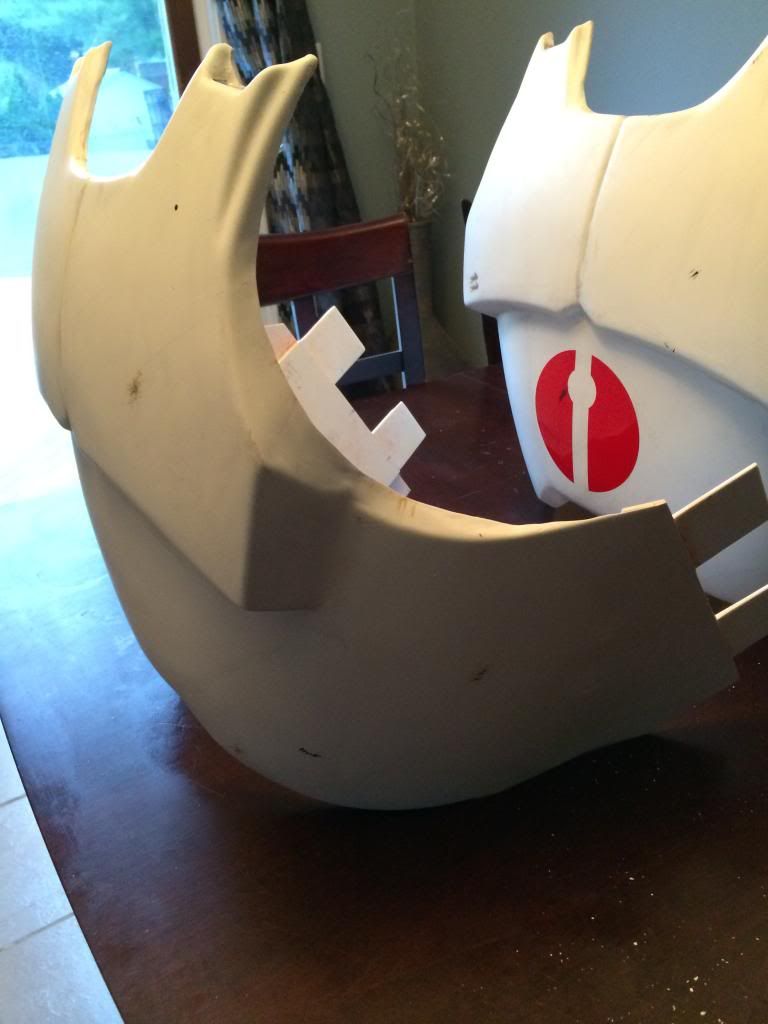
Worked on a few things this weekend.
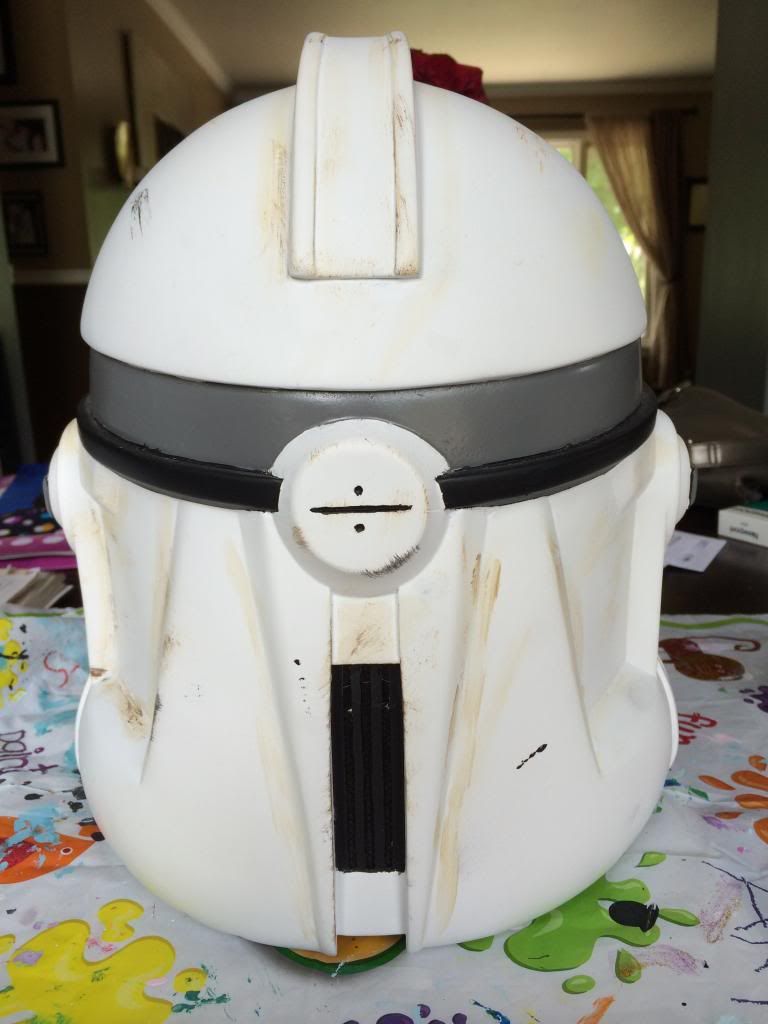
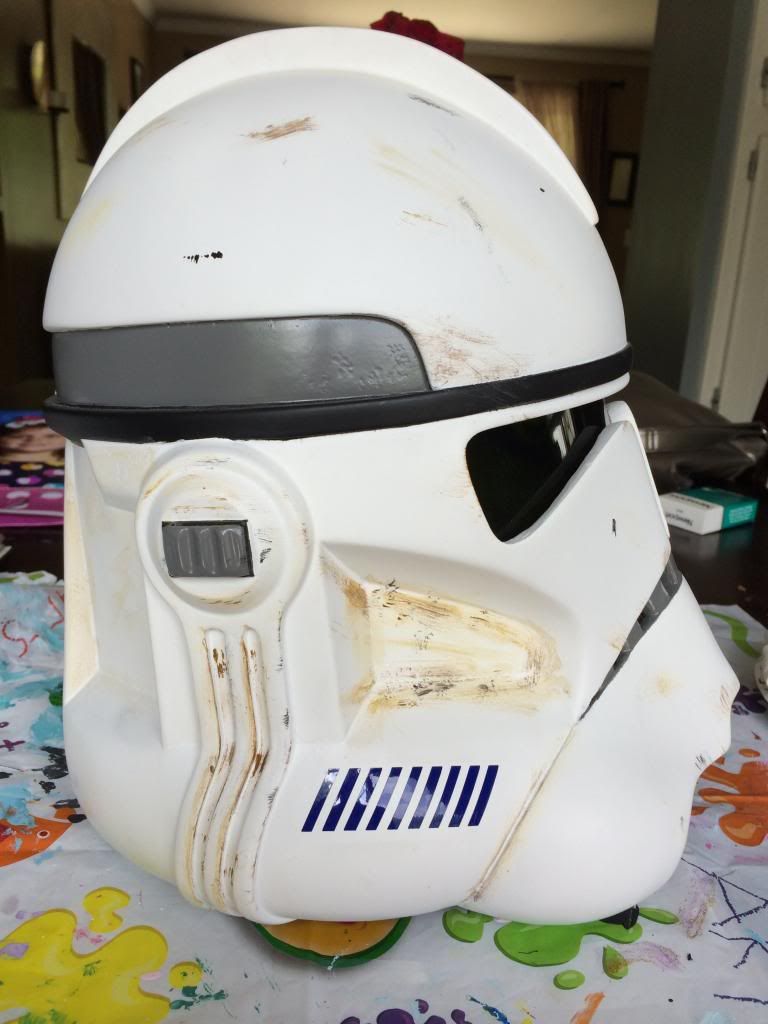
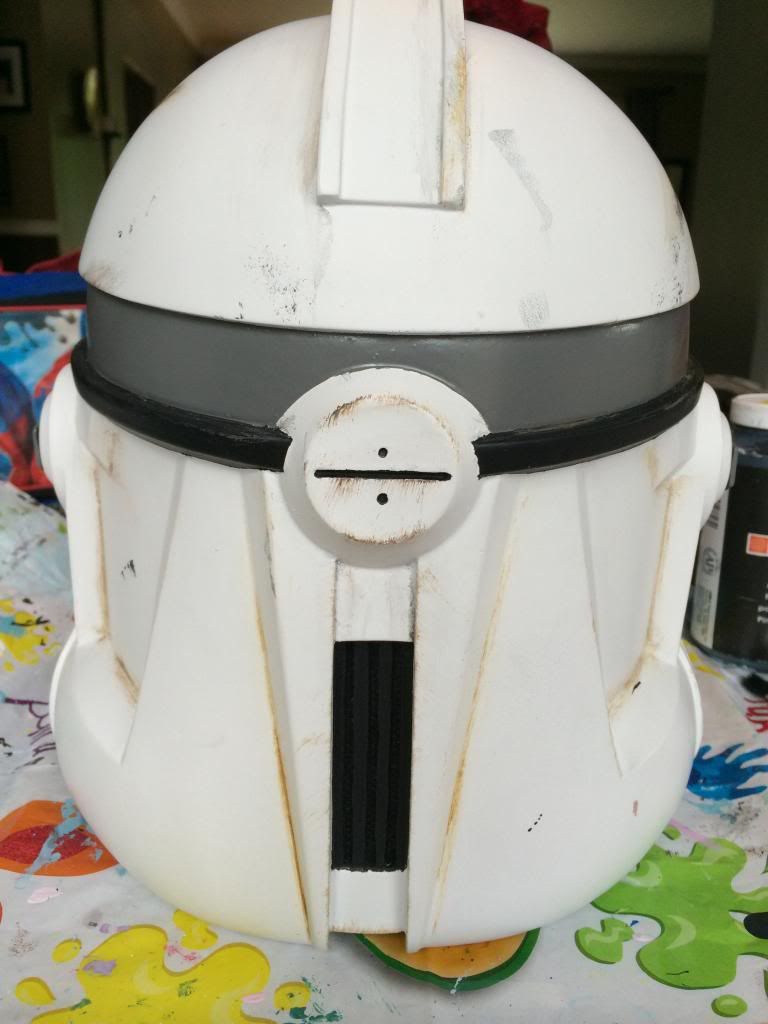
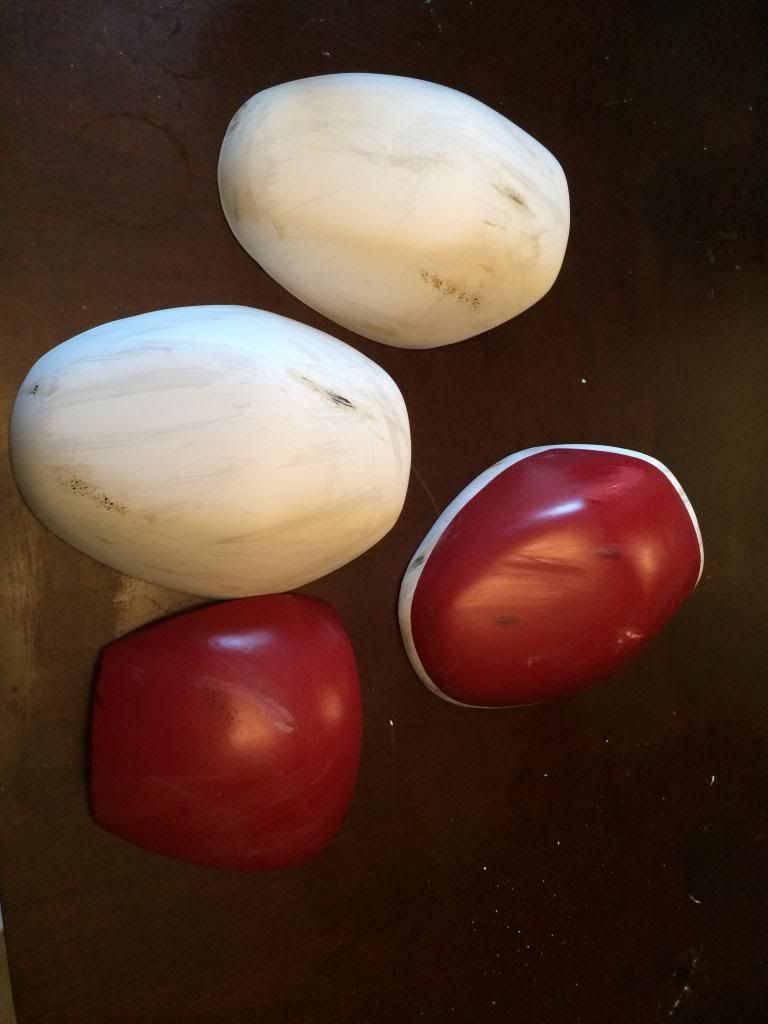
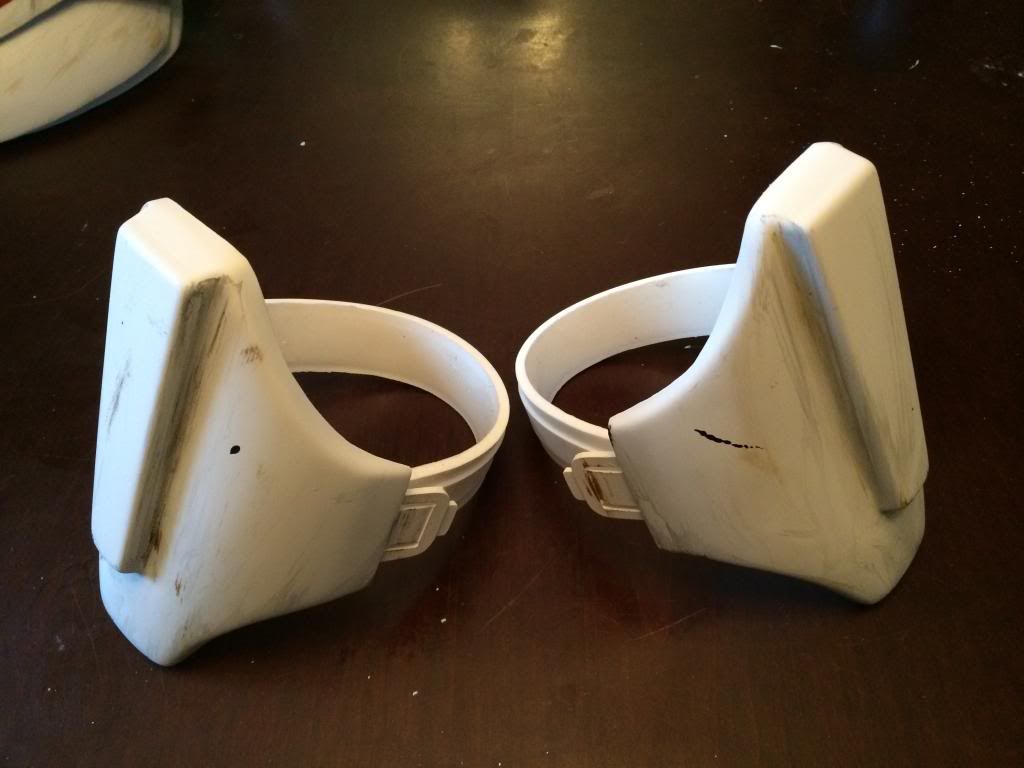
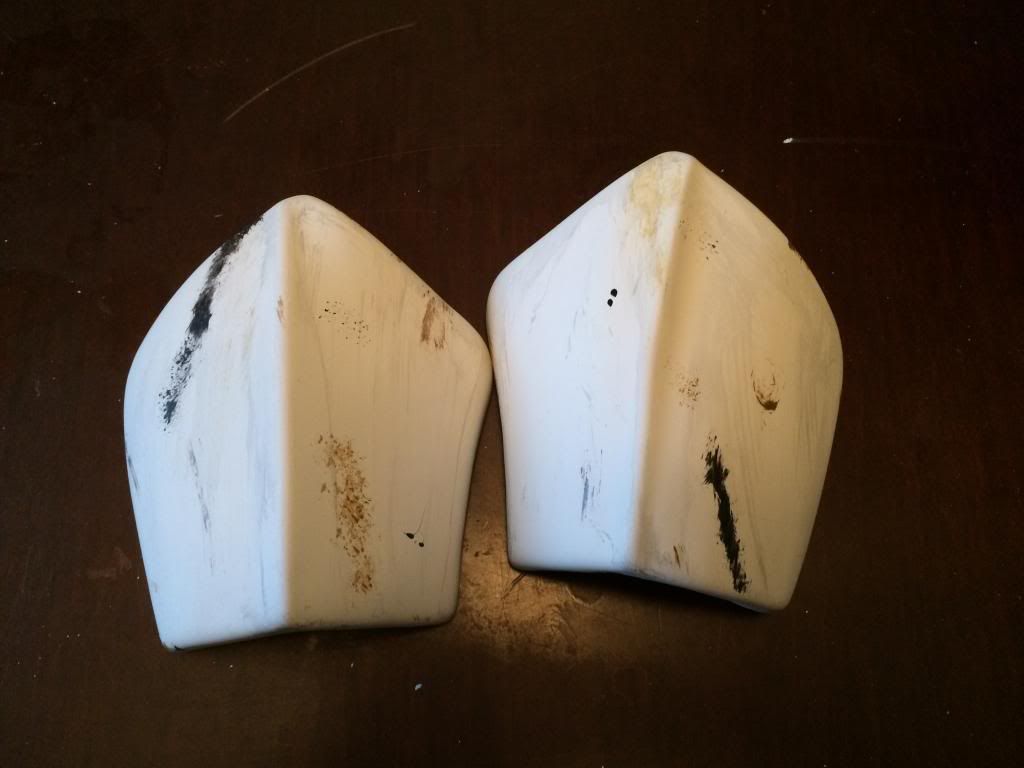
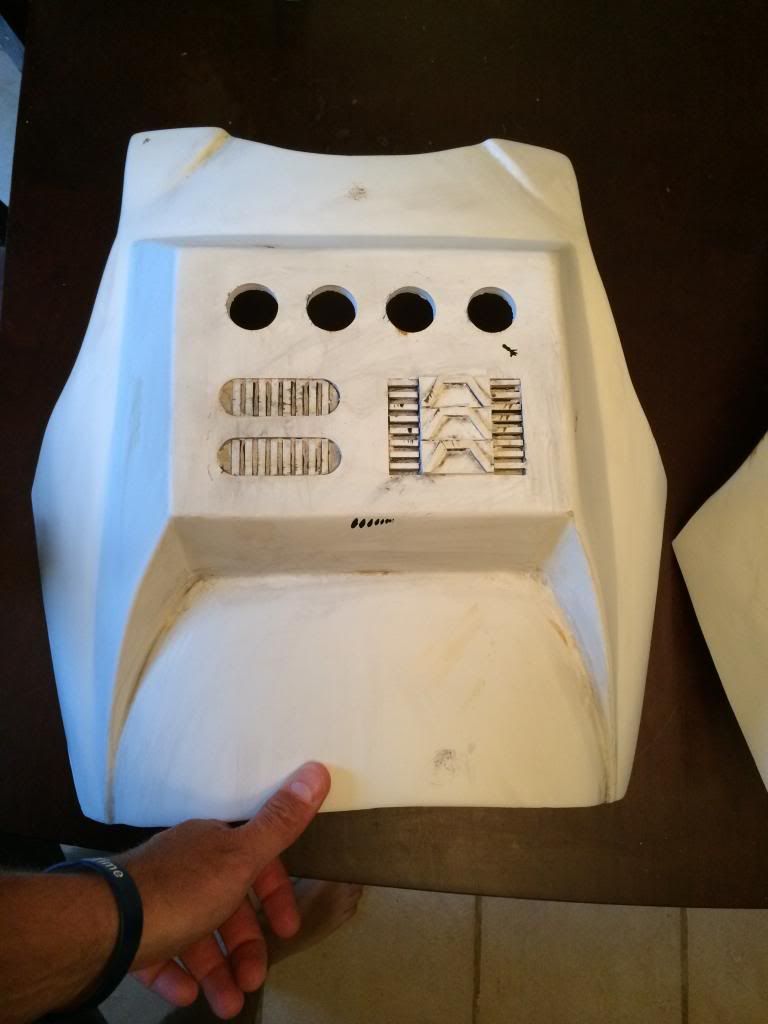
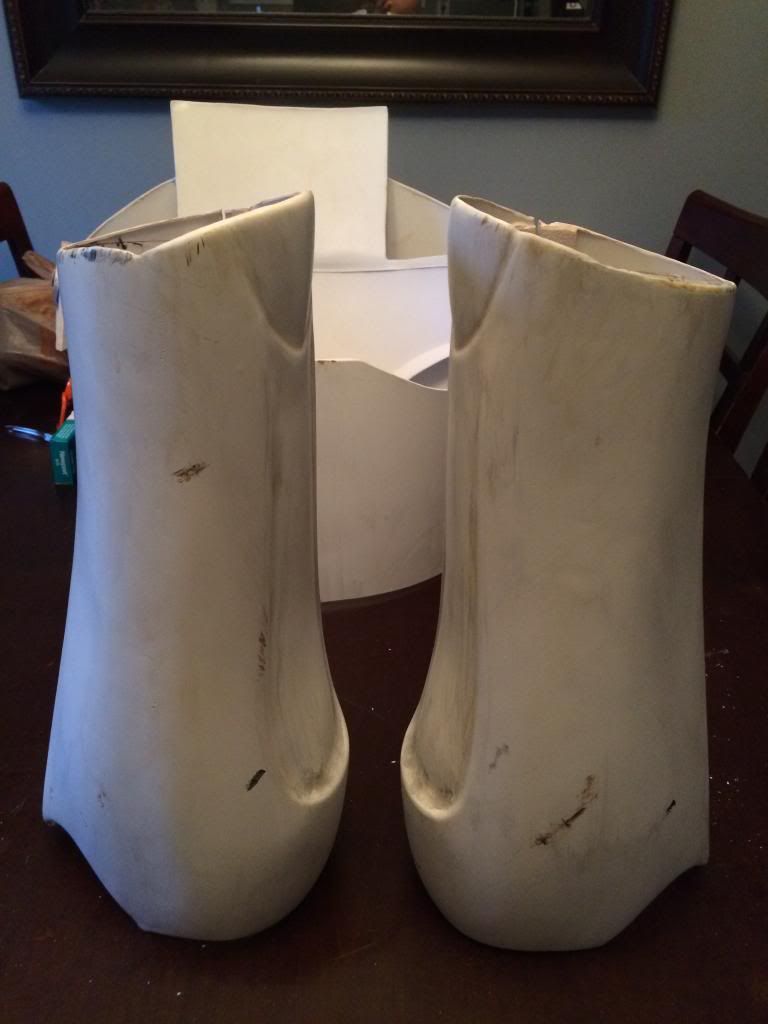
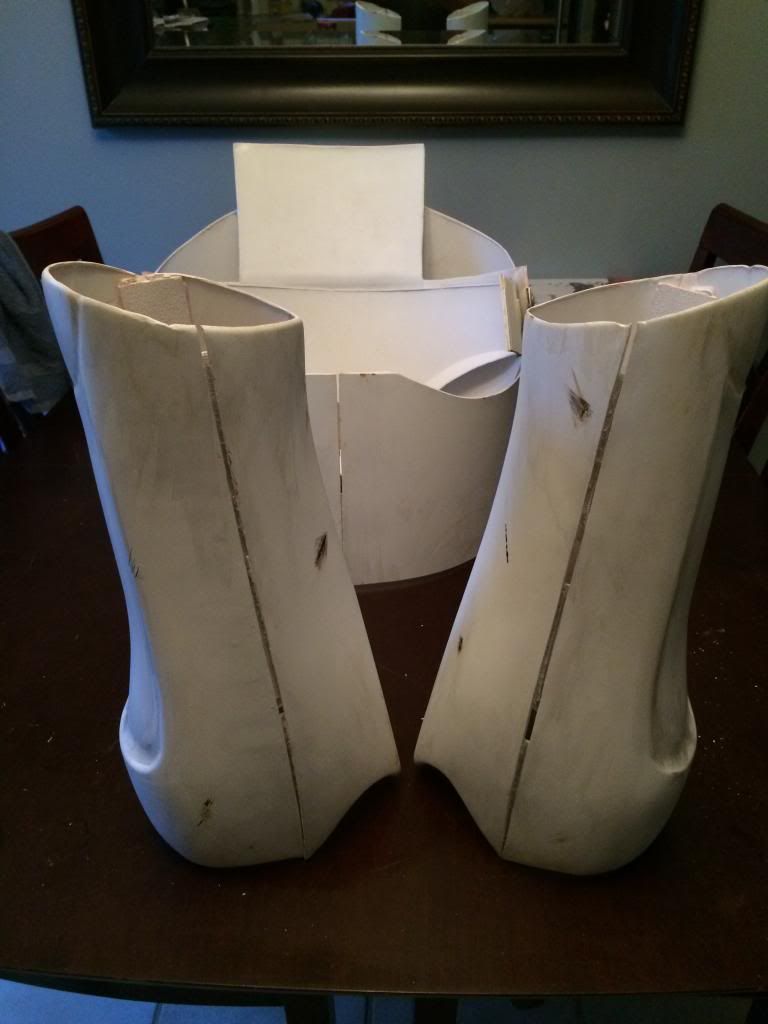
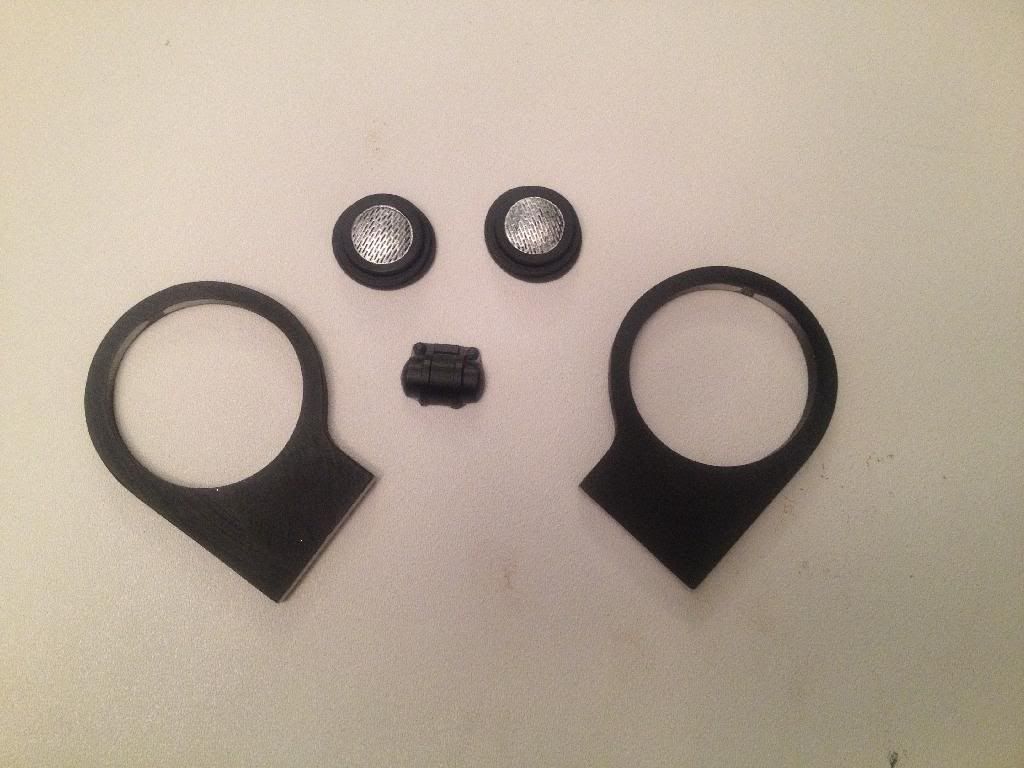
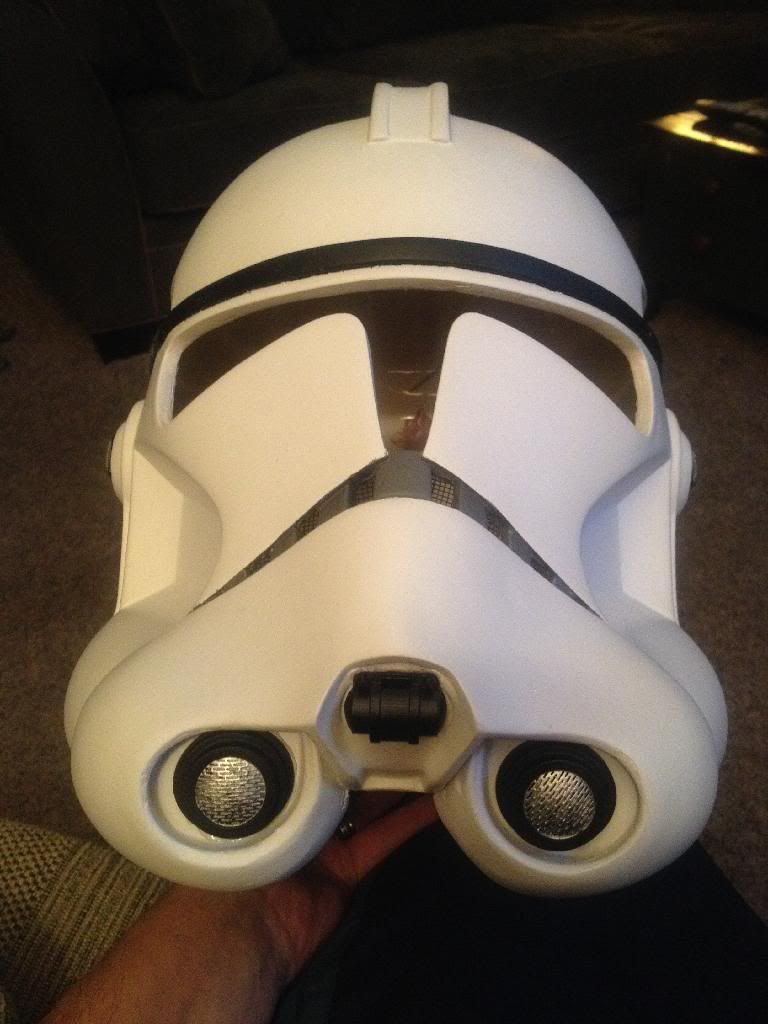
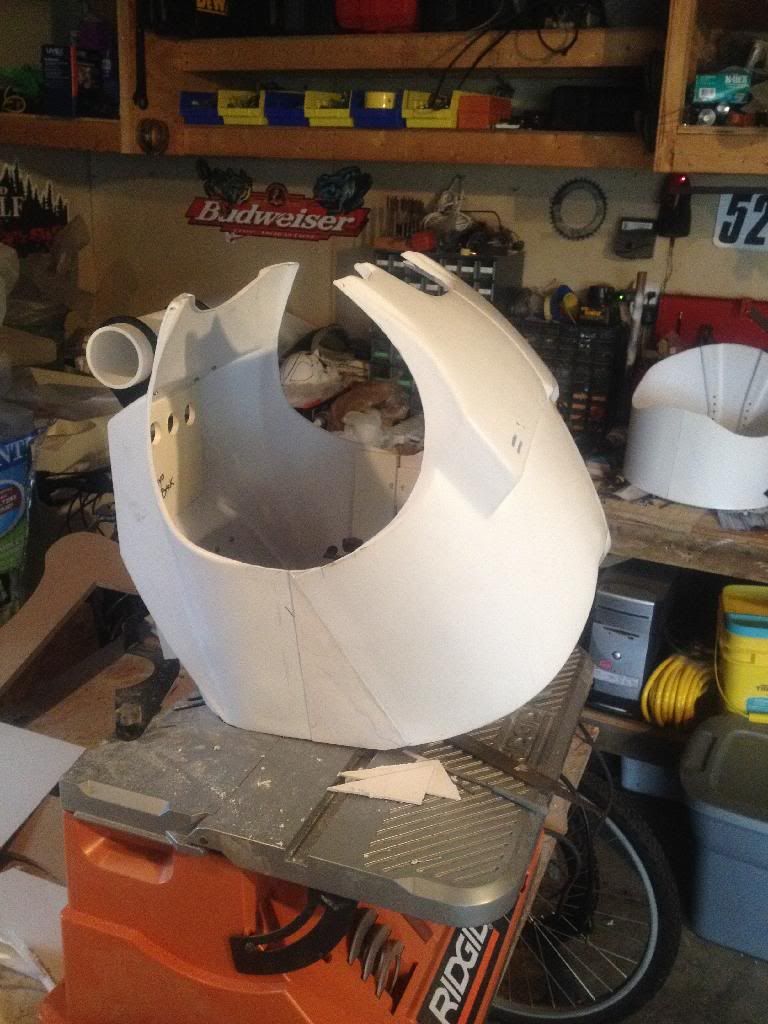
I was able to get the aerators for the Clone painted, along with trimming out the piece for the chin area.
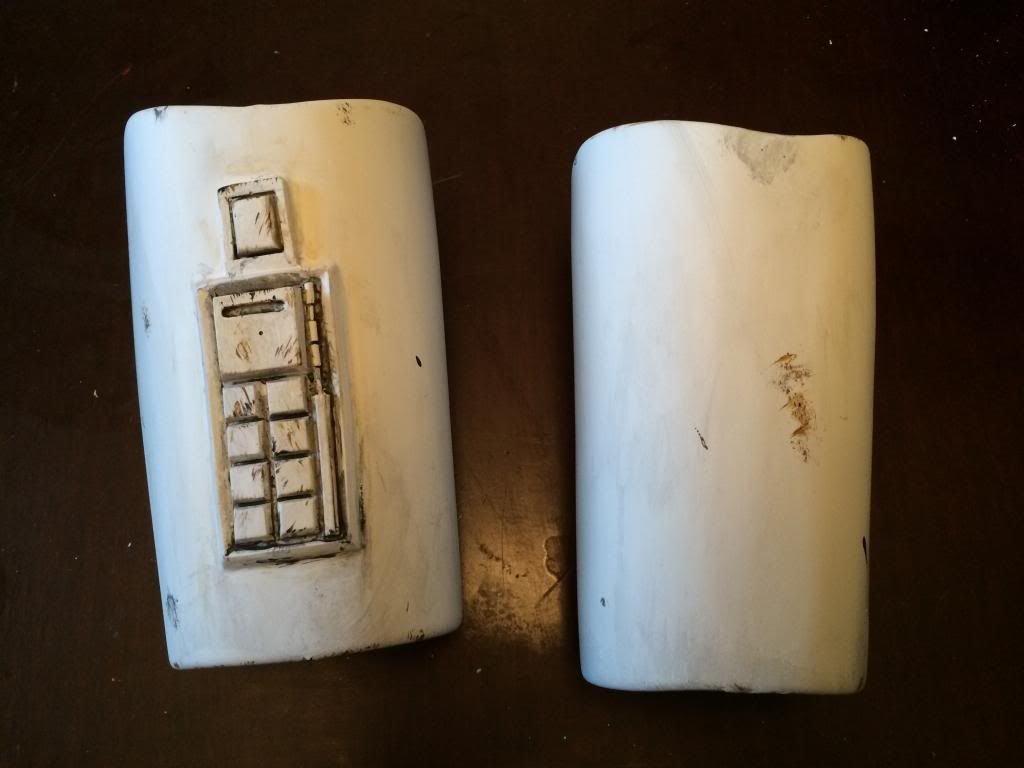
I also painted the brackets for the detonator that goes on the upper back. Also put on the nubs and painted the detonator with caps.

Finally was able to put the aerators and chin piece on the Clone helmet.
Re: Three-in-One Clone Build
Posted: Sun Jan 19, 2014 9:23 pm
by BBC527
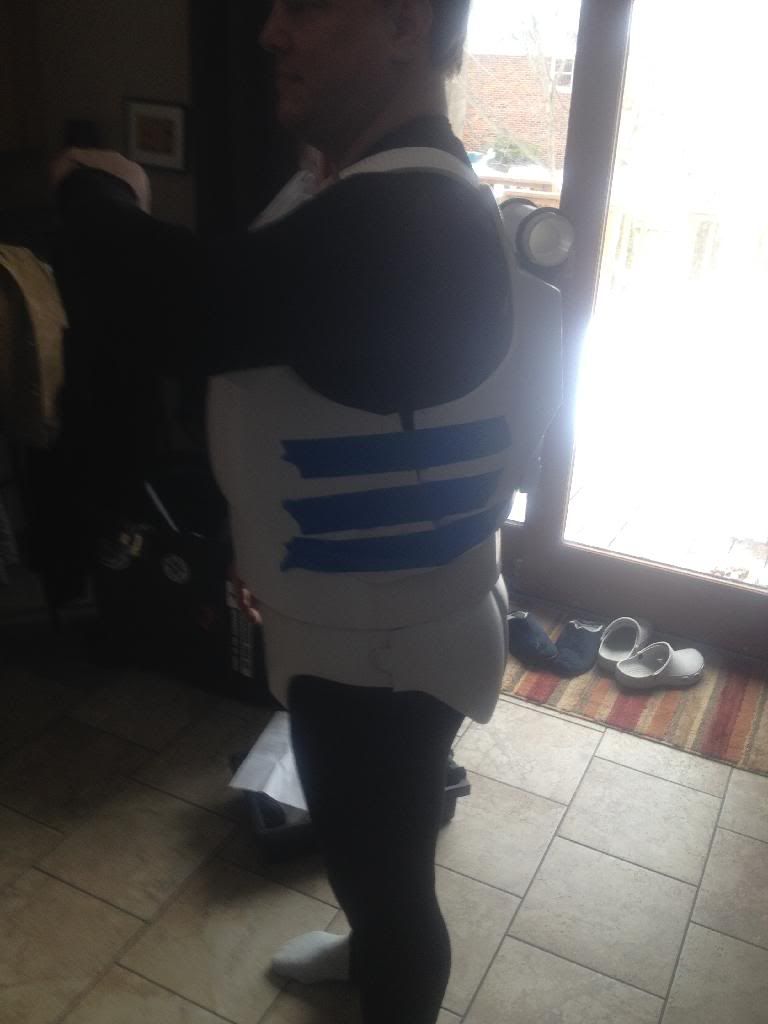
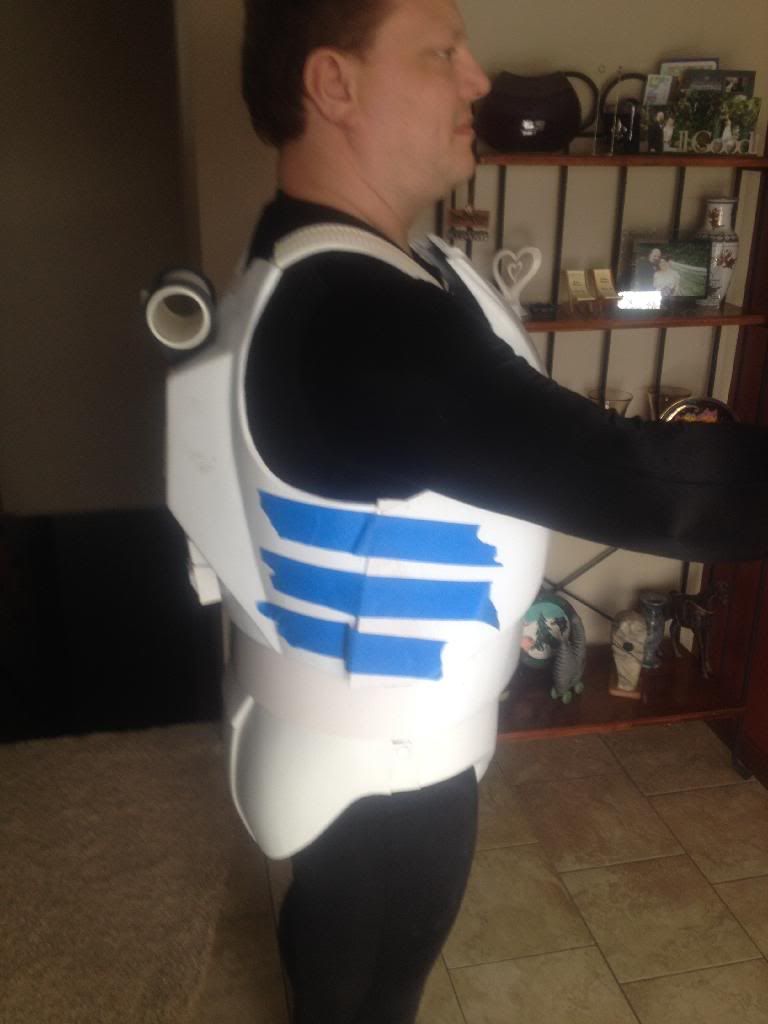
Worked on the chest today. I had to add material to both sides to get a seam that is straight on the side and will still fit. I'll add some sludge to the seam to help smooth out the transition.

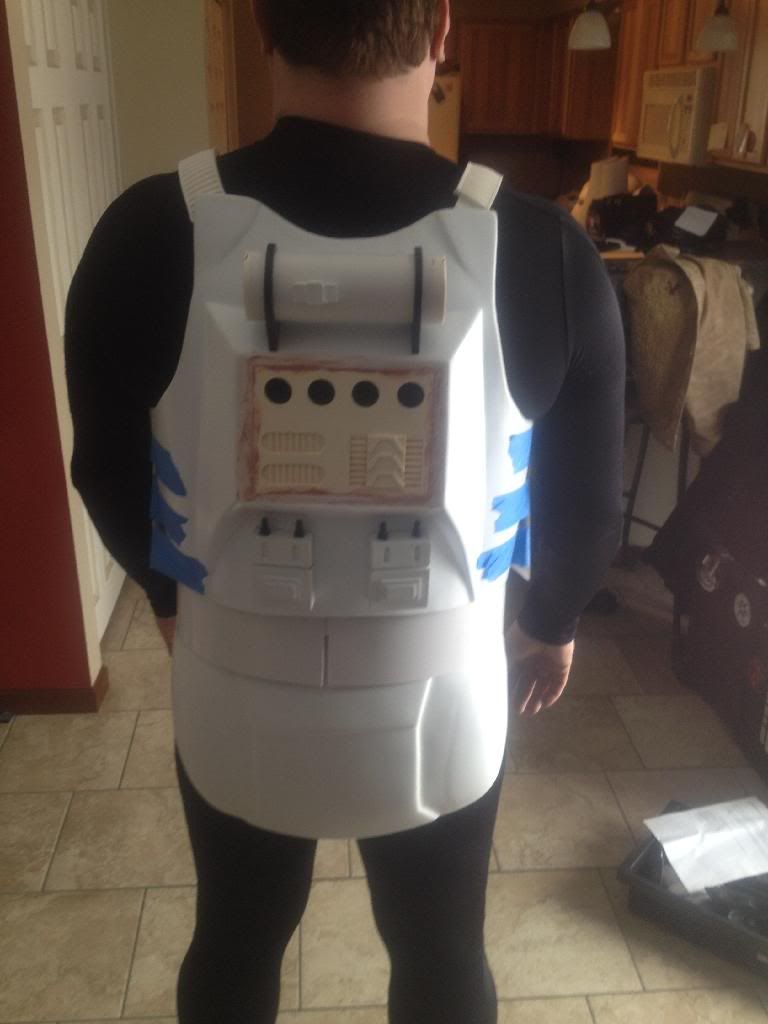
Also worked on mounting the small boxes to the back. I was angle to drill small holes and add screws for strength and support.
Does anyone know if it's ok to have a small gap on these, or should I fill in the gaps??
Also looking at putting on the top detonator. I just need to trim the holders down to the line, but need to figure out which way to mount them.
Plus I pulled out the belt from Steelblitz and started to trim off the excess material.
However, I don't have the info on how to put his belt together. Does anyone have information or emails on how this belt is put together?
Thanks
Re: Three-in-One Clone Build
Posted: Sun Jan 19, 2014 10:10 pm
by Ripcode
The gaps on the back boxes are fine.
Re: Three-in-One Clone Build
Posted: Mon Jan 20, 2014 11:58 pm
by DeafTrooper
BBC527 wrote:
Plus I pulled out the belt from Steelblitz and started to trim off the excess material.
However, I don't have the info on how to put his belt together. Does anyone have information or emails on how this belt is put together?
Thanks
I first glued on the 2 big boxes that go in front. E-6000 sucks for this but is good for at least getting a temp fit. After that, test fit the length while wearing the armor and mark the belt where you want to trim the excess off the side of the belt that goes under the left side box. After that, it's just a matter of getting the spacing for the other belts right. Crazy glue should be used for the final gluing. I also added screws going from the inside of the belt and into the backs of the boxes. Make sure you get the correct length of screws for the different size boxes.
Looks something like this (right-click and open in new window/tab for full pic):

I have my detonator attached to the belt with bolts and washers. I ground down the knobs on the end caps, drilled holes and screwed in rings on each one and found some nuts that looked as close to the knobs as I could find. Thought I had pics of them but looks like I don't. I have the 2 endcaps attached to each other with a bungee cord attached to both rings. I usually attach the belt to the costume with velcro.
Hope this helps.

Re: Three-in-One Clone Build
Posted: Tue Jan 21, 2014 1:00 pm
by BBC527
Thanks for the help on this. I'm sure I'll have more questions as I put it together.
Re: Three-in-One Clone Build
Posted: Wed Feb 05, 2014 4:00 am
by BBC527
Worked on a few things this weekend.
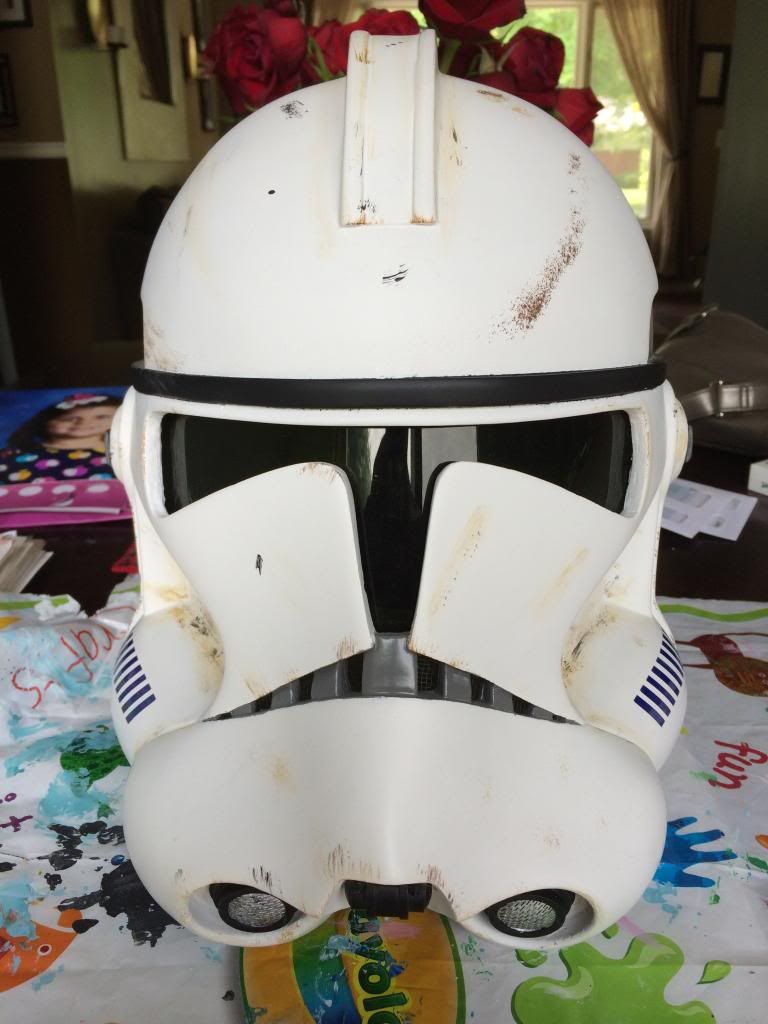
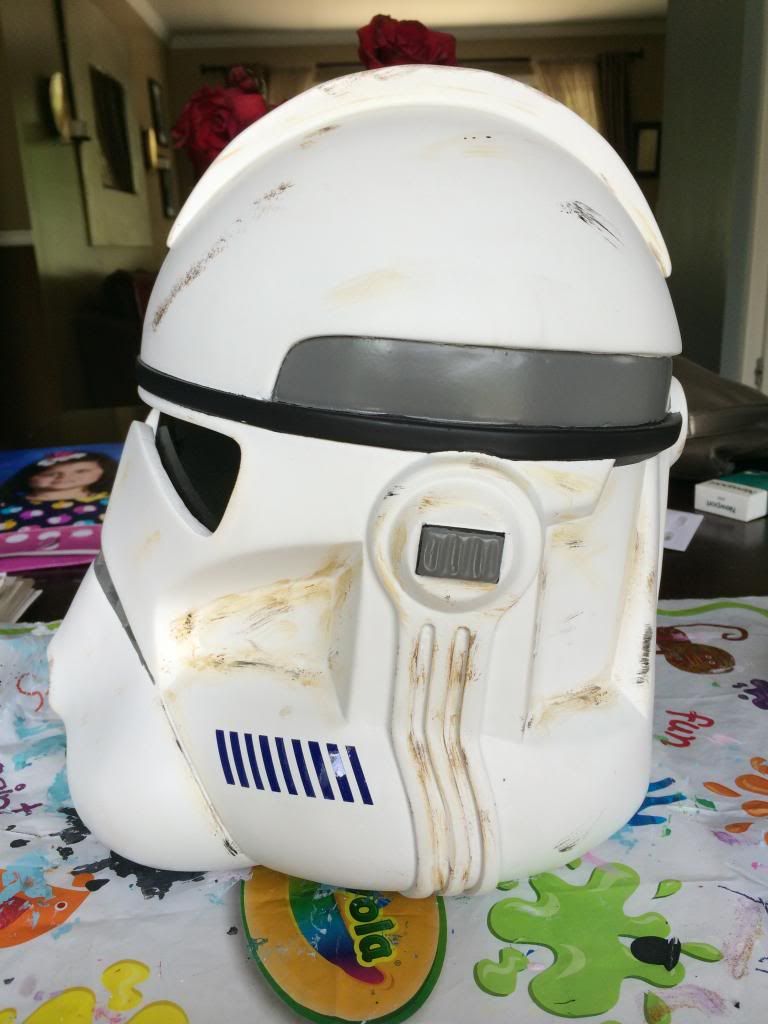
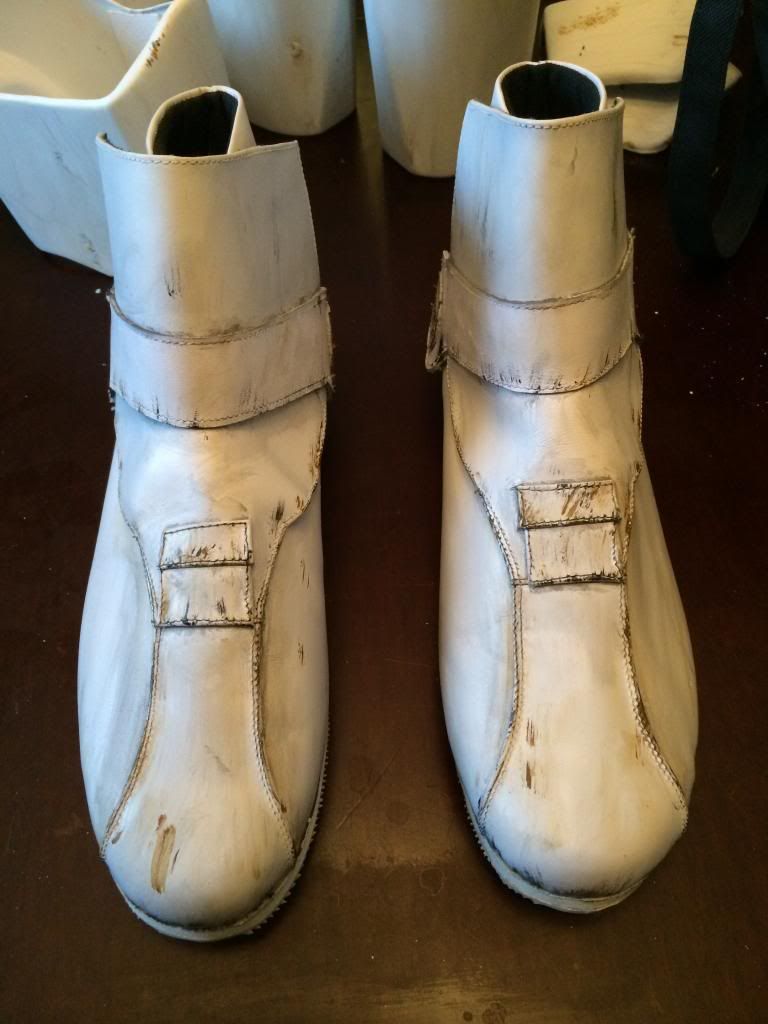
Calves/shins are finally done and painted.

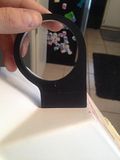
Was able to get the lenses cut out for all three helmets.
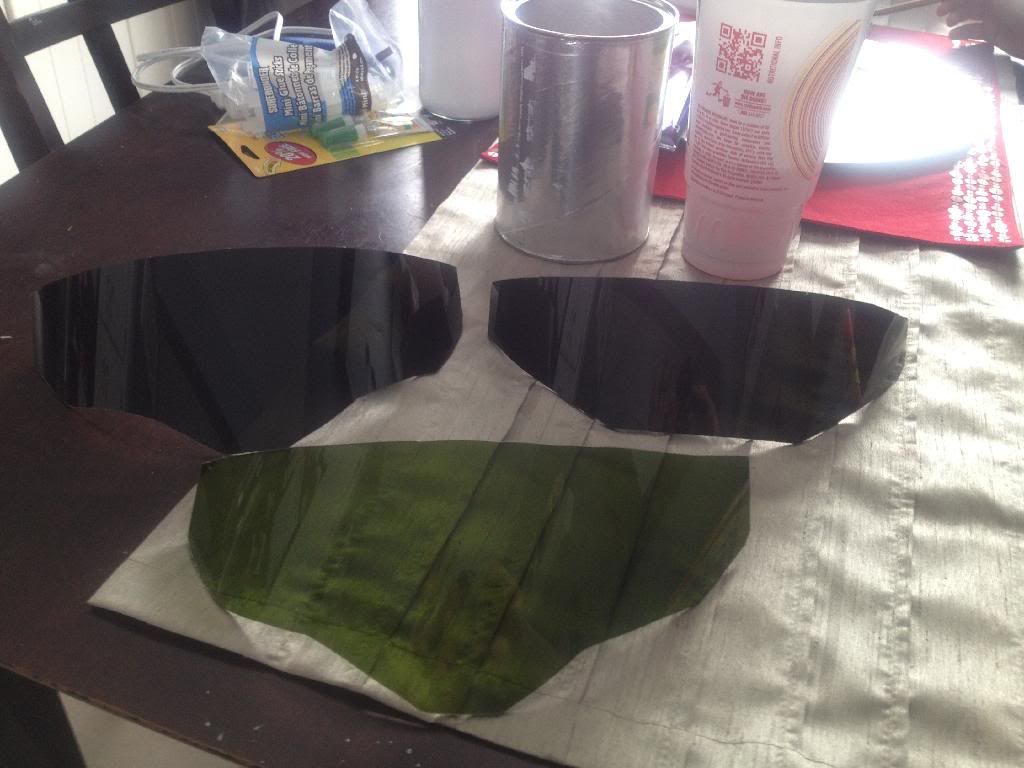
Now I just need to work on mounting them in the helmet. Going to do the magnets again so the lens can be removed and cleaned when needed.
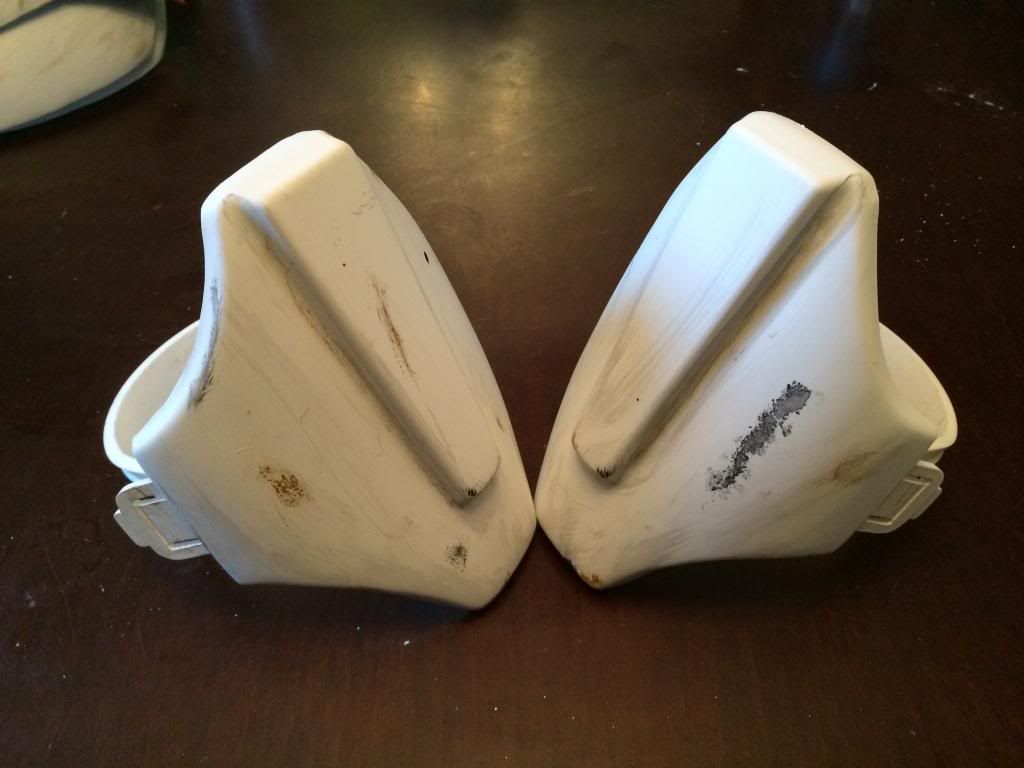
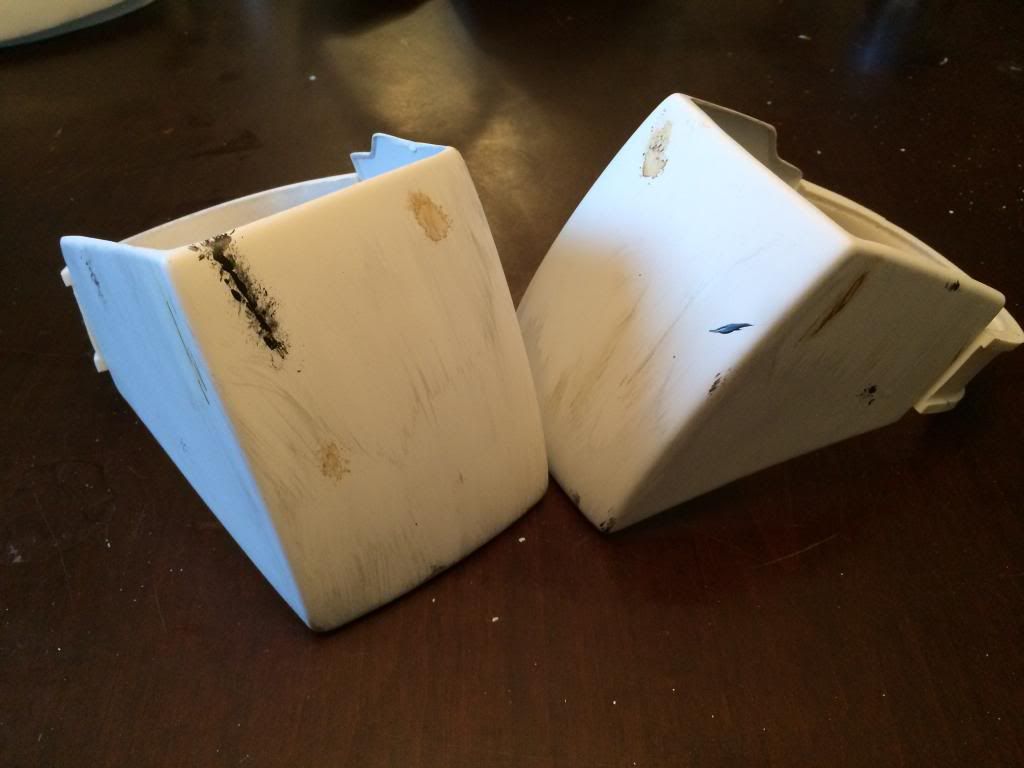
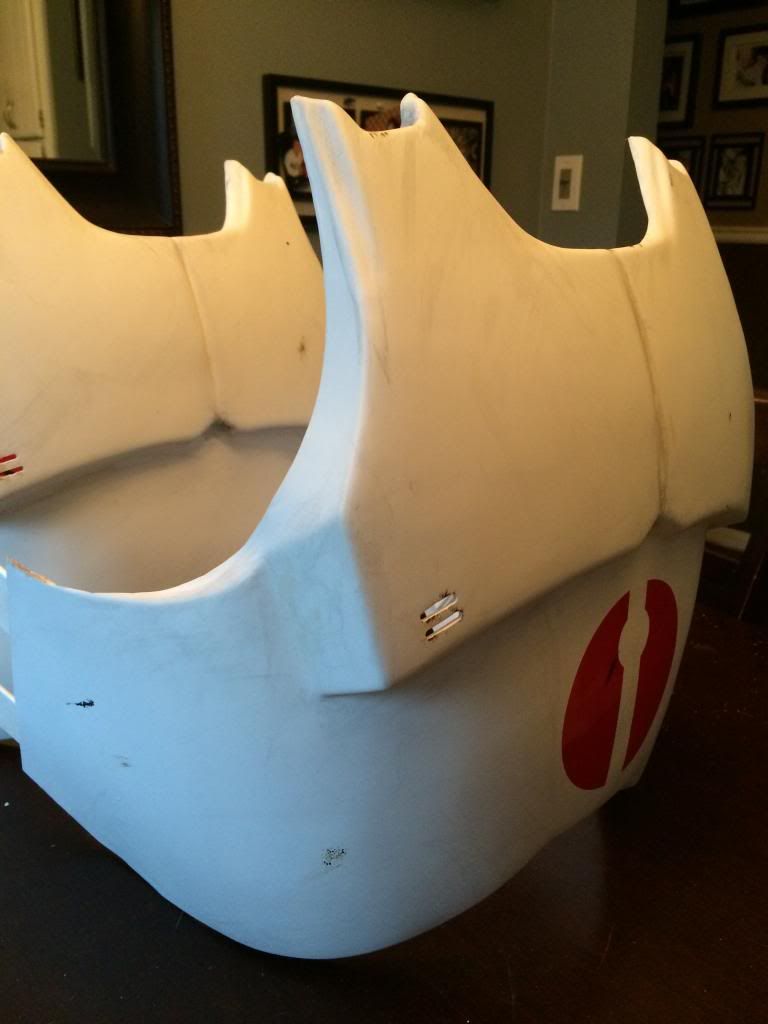
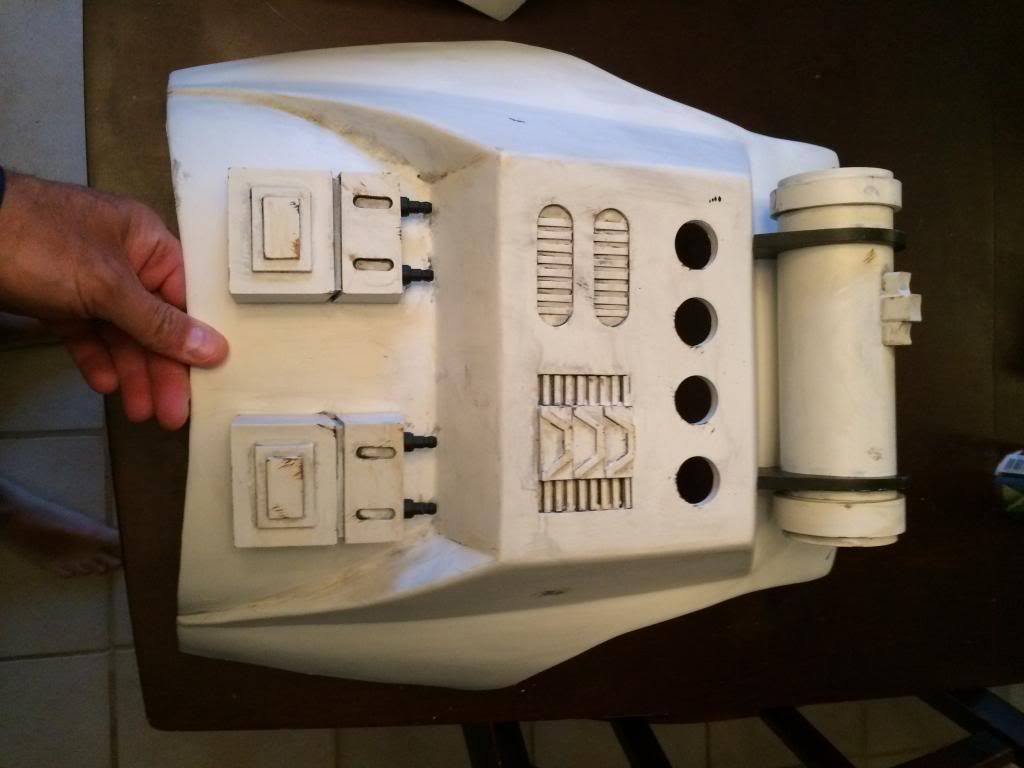
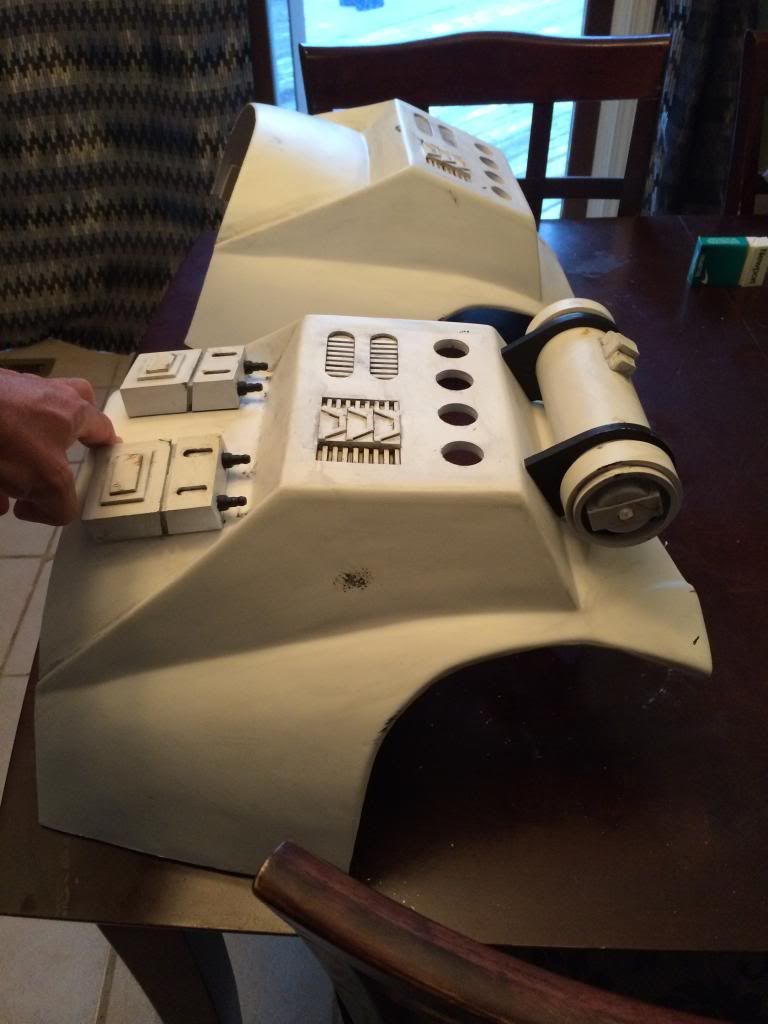
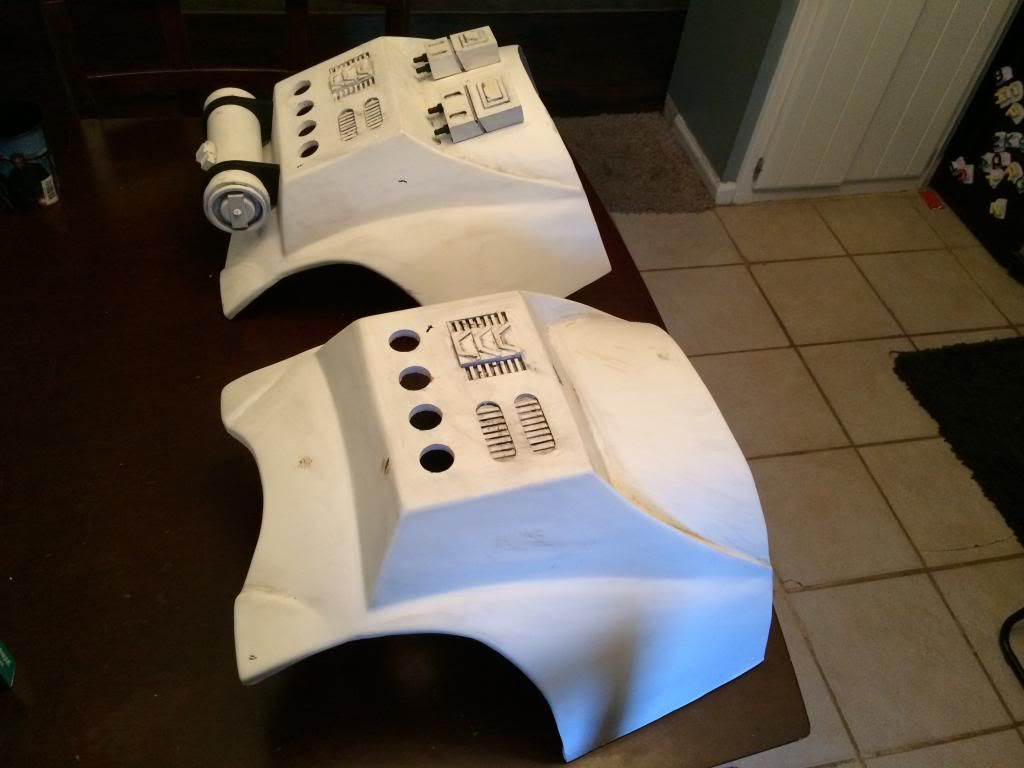
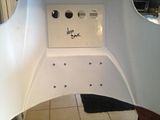
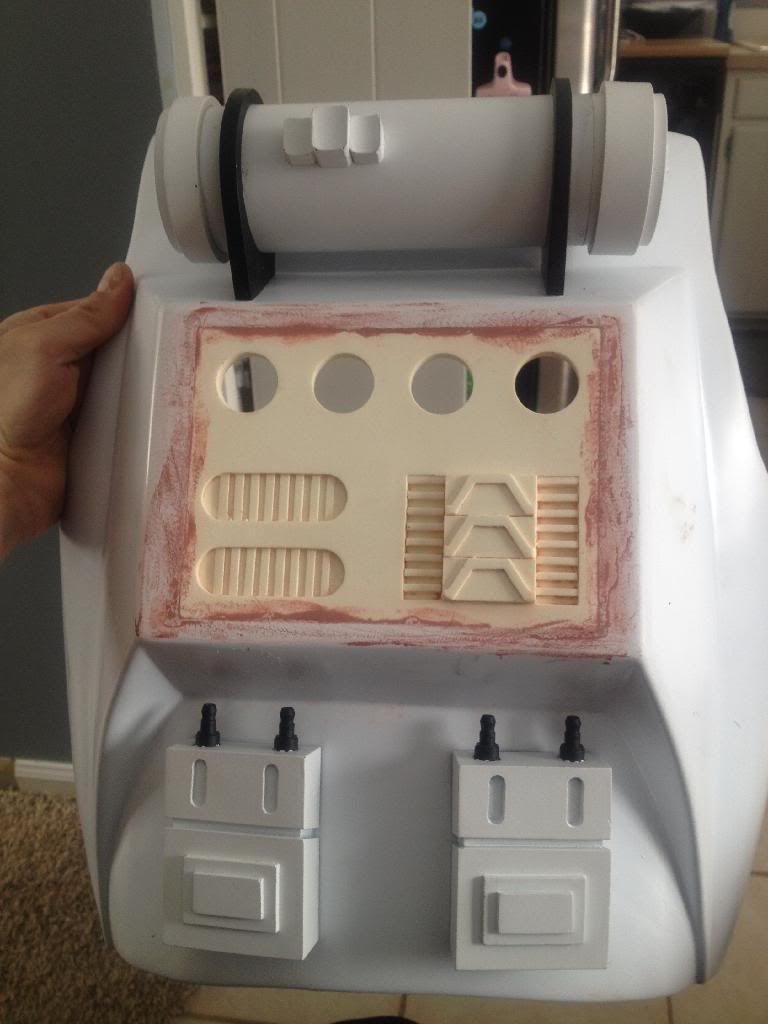
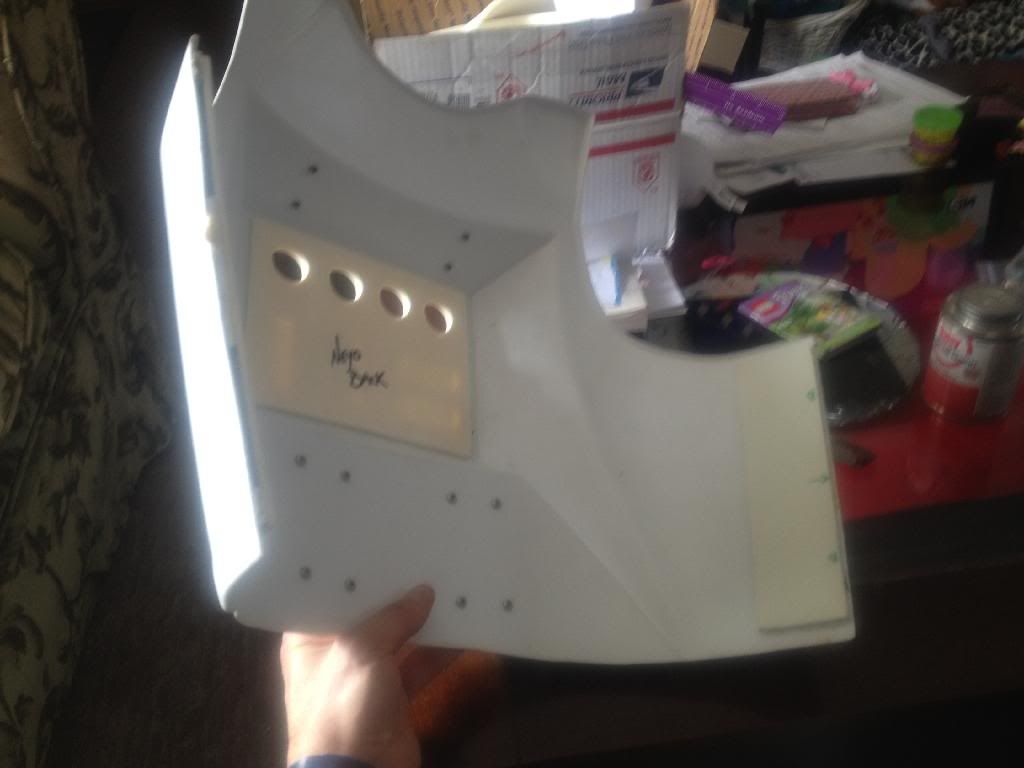
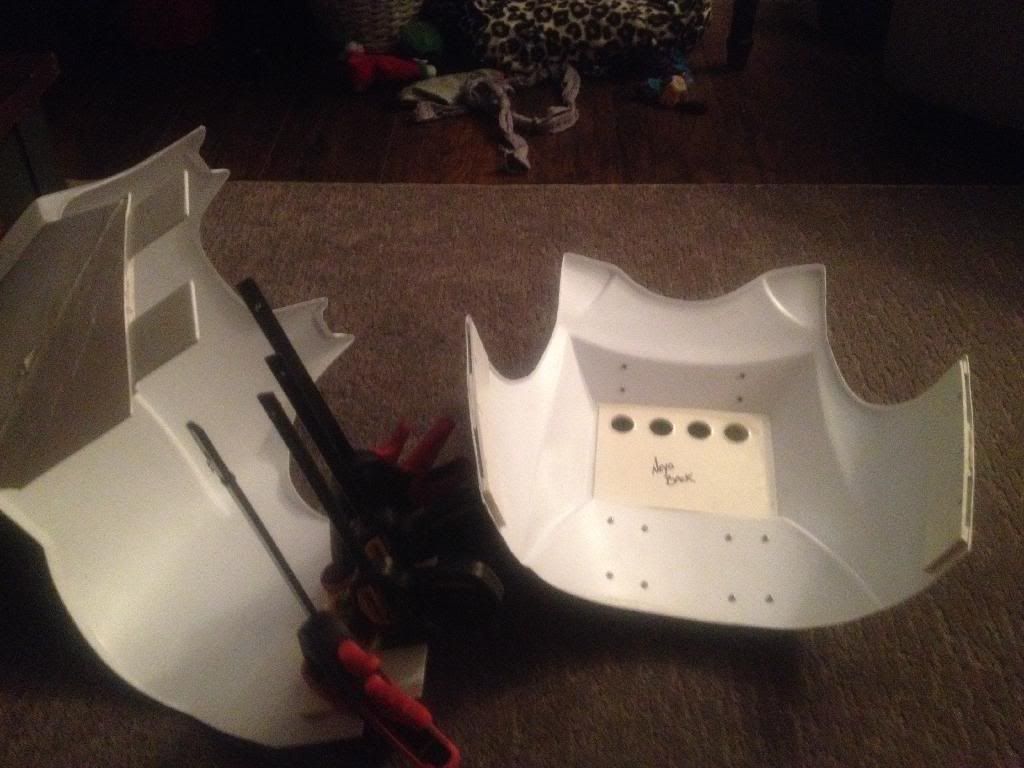
Was able to mount the upper detonator on the back. Used screws to secure the brackets to the back and allow for removal if needed.
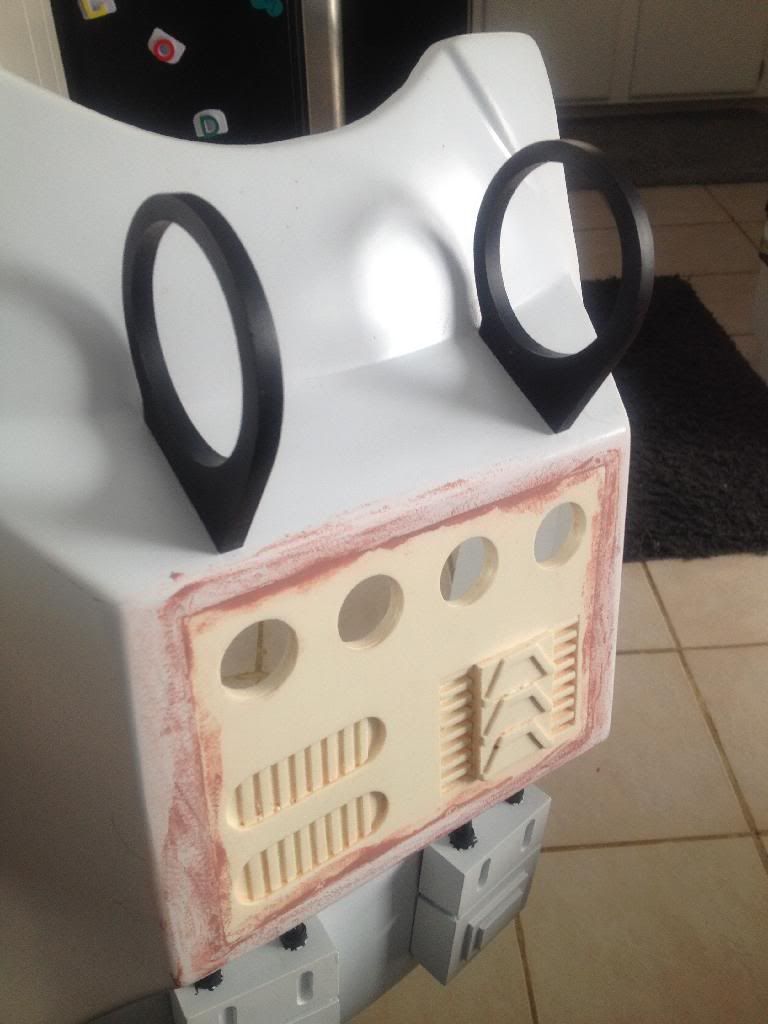
You can see the screws in the upper back.
Here is what the final mount looks like.
Re: Three-in-One Clone Build
Posted: Wed Feb 05, 2014 12:11 pm
by Ripcode
That Neyo back looks great!
Re: Three-in-One Clone Build
Posted: Fri Feb 07, 2014 6:35 am
by BBC527
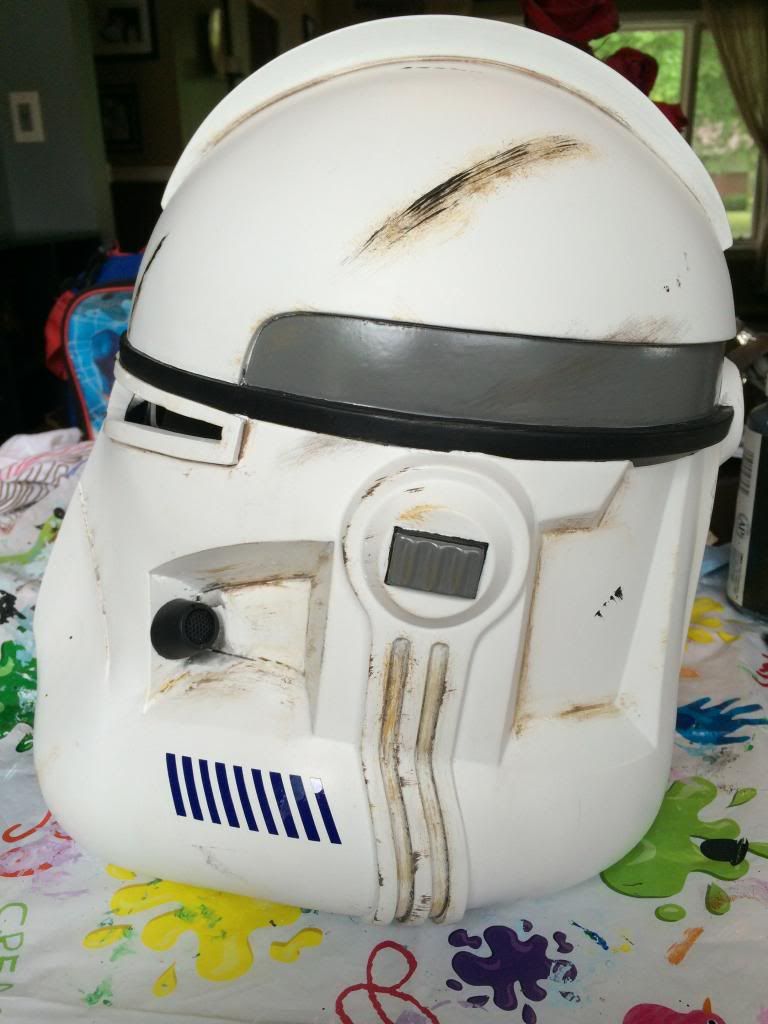
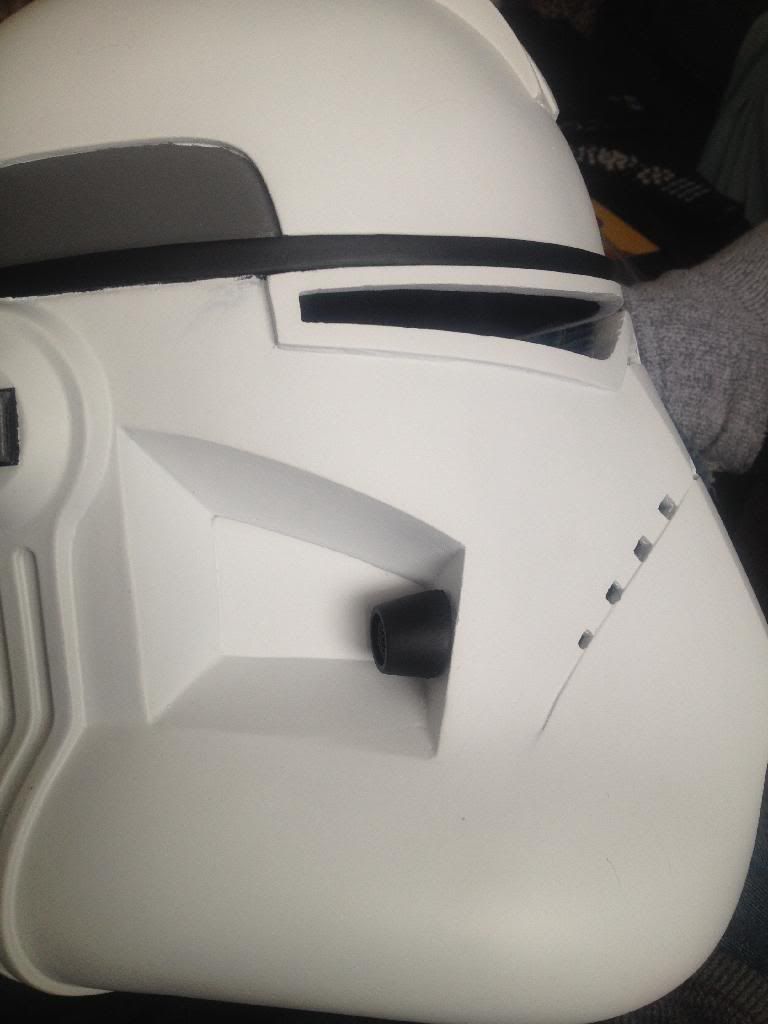
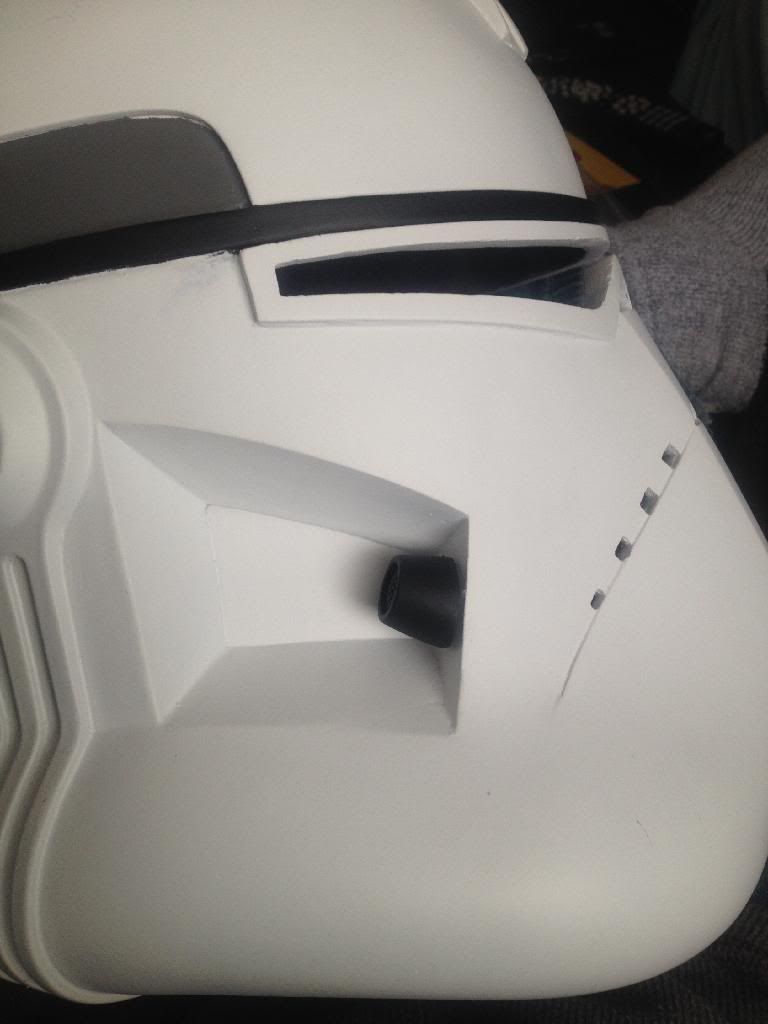
Worked on getting the small metal pieces in the helmets, so the magnets on the lenses will have something to stick too.
Now to just get the lenses done so I can see what it will look like.
Re: Three-in-One Clone Build
Posted: Sun Feb 09, 2014 4:52 pm
by BBC527
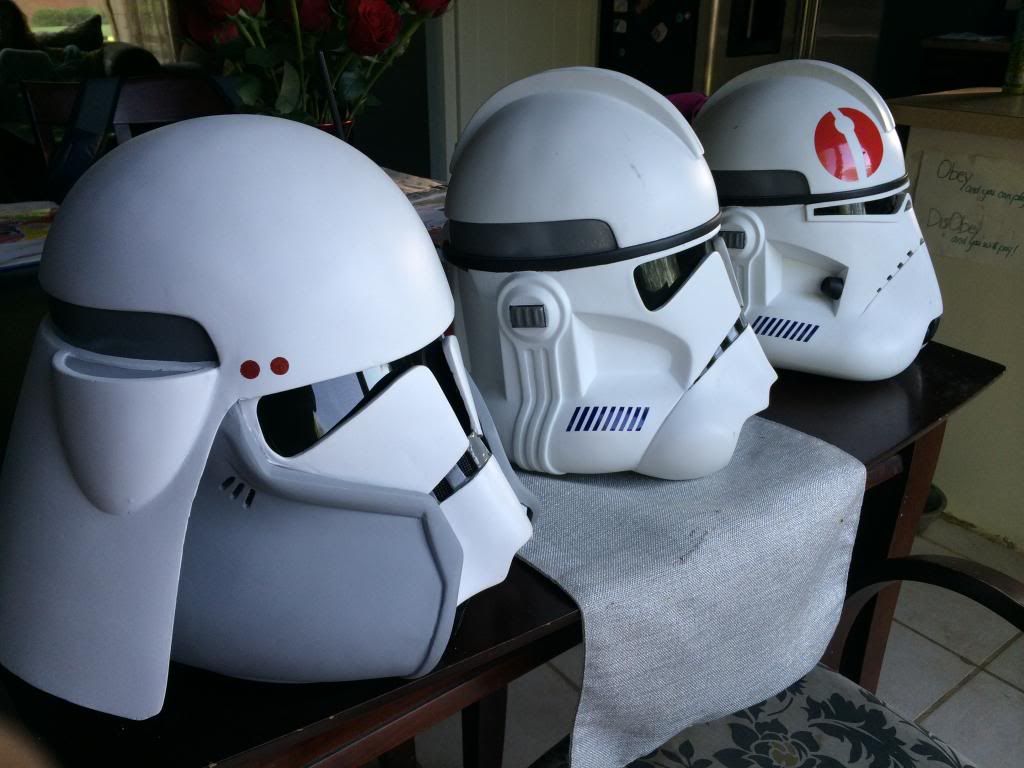
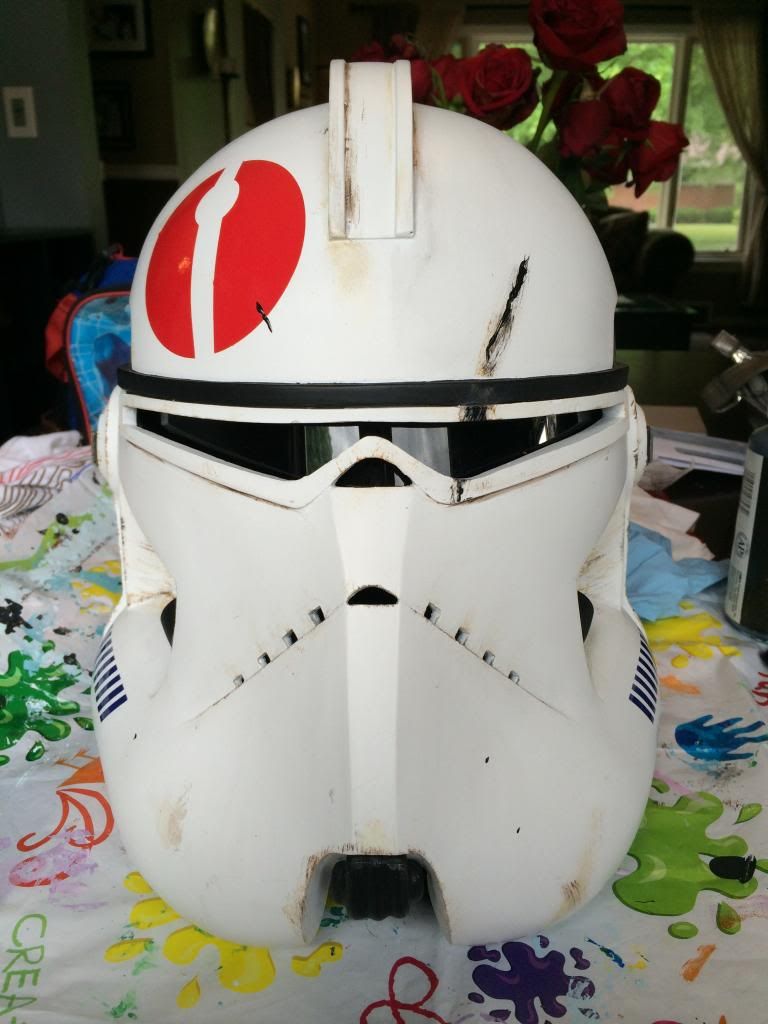
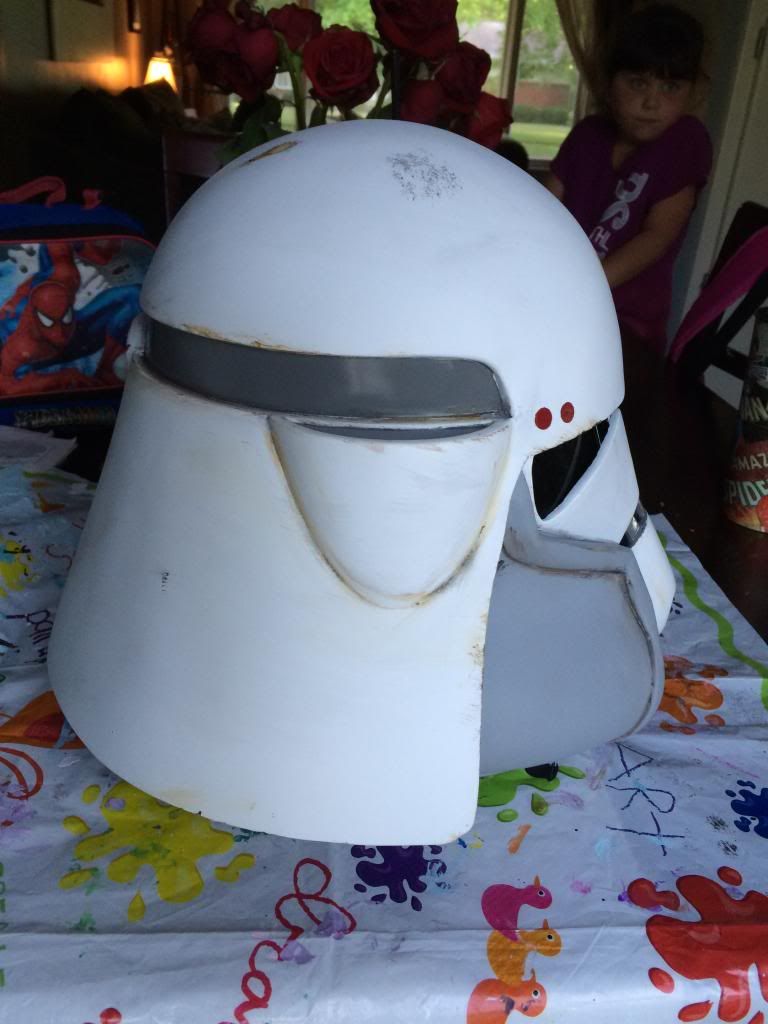
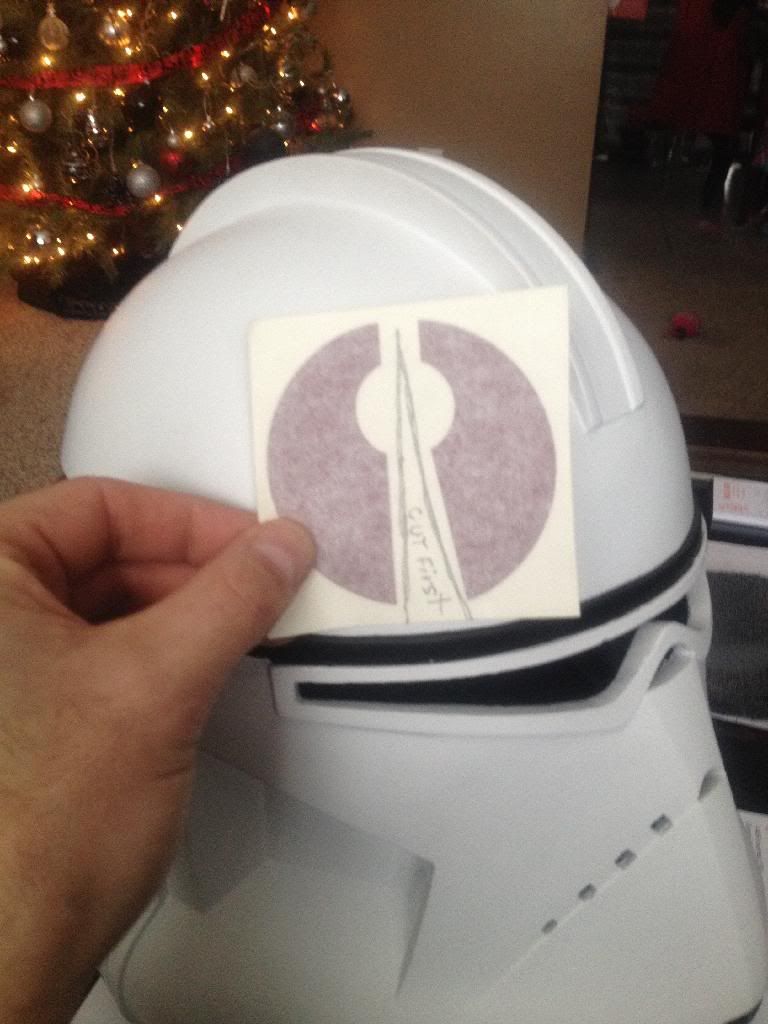
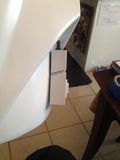
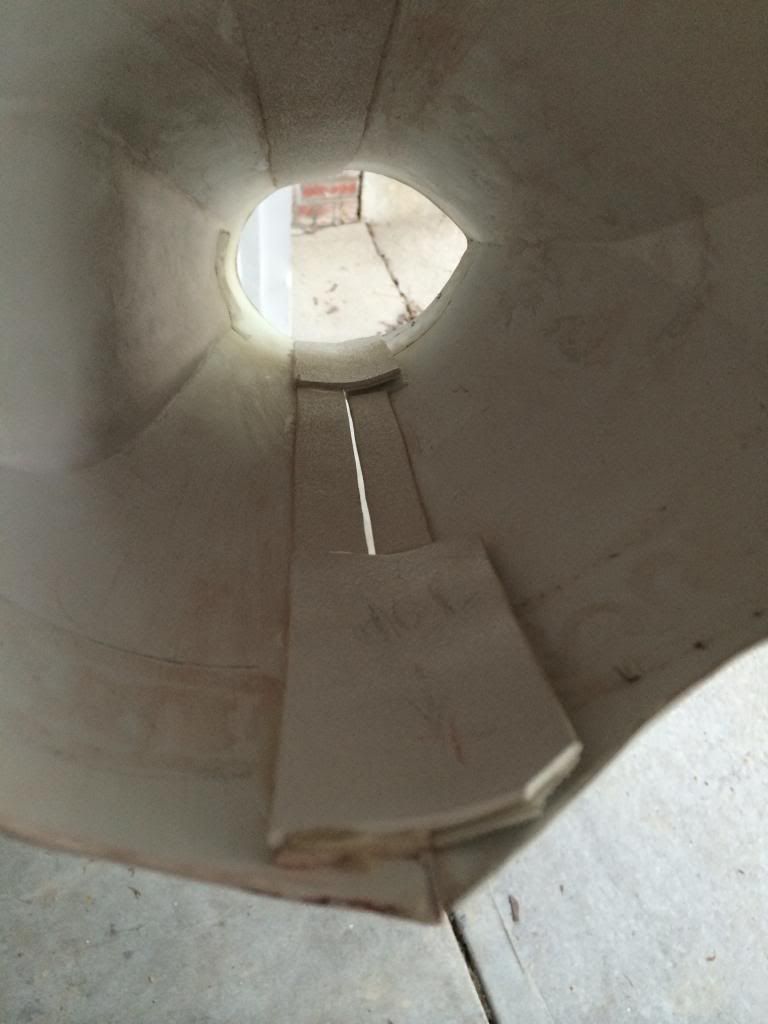
There is an open spot in the back of the Bacara helmet I have.

Does this need to be filled in??
I know it talks about 2 red dots being behind the left antena area. Is this where these dots go?
Re: Three-in-One Clone Build
Posted: Mon Jun 23, 2014 10:15 pm
by BBC527
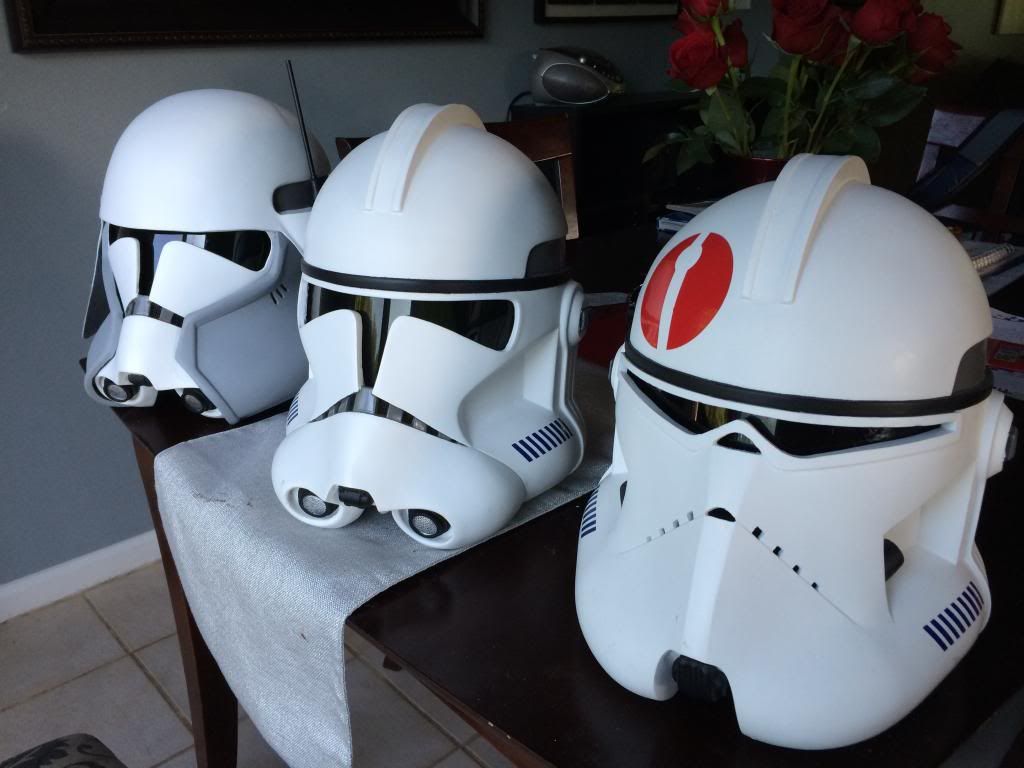
Ok, it's been a while but here we go.
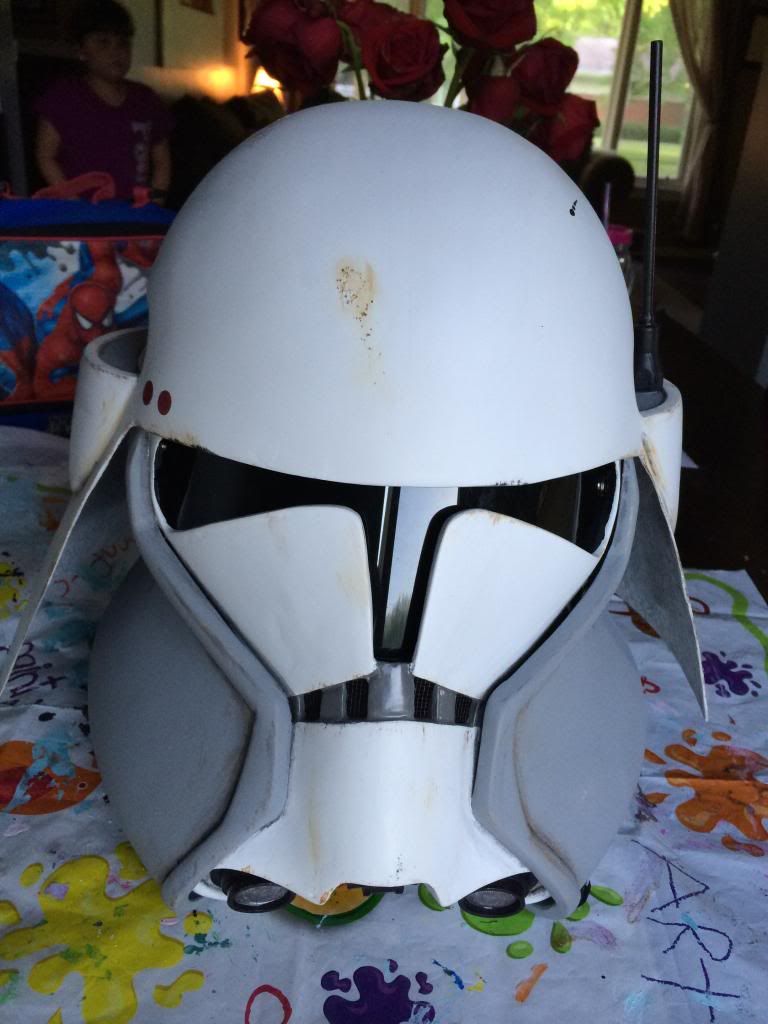
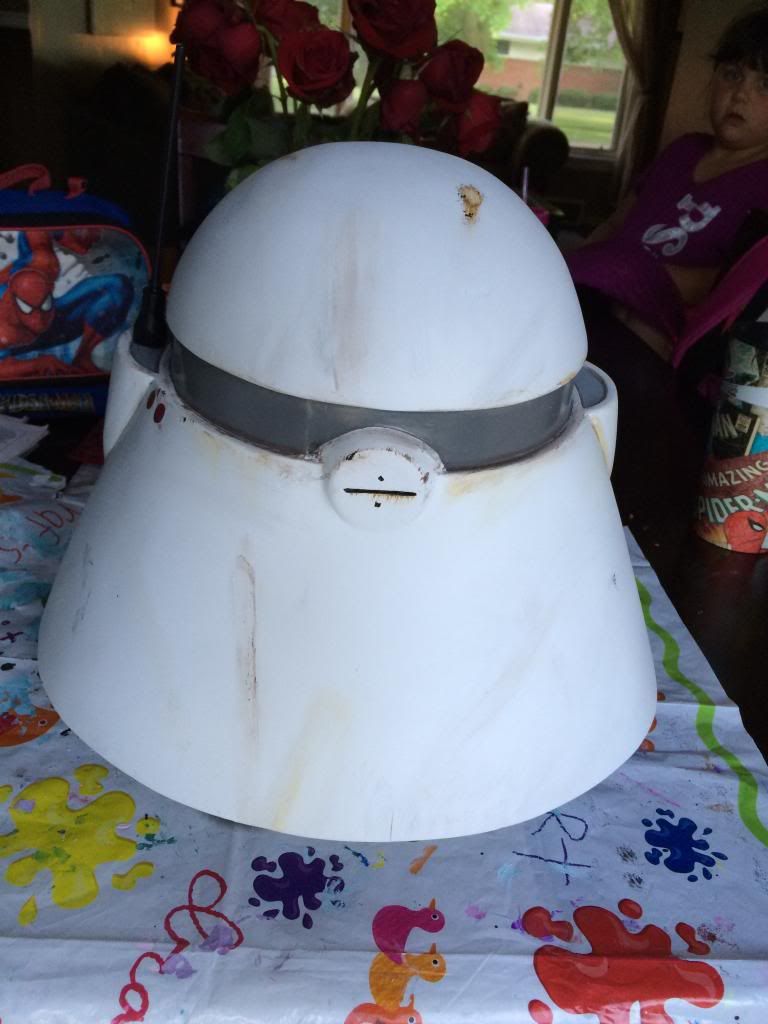
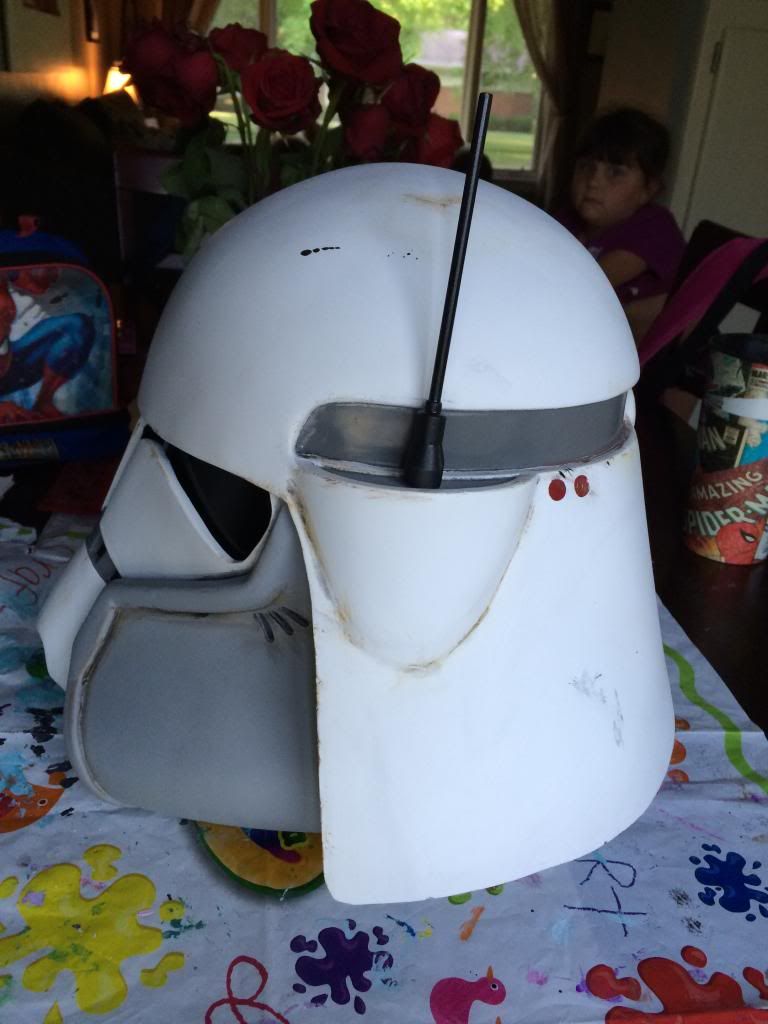
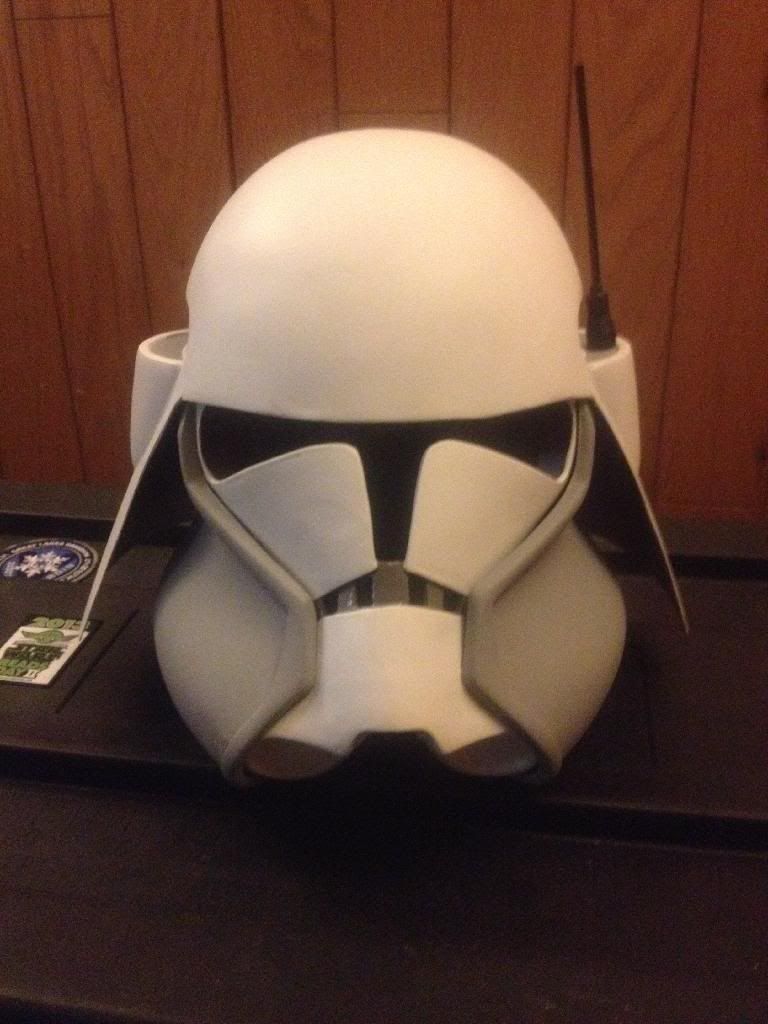
Got antenna in and secured it with magnets.

Helmet looks good
Got a chance to do some fittings while in Grand Rapids for another event back in Feb.
Found out I had to trim the thighs down (too tall), had to trim some out of the ab section, and found out the calves/shins were not quite wide enough to get the foot through. On to the adjustments and finishing up the project.
Re: Three-in-One Clone Build
Posted: Mon Jun 23, 2014 10:29 pm
by BBC527
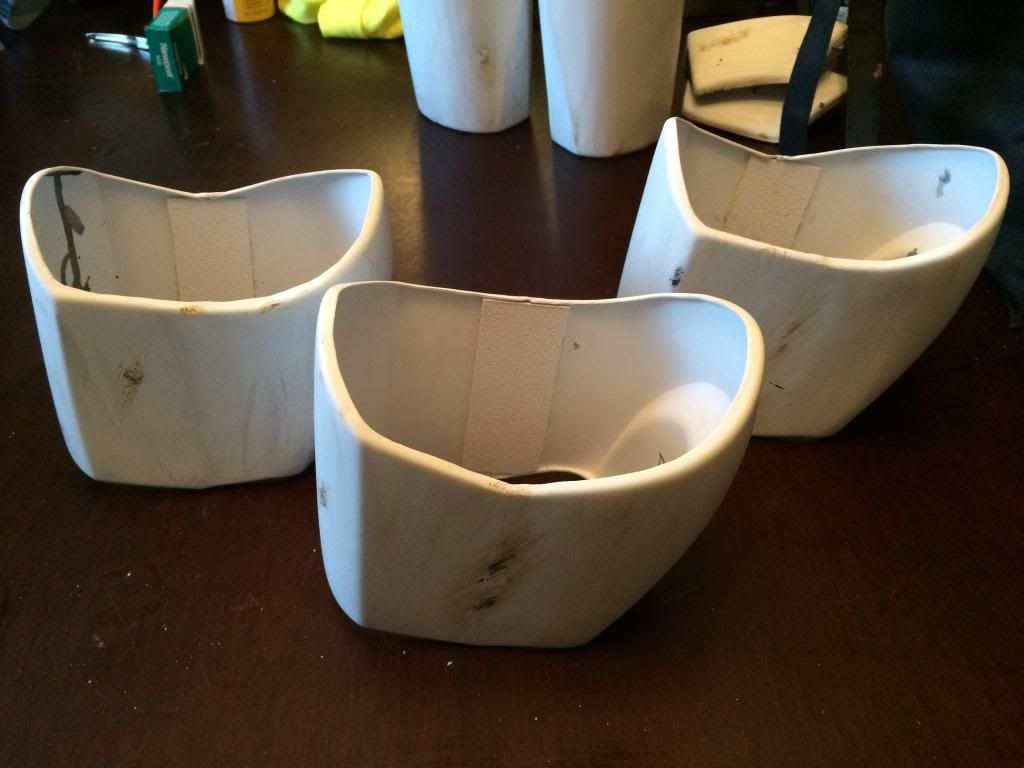
With the adjustments, I had to trim down the thighs. Here is how much I had to take off.
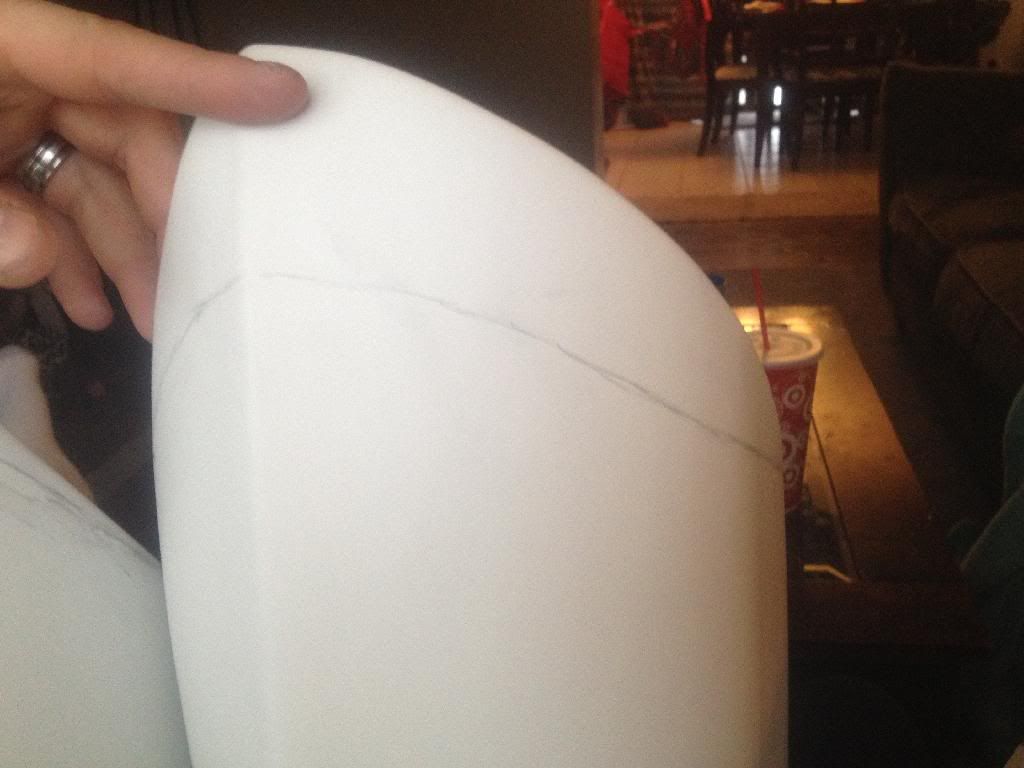
Had to trim the ab down.
Before:
After :
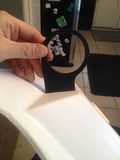
Started on the chest and back connection (my slot and tab connection)
Looks Good!!!
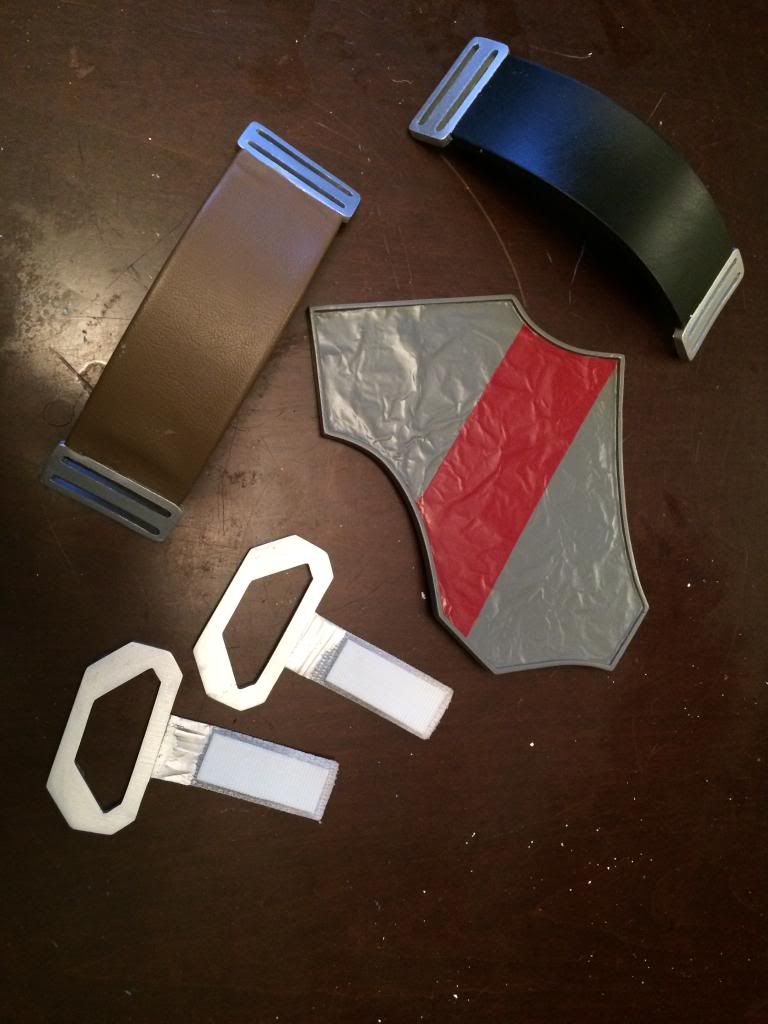
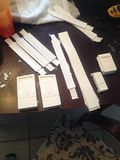
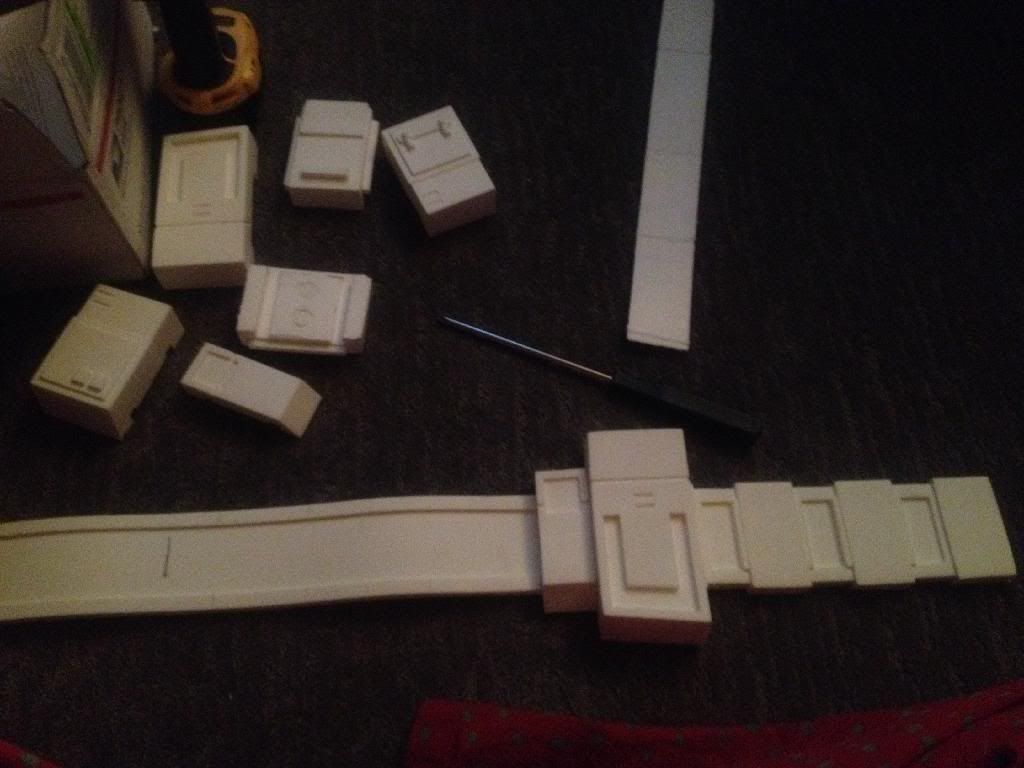
Started putting together Steelblitz foam belt
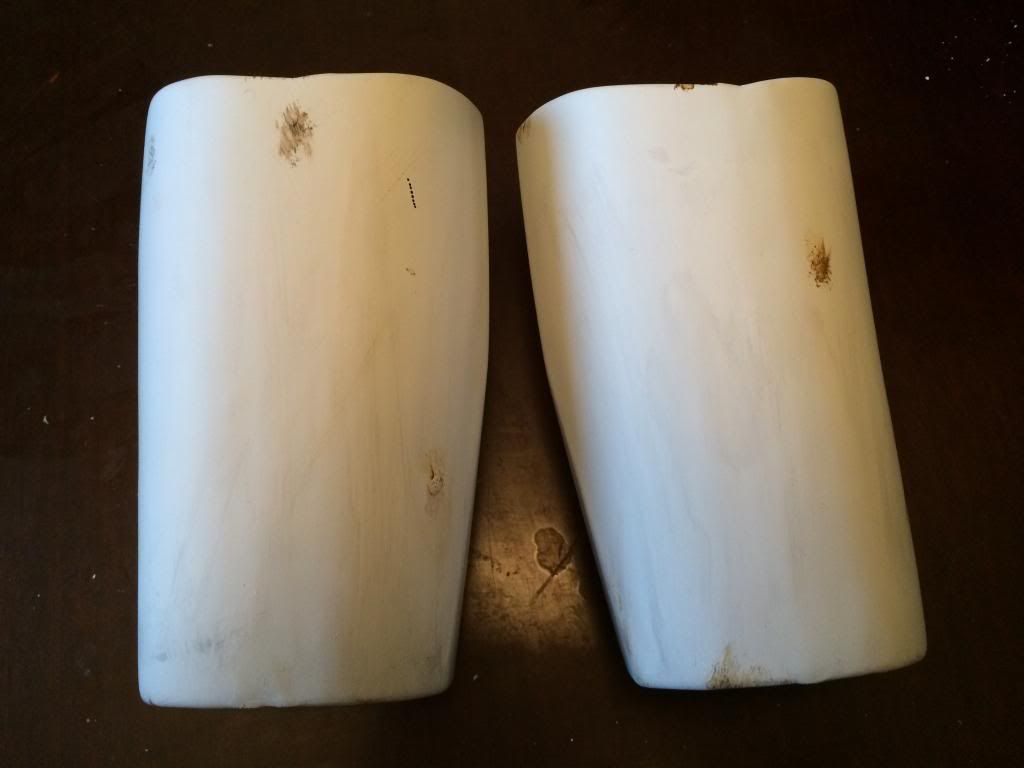
Figured the best thing for the calves/shin would be to cut them in half down one side and leave a seam on the inside to get his leg in.
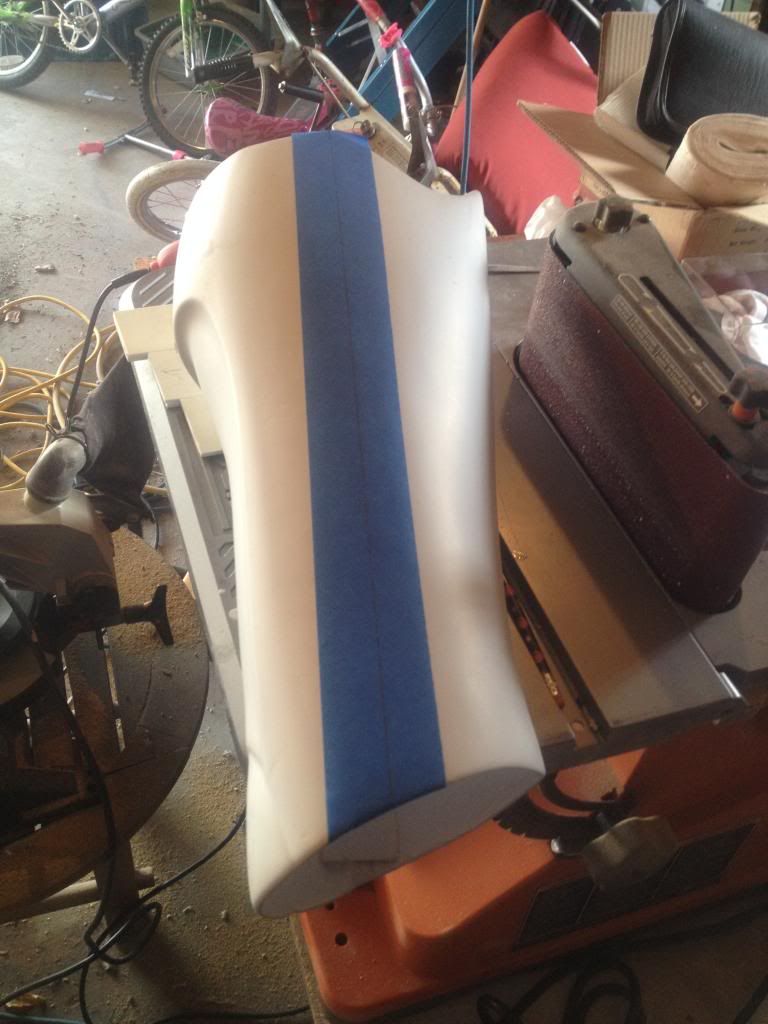
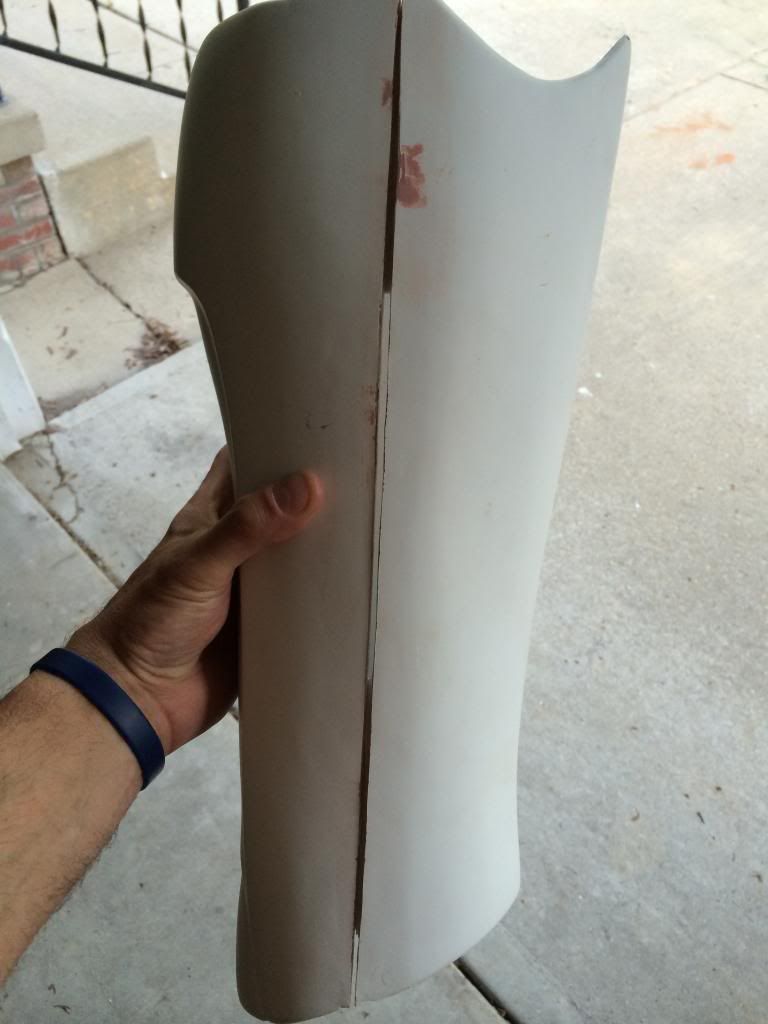
Put Velcro tabs on he inside to help keep it together
Getting closer to the end.
Re: Three-in-One Clone Build
Posted: Mon Jun 23, 2014 10:40 pm
by BBC527
Re: Three-in-One Clone Build
Posted: Mon Jun 23, 2014 10:49 pm
by BBC527
Re: Three-in-One Clone Build
Posted: Mon Jun 23, 2014 11:02 pm
by BBC527
Re: Three-in-One Clone Build
Posted: Mon Jun 23, 2014 11:16 pm
by BBC527