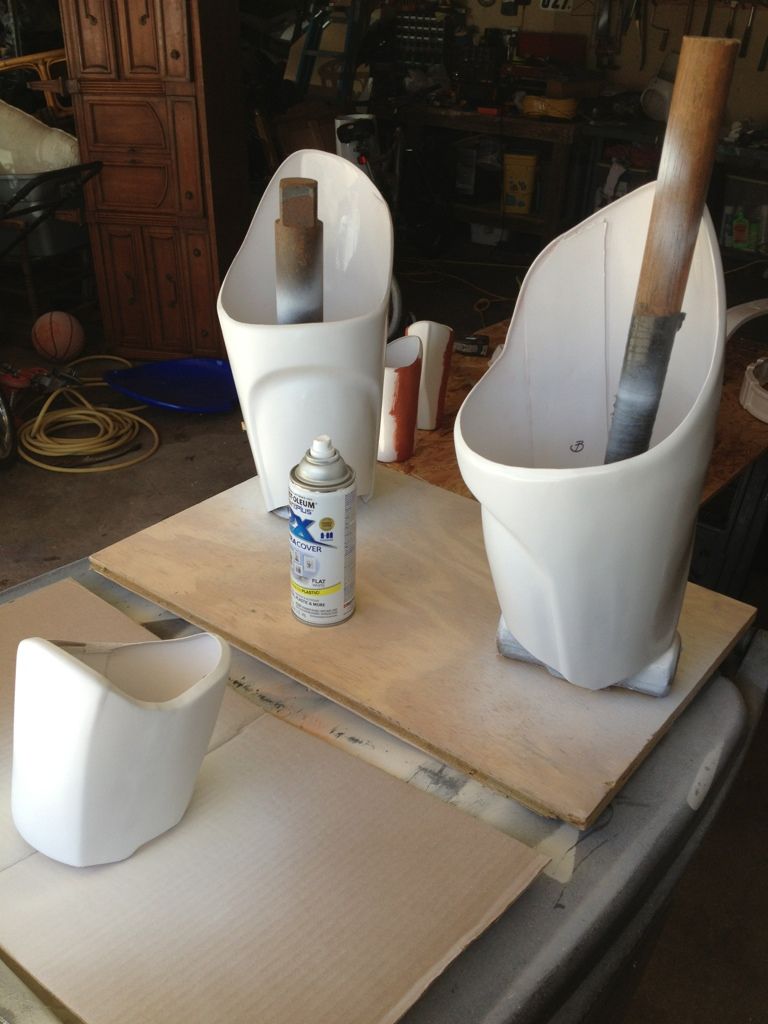
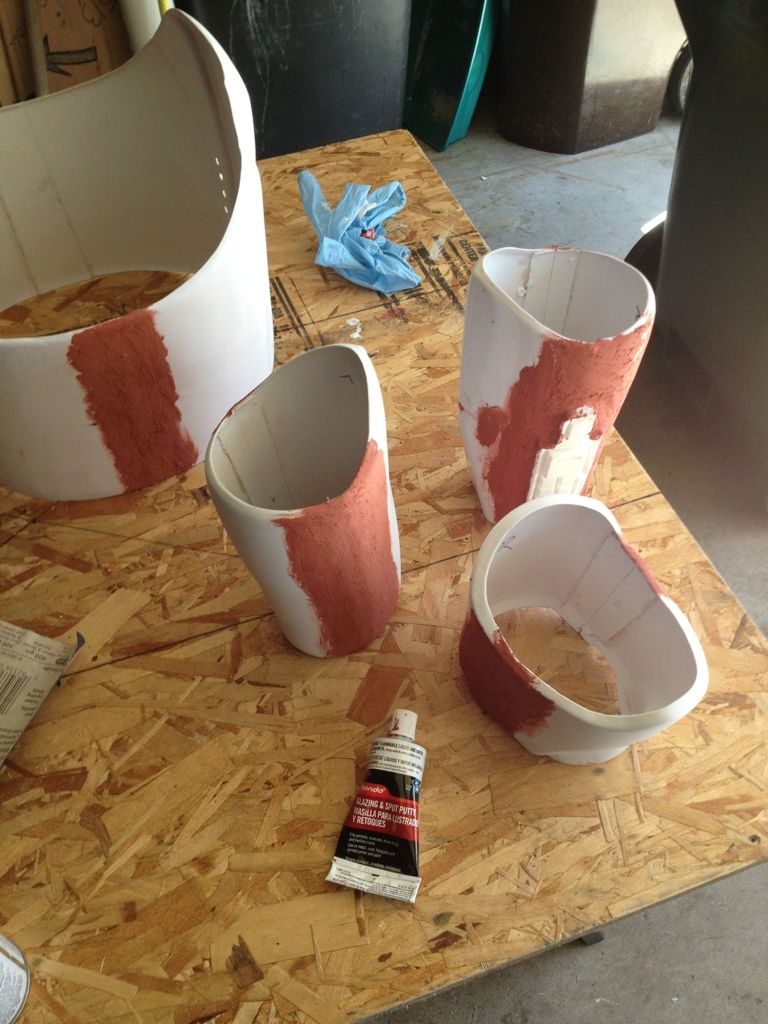
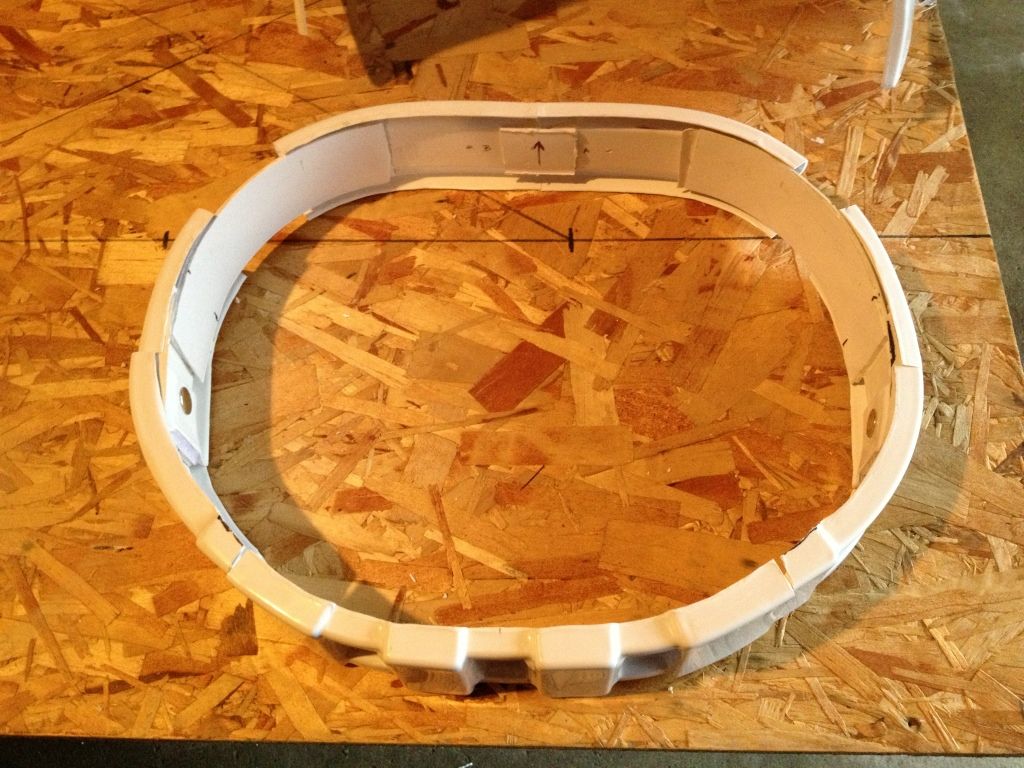
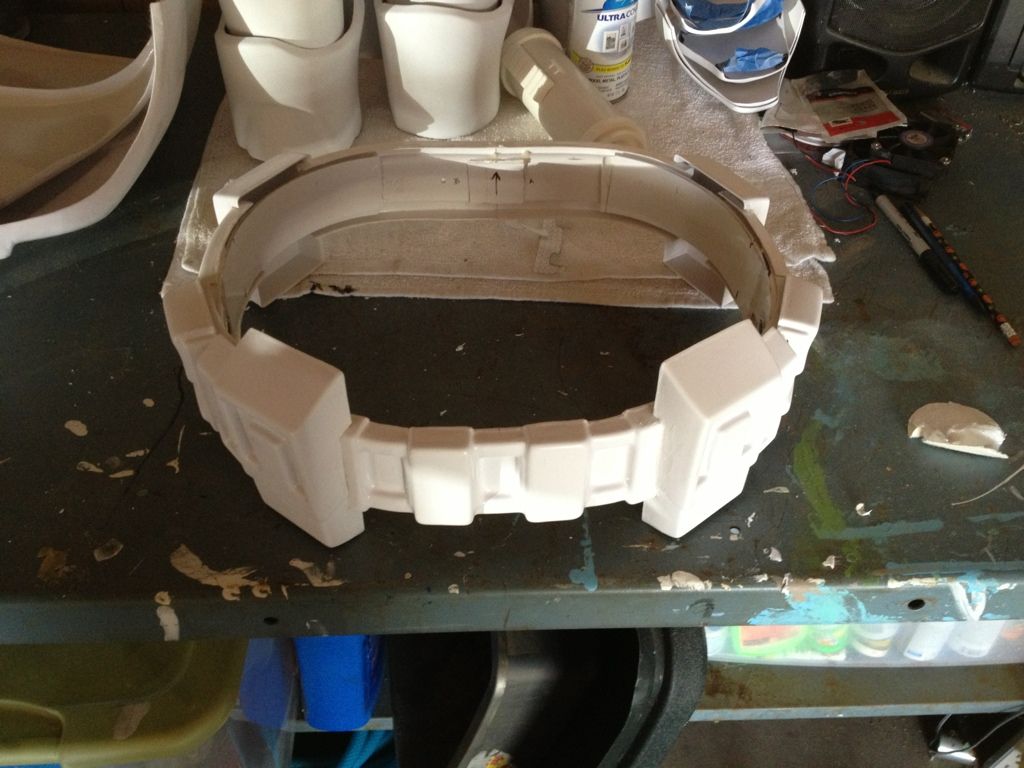
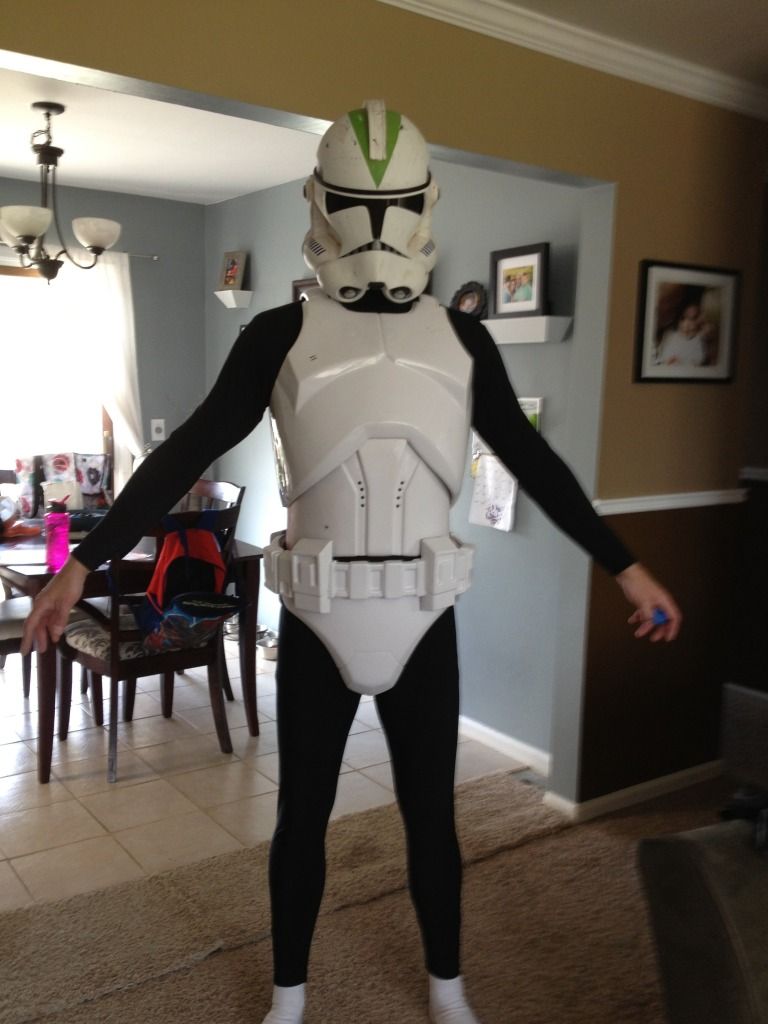
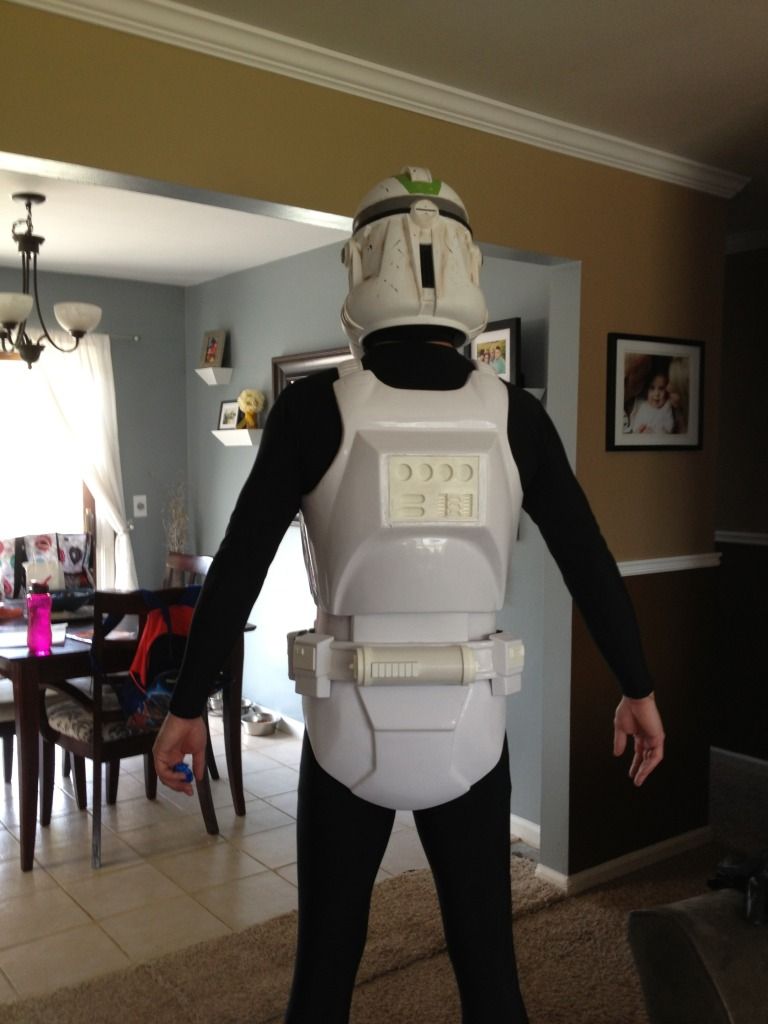
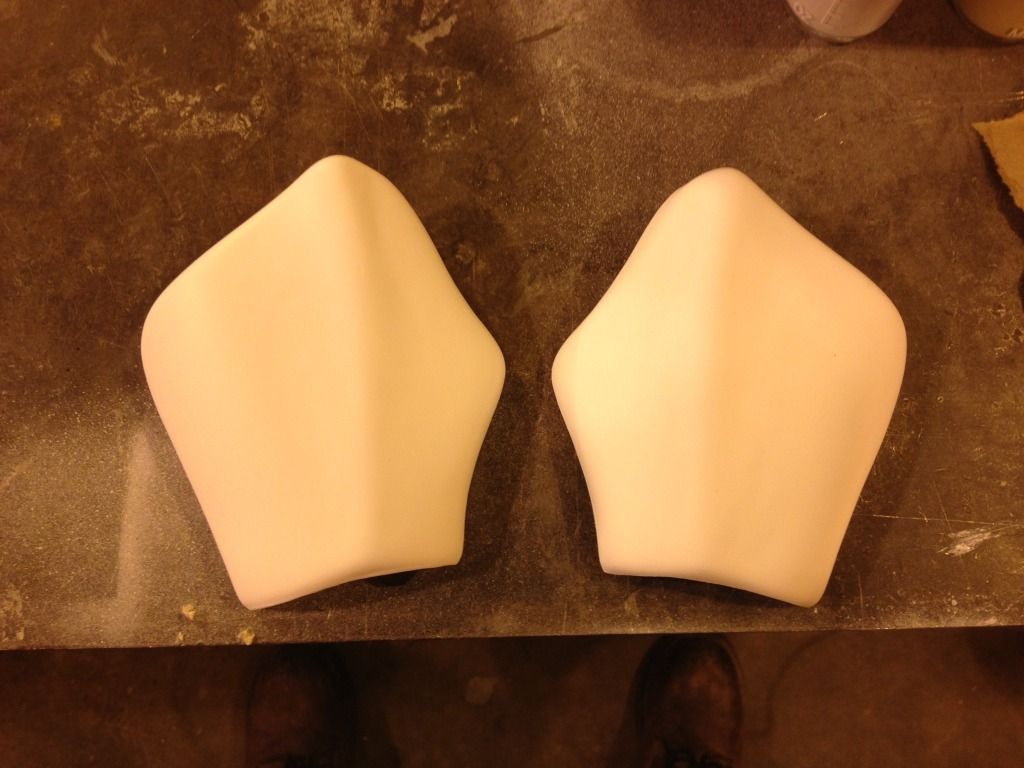
Along with bondoing the forearms, bicep, and ab.
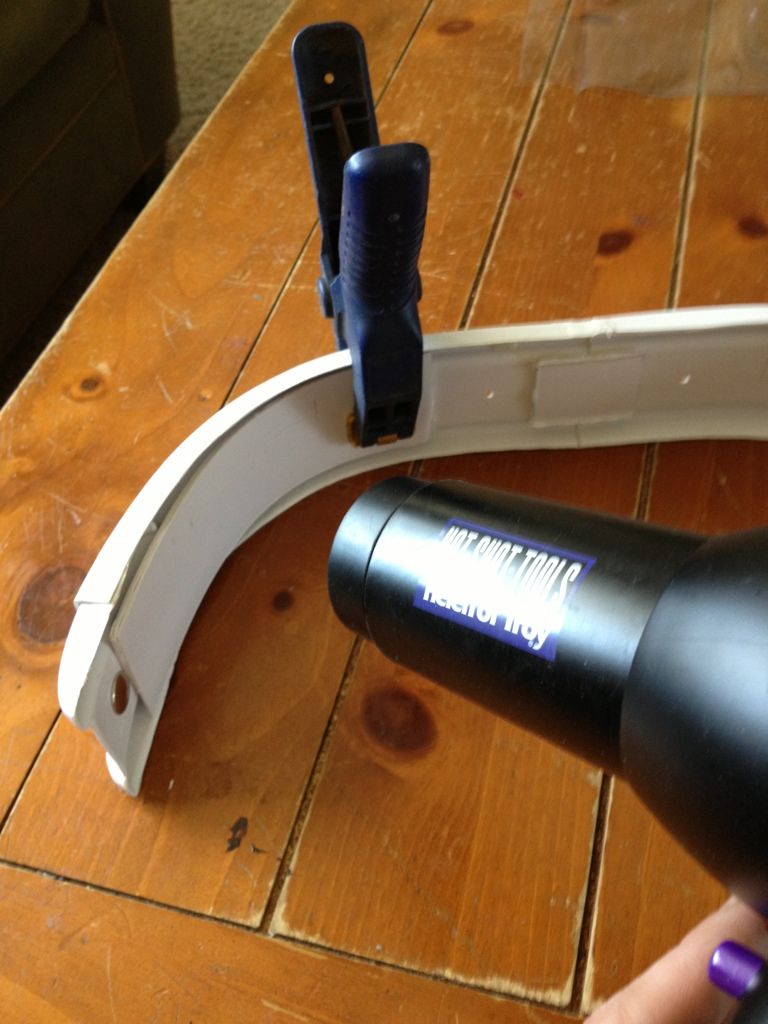
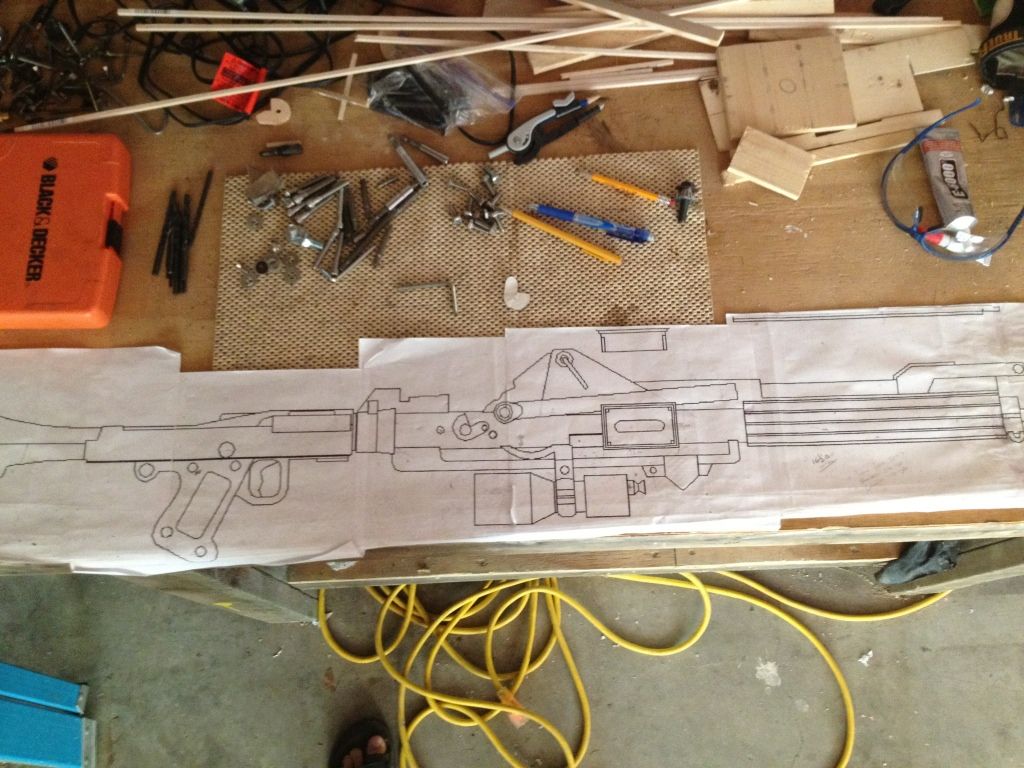
Plus, what's a little work without injury. Drilled into my finger while working on the detonator.


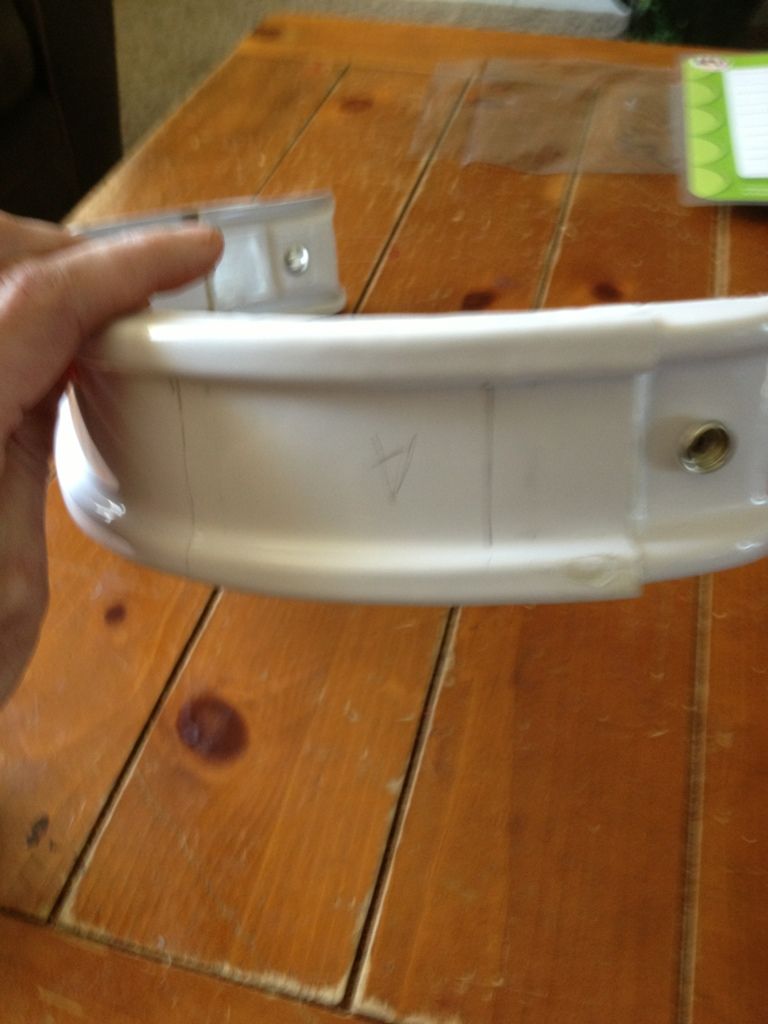


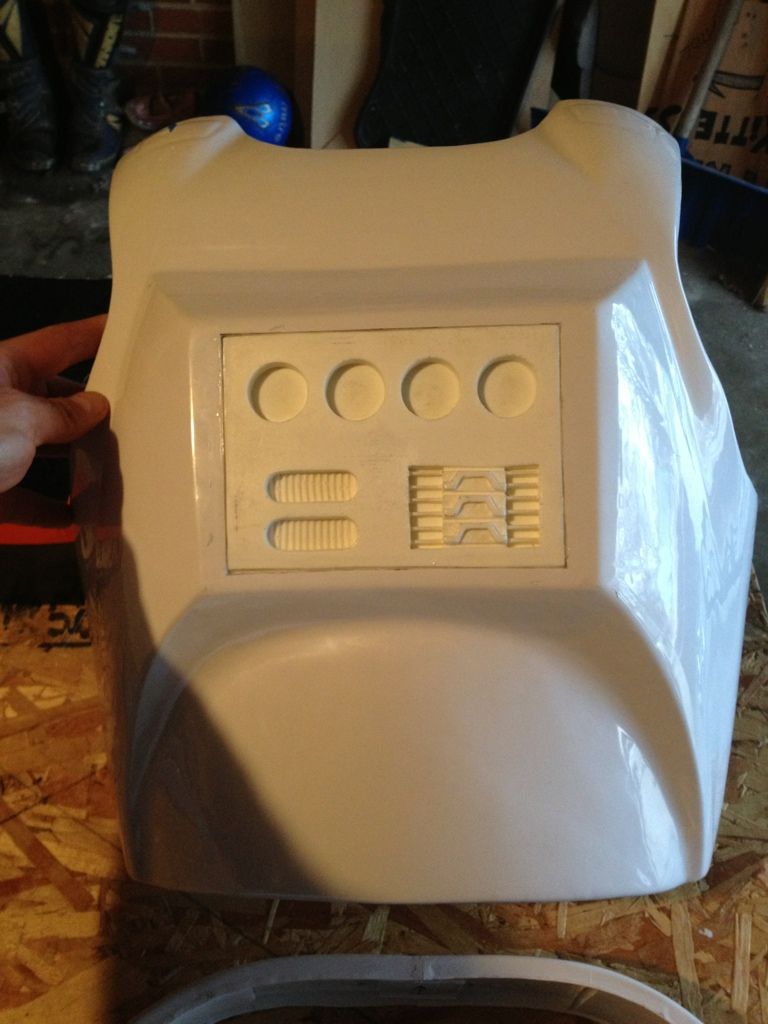


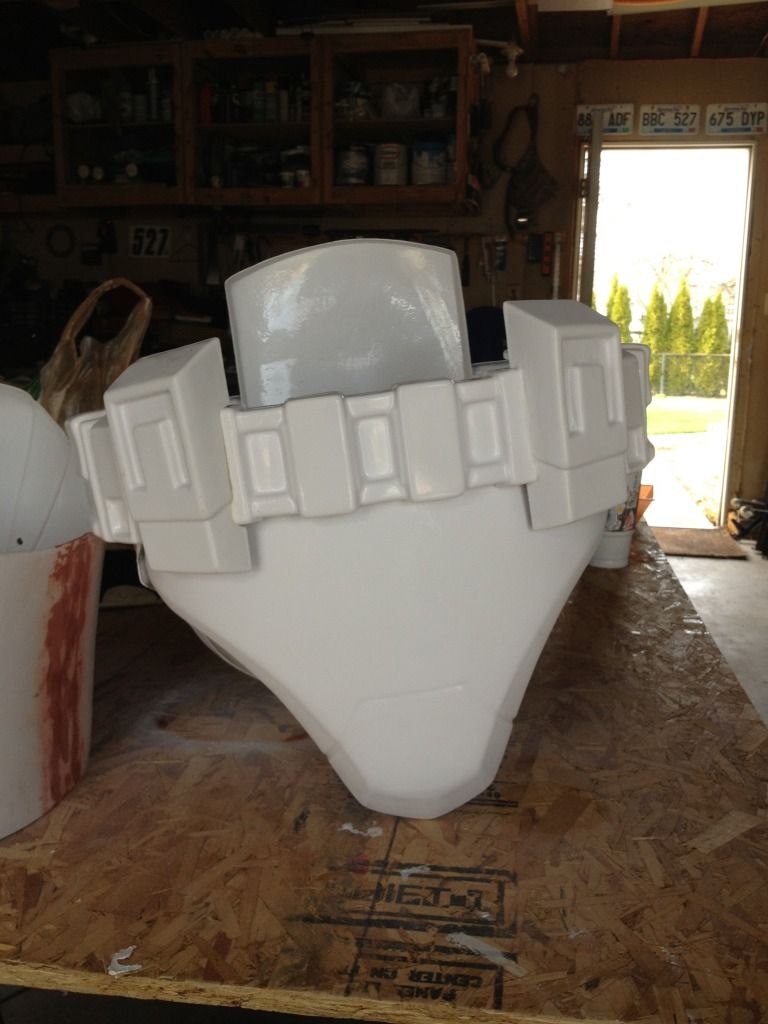


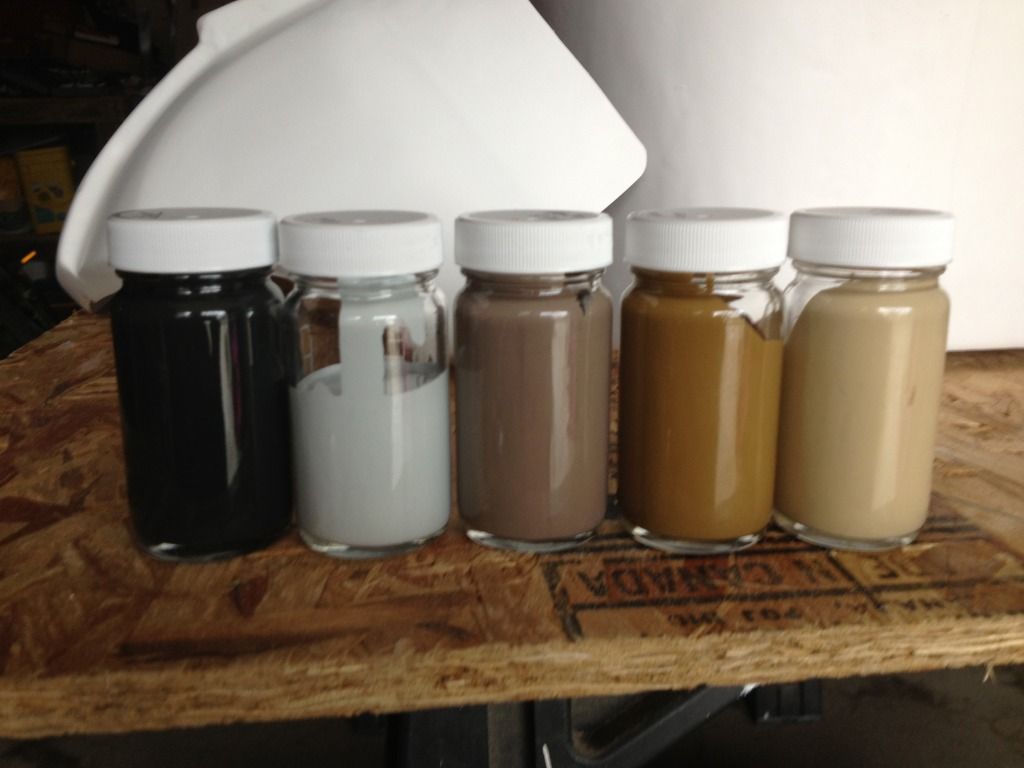
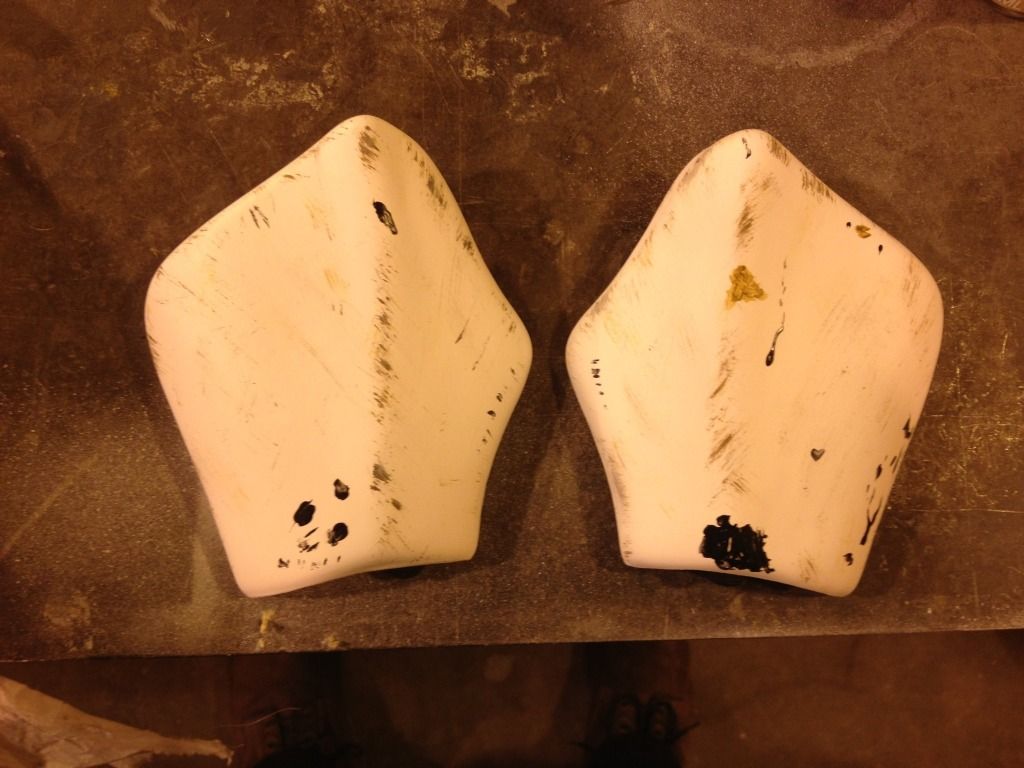

It's weathering and shading you are seeing in the groove.DeafTrooper wrote:Compad is same color. Groove is not painted.