Page 1 of 6
442nd WIP
Posted: Tue Mar 05, 2013 10:22 pm
by BBC527
After several months of saving, I was finally able to get my armor from Kevin.
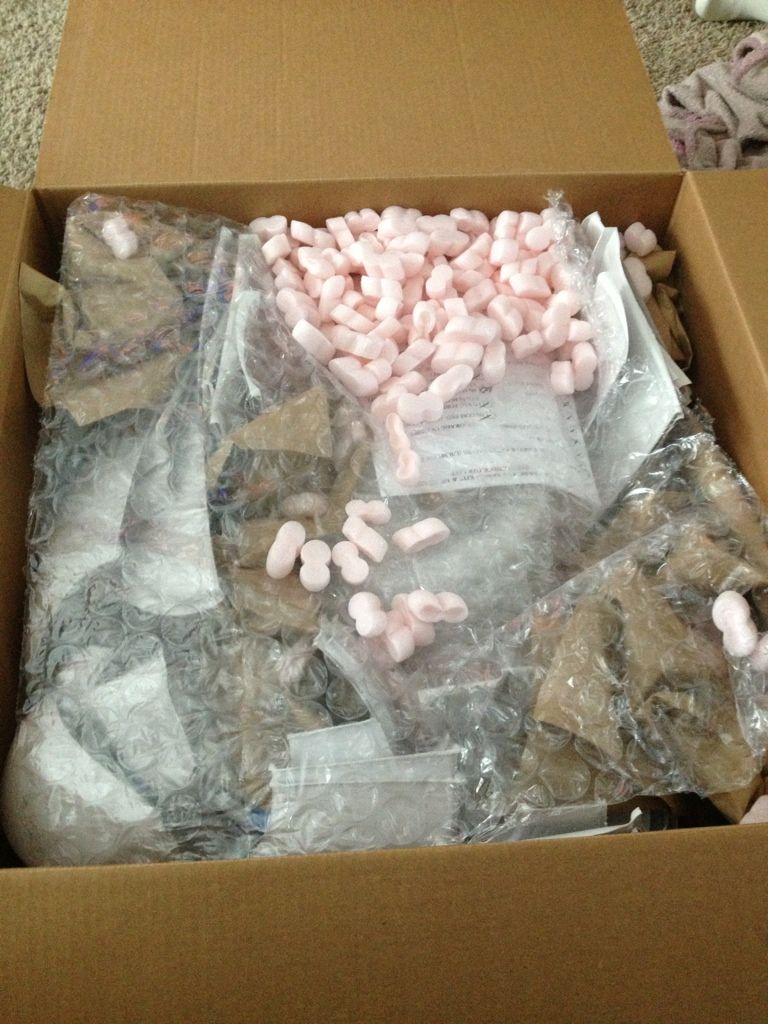
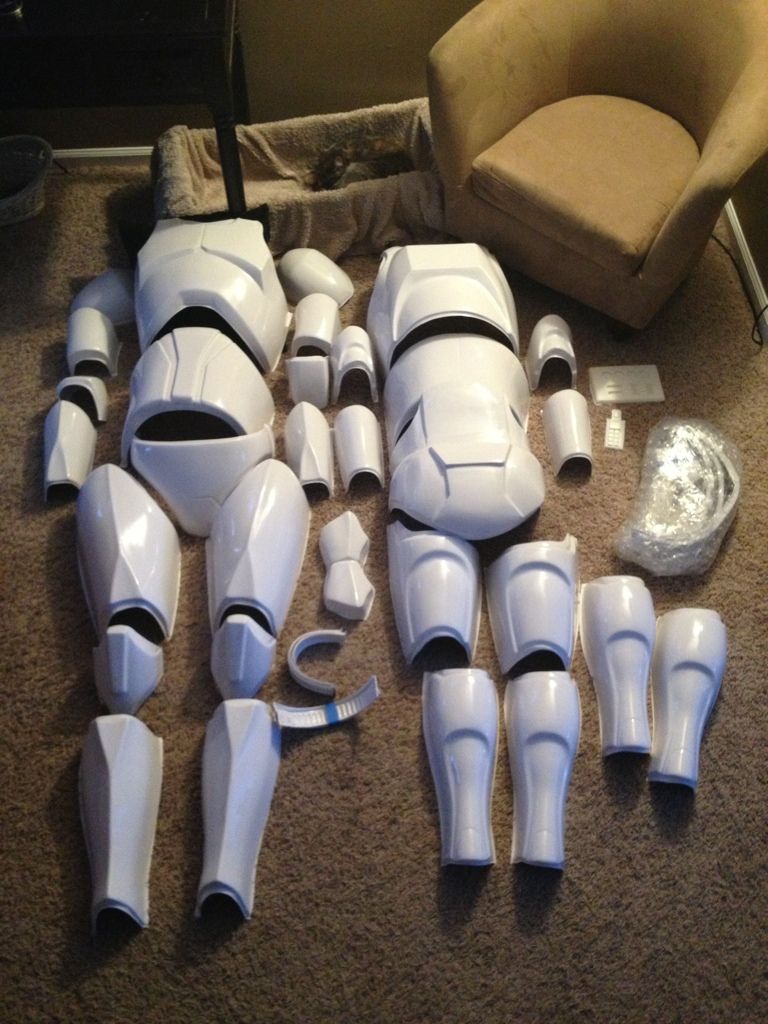
Now it's time to get to work on trimming it out. Let me know what you guys think as I go through the process.
Re: 442nd WIP
Posted: Wed Mar 06, 2013 10:00 am
by Wags
Good luck!! Its a fun process!!
Re: 442nd WIP
Posted: Wed Mar 06, 2013 11:45 am
by DeafTrooper
Yah, it's fun, even though there were a lot of days I got so frustrated that I almost chucked my armor through my second floor apartment window.

Good luck and if you need any more videos of anything, let me know!

Re: 442nd WIP
Posted: Wed Mar 06, 2013 12:10 pm
by BBC527
Thanks guys, its going to be a fun process.
Also, you should really post those videos. They could help a lot of new people who embark on this journey.
Between this and my Maul build it's going to be a lot I work.
Re: 442nd WIP
Posted: Fri Mar 08, 2013 12:40 am
by BBC527
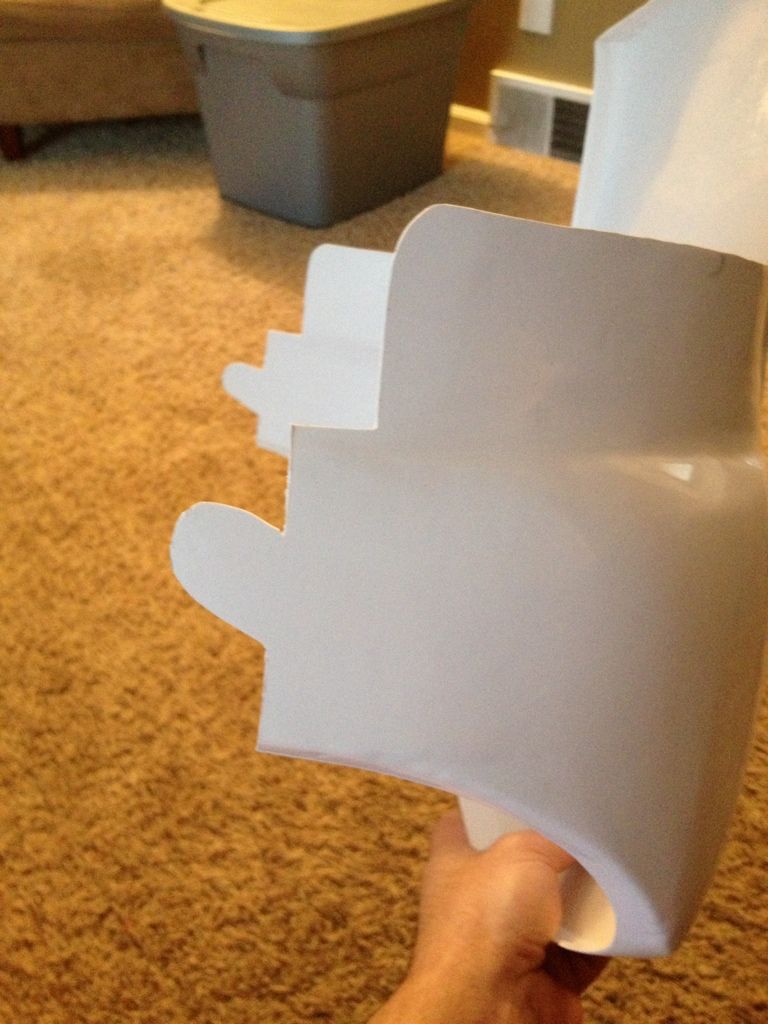
Got most everything trimmed out, and couldn't resist an early fit test on some of the stuff to see how it looked and felt.
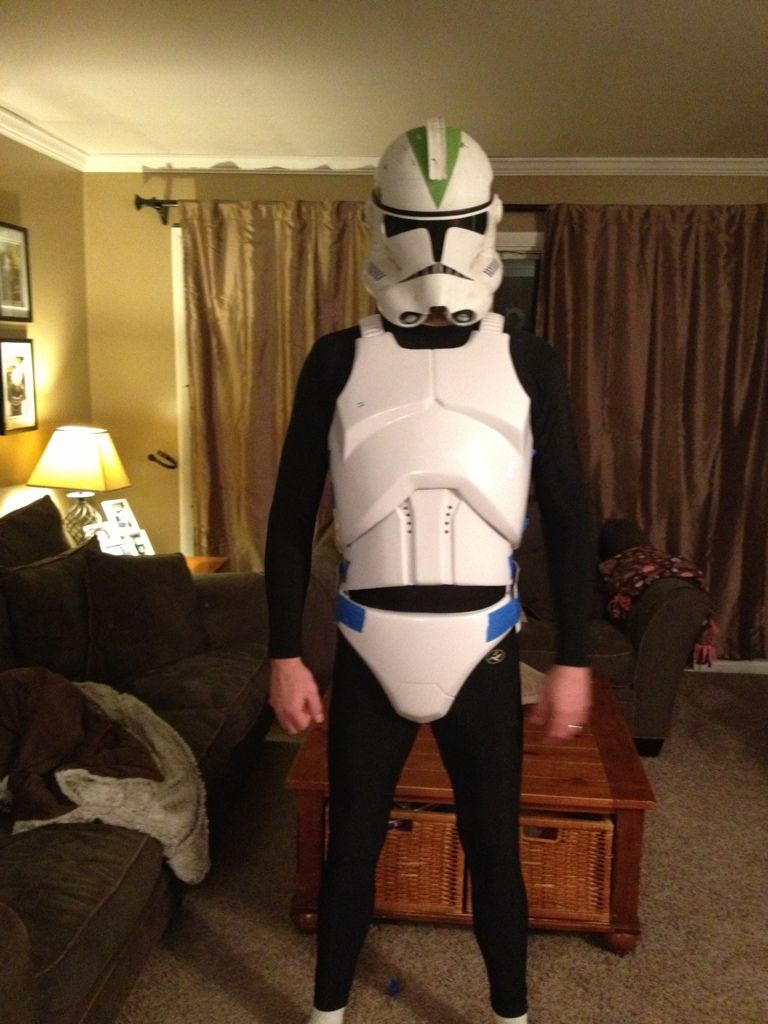
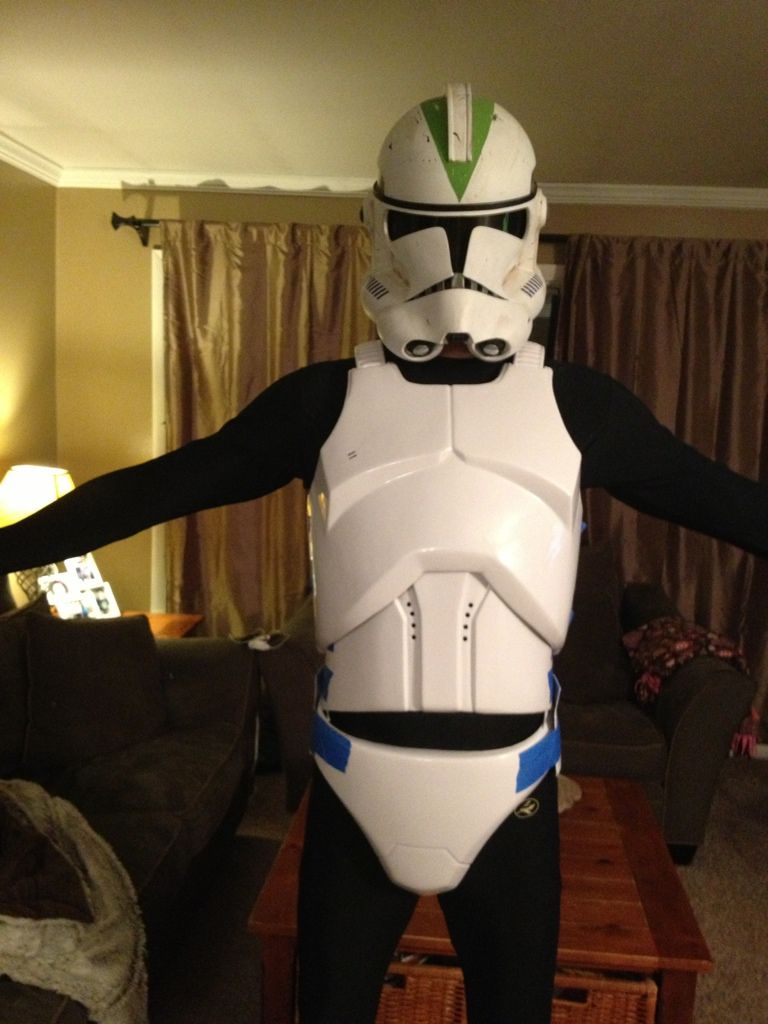

I know it's a little early and I have a long ways to go but I couldn't wait!!
Re: 442nd WIP
Posted: Fri Mar 08, 2013 4:52 pm
by drbones2nd
Feels good though dont it!
Re: 442nd WIP
Posted: Tue Mar 12, 2013 9:26 am
by BBC527
Ok, a few questions as I work on things.
On the forearm and bicep sections, how much if any return should there be on the ends? Just want to find out before glueing them together.
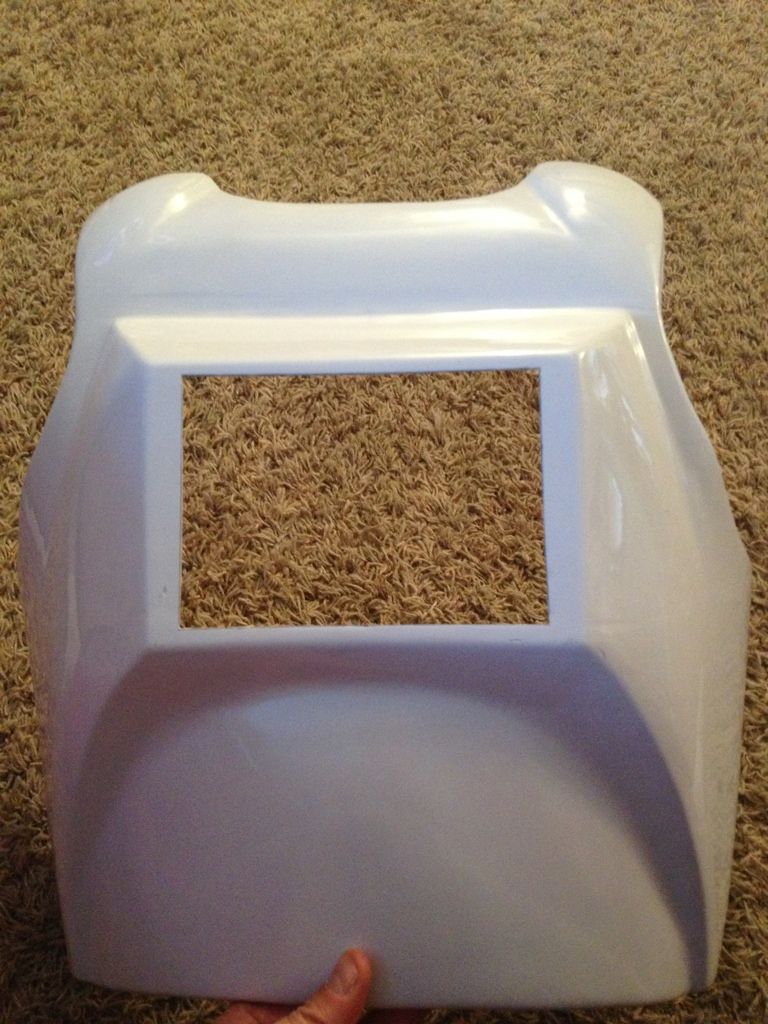
On the back plate, does the plate just get glued into the back with it not sticking through the hole, or do you trim this piece down to come through the opening?
Thanks
Re: 442nd WIP
Posted: Tue Mar 12, 2013 9:57 am
by DeafTrooper
I think I had 1/4 inch on forearms and 1/2 inch on biceps. I'll have to double check on that when I get home later.
As for the back plate, either option is good.
Re: 442nd WIP
Posted: Tue Mar 12, 2013 11:51 pm
by BBC527
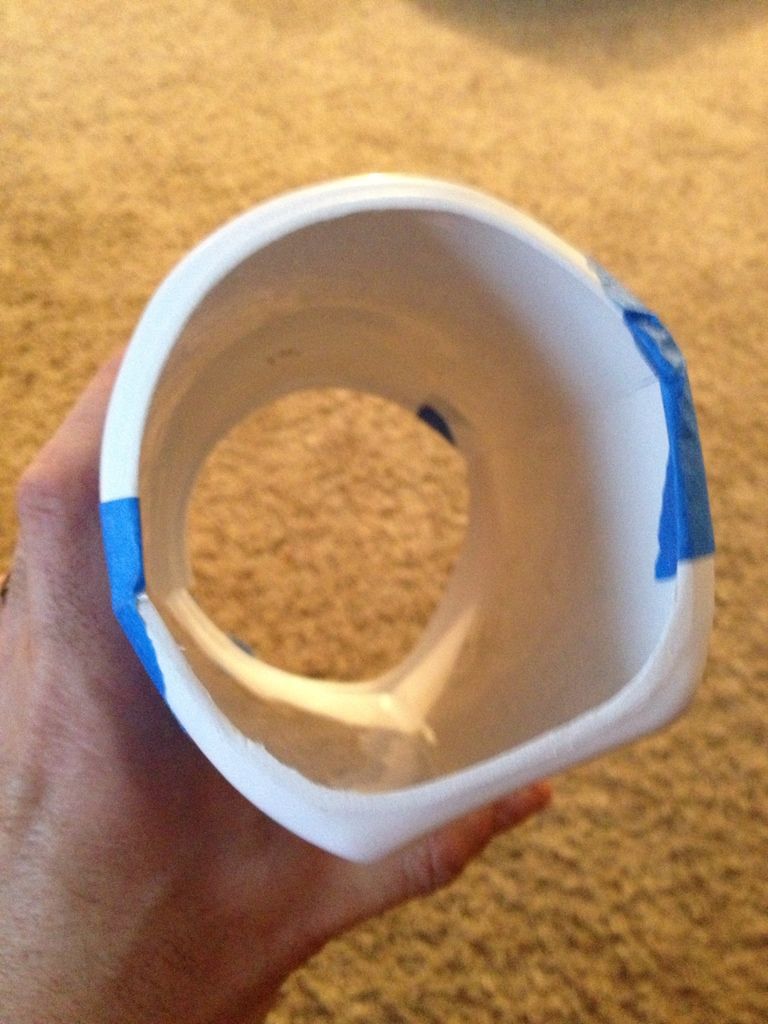
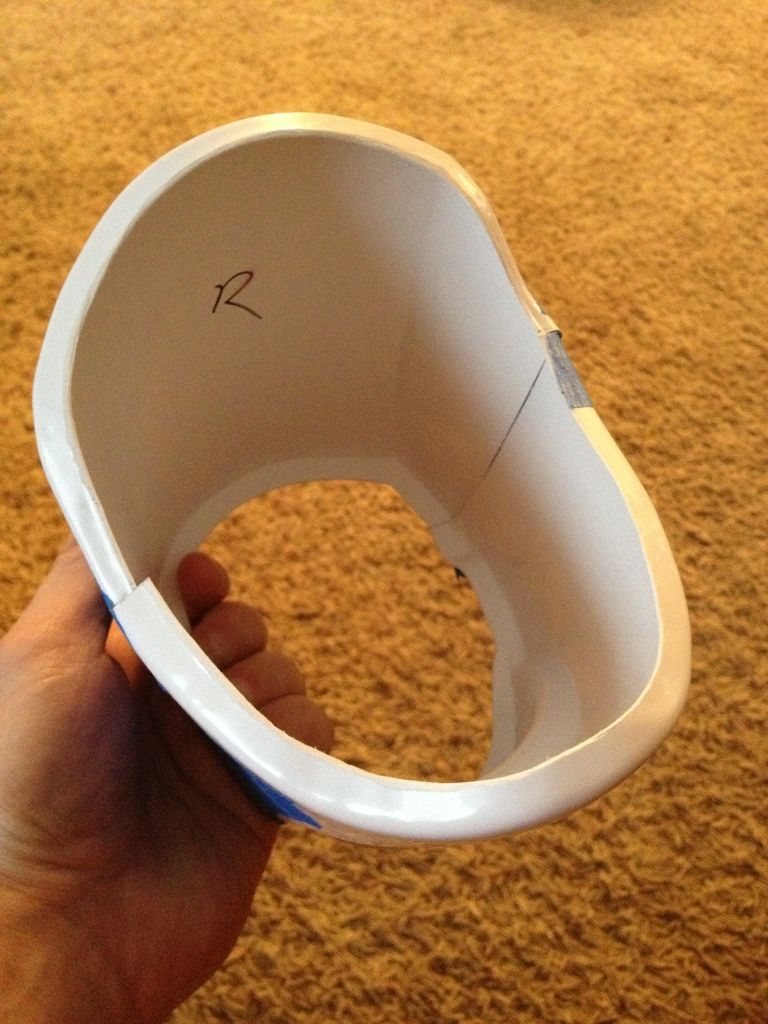
How do the sides look on the rear section?
Re: 442nd WIP
Posted: Thu Mar 14, 2013 11:41 pm
by BBC527
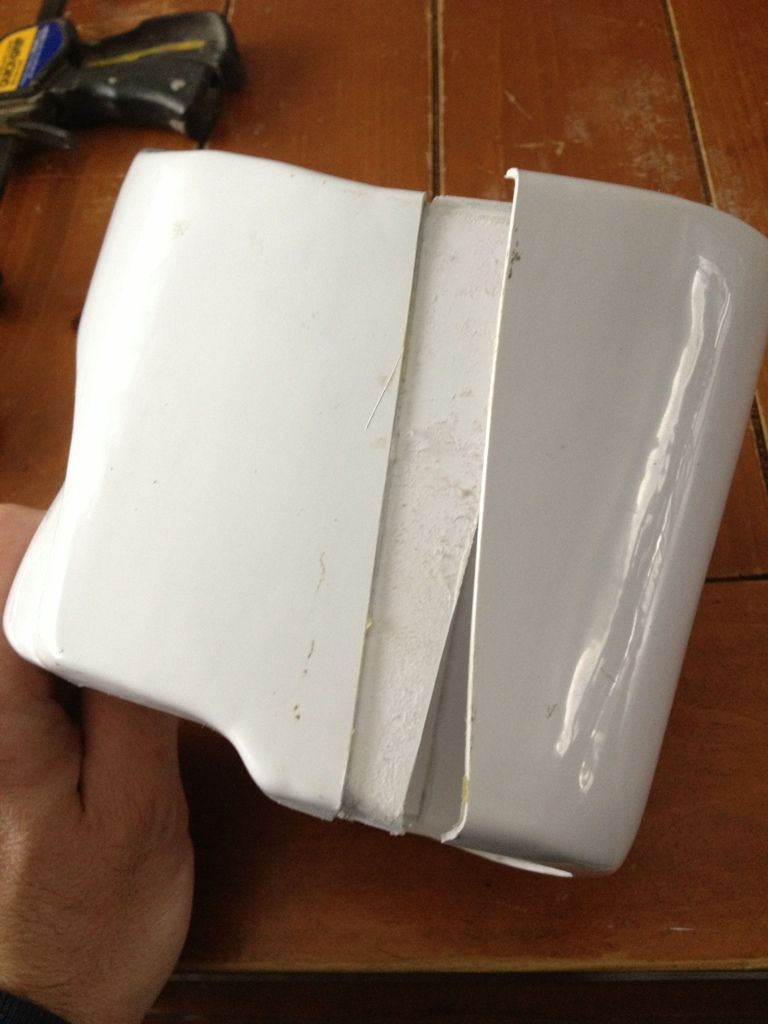
Ok, so I was able to grind down the back plate to fit in the hole of the back.

The fit looks good. I'll just need to fill in the edge with some paintable caulk.
Re: 442nd WIP
Posted: Sat Mar 16, 2013 6:28 pm
by Wags
You dont need to fill in the back plate. A bit of gap is ok. And the return edge isnt a set limit. I have no retun edge on mine. Make it look accurate but dont give up fit. You dont want to walk like a robot and be uncomfortable. I can run, sit, walk up and down stairs and kneel in mine. Return edge just needs to be there for thickness.
Re: 442nd WIP
Posted: Sun Mar 17, 2013 5:21 pm
by BBC527
WAGS, so what you are saying is you don't have any returns on any of your parts? Could you send me some pics of your armor?
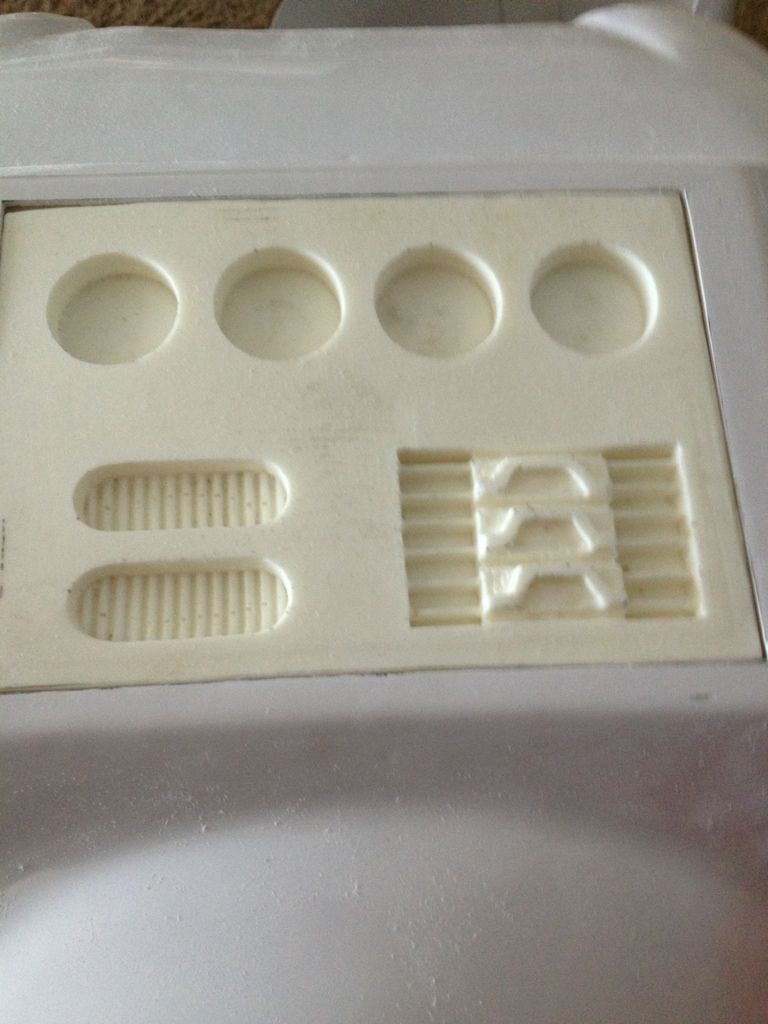
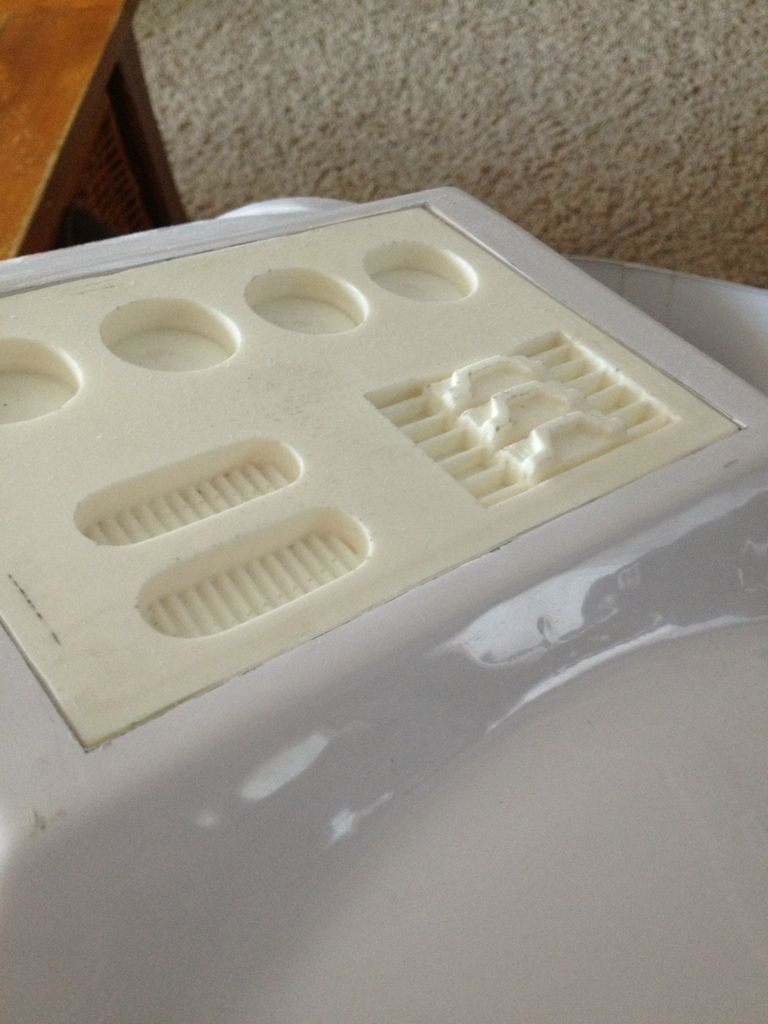
Plus, I'm getting ready to do the Spoons on the calfs, what are your thoughts on this?

Thanks
Re: 442nd WIP
Posted: Sun Mar 17, 2013 6:37 pm
by Wags
I mean that I am just using the thickness of the plastic. Thats it. If you want to Pm me your phone number I can send you some pix.
As far as the spoon methos goes, I love the idea and look but I made my shoes to go on before my calves so the spoon method wont work. Mine are split on the inside and clamshelled. Until I make new shoes i have to stay with these.
Re: 442nd WIP
Posted: Mon Mar 18, 2013 5:28 pm
by BBC527
A little ticked right now. Went and took apart the left bicep and one side did not stick. Now I have to try and get the glue off and do it again.
Re: 442nd WIP
Posted: Mon Mar 18, 2013 7:11 pm
by DeafTrooper
I hear you. With me being a noob, there were MANY days when I wanted to chuck my armor out of the window of the second floor apartment I had at the time.

Re: 442nd WIP
Posted: Mon Mar 18, 2013 9:54 pm
by BBC527
Well, it looks like I might not had enough E-6000 between the pieces and that's why it didn't hold. However, I found an easy way to clean it up and get the glue off. I used WD-40. I would use it to pull graffics off our ATV's and Bikes. What it does is break down the glue and allows you to scrape it off easily.
Cleaned it up and tried it again. See if it holds this time.
Re: 442nd WIP
Posted: Mon Mar 18, 2013 11:14 pm
by DeafTrooper
Wish I heard of that trick 2 years ago. I usually had to use either a scewdriver or my fingers to scrape it off.
Re: 442nd WIP
Posted: Tue Mar 19, 2013 1:29 pm
by BBC527
Well, looks like I may have to try something different on this part. It came apart again this morning. Working on cleaning it up, then I'll give it another go.
Re: 442nd WIP
Posted: Tue Mar 19, 2013 3:19 pm
by Wags
I have built all my kits with super glue and never had them come apart. Just another option for ya. Ill be in the ManCave tomorrow so I will get you thise pix.
Re: 442nd WIP
Posted: Tue Mar 19, 2013 3:53 pm
by Ripcode
I'm using E6000 on my TK, but wouldn't use it on my clone.
CA or ABS glue is what I used.